Kenwood Basic M 2 Service Manual

This is the 8 pages manual for Kenwood Basic M 2 Service Manual.
Read or download the pdf for free. If you want to contribute, please mail your pdfs to info@audioservicemanuals.com.

Page: 1 / 8
left right
Kenwood Basic M 2 Service Manual

Extracted text from Kenwood Basic M 2 Service Manual (Ocr-read)


Page 1

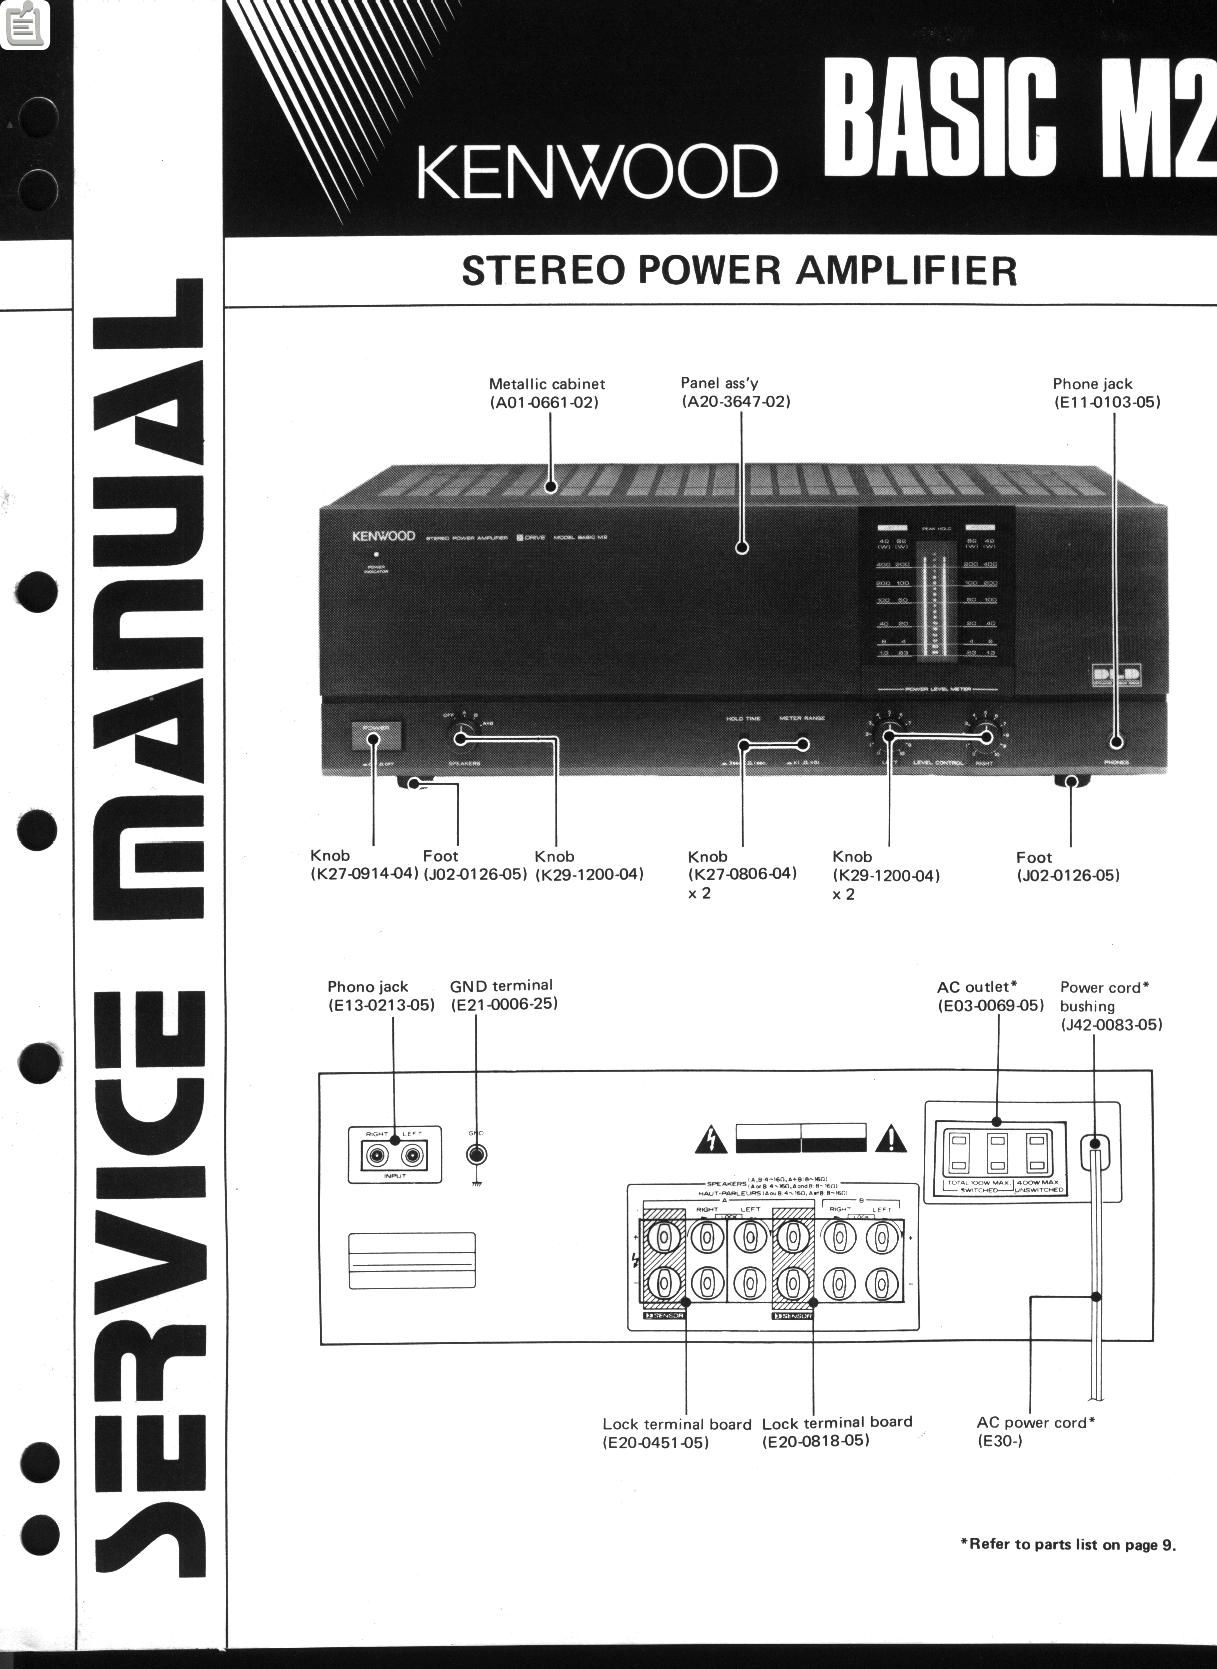
STEREO POWER AMPLIFIER

Mealllc cabinet Panel assv Phone Jack
(ADI-066102} (A20-364702) (910103-05)

Knob Foot Knob Knob Knob Foot
(K27-091404) (J020126-05) 1K29-1200-04) (K27080604) (K29-120004) (2012605)
x 2 x 2
Phone jack GND terminal AC ourlel' Power cord'
(E130213-05) (E21-OOOG-25) (E03006905) bushmg

042008305)

Lock ermmal board Lock terminal board AC power cord'
(E20045105) (EZODBIBOS) (E30)

>==M<= IfiAnUAL

'Refer to parts list on page 9.

Page 2

ADJUSTMENT

ADJUSTMENT
INPUT OUTPUT AMPLIFIER ALIGNMENT
0- EM SETTINGS SETTINGS SETTINGS POINTS AUG 0" 3-
Unless otherwise specified, the individual switches shOUId be set as follows. SPEAKER :
Connect a DC 7 W
OFFSET voltmeter to > VRI (L)
1 mar-203011) SPEAKER e VOLUME 0 VH2 (a) W 3
terrmnal, 7
I Connem a DC
IDLE CURRENT voltmeter across . VRB (L) I
z (X07-2030-11l R85 (L) VOLUME 0 VFI4 (R) 13 1 8 "V (b
__ . I R86 (Ft) ,
METER RANGE : x1 -
POWER (A) Adjust LEVEL Adjust the variable resis-l
3 METER 1 kHz 1 V (Bl CONTROL so that VR3 tor so thaI the 200 W
(I) ' AC voltmeter (85)) FL indicator lights.
indicates 40 V
METER RANGECX 0.1
POWER (A) AdeSt LEVEL Adjust the variable resir
4 METER (B) CONTROL so that VRi tor so that theZW (an)
1 kHZI D I V . .
(2) AC voltmeter FL Indicator lights. l

indicates 4 V

l

Power Amplifier Check

After completing power amplifier repairs, be sure to con-

firm that waveforms are present as indicated below. Power

amplifier operation is not normal if these waveforms cannot

be observed.

It is not possible to observe both waveform C and D at the

same time. Be sure to observe them individually, and be

sure that no other test equipment is connected to the

amplifier at the some time as the oscilloscope.

Test Condition

1. Apply a 50Hz sine wave to the lNPUT terminal.

2. Connect an 8 ohm dummy load to the speaker terminals,

3. Connect the oscilloscope across the resistor 1R67~74)
of high output circuit.

Fig. C

4. Set the volume control of the BASIC M2 to 0, then turn
on the power.
5. When the LEVEL CONTROL of the BASIC M2 Is turn»
ed up slowly, the waveform shown in Figure C should
appear suddenly at a certain point. This is evidence that
the high output circuit has begun operating. Stop turn-
ing the volume control at the point where this wave
form appears.
6. Momentarily turn off the power to the BASIC M2.
7. Connect the oscilloscope across the resistor (R75~82)
of low output circuit.
8. Turn the power to the BASIC M2 back on

LO

Fig. D

. The waveform shown in Figure D should appear.

. 7