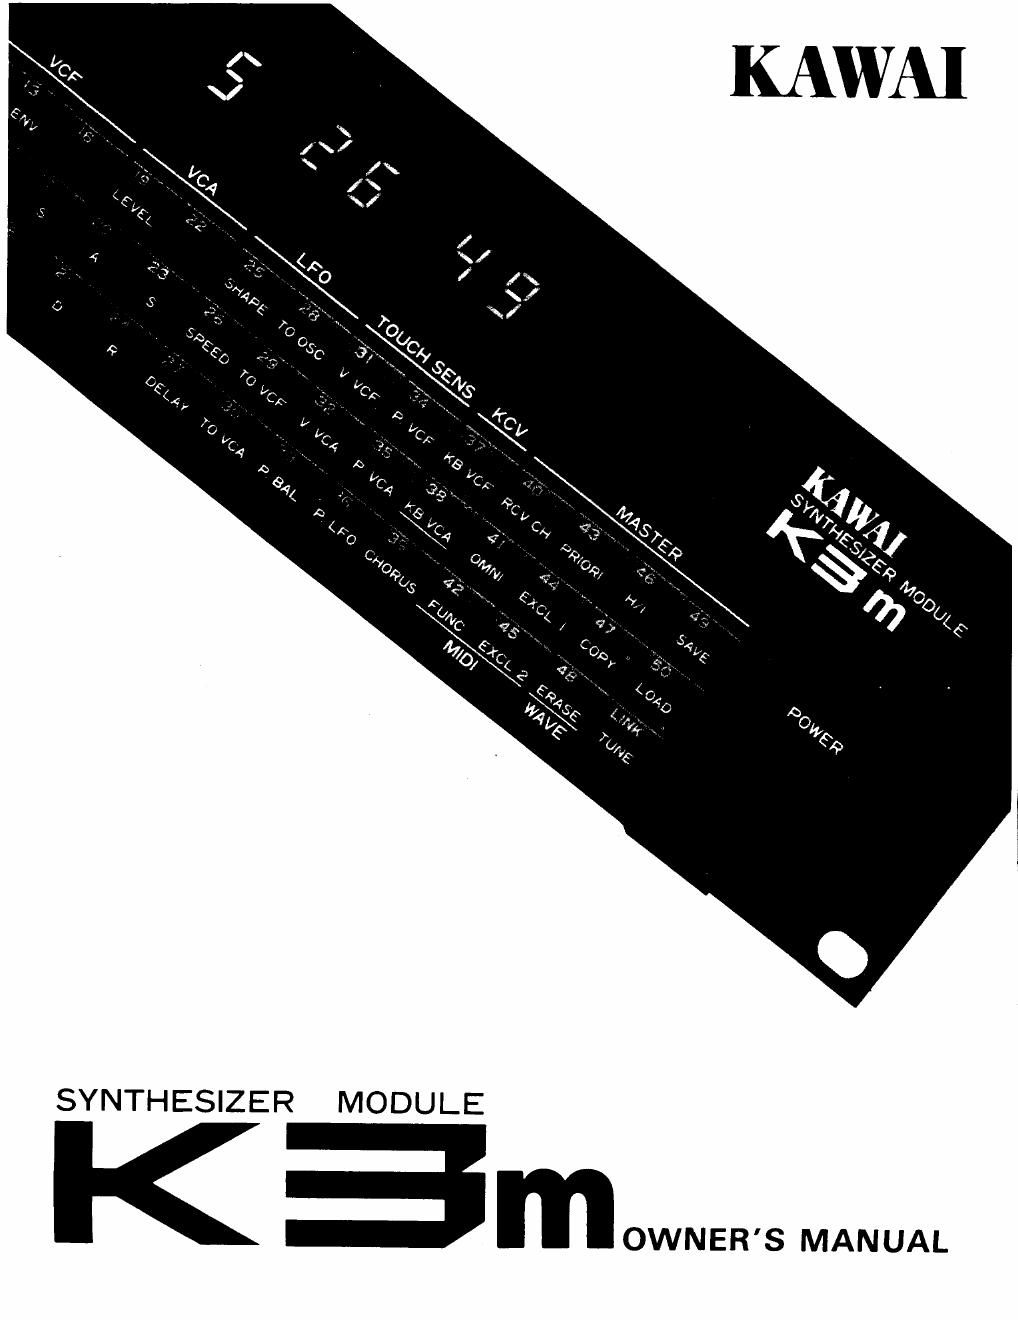
Kawai k3 m owner manual

This is the 62 pages manual for kawai k3 m owner manual.
Read or download the pdf for free. If you want to contribute, please mail your pdfs to info@audioservicemanuals.com.

Page: 1 / 62
left right
kawai k3 m owner manual

Extracted text from kawai k3 m owner manual (Ocr-read)


Page 1

SYNTHESIZER MODULE

OWNERS MANUAL

Page 2

Introduction

Congratulations! You are now the owner of one of the worlds
most technologically advanced digital synthesizer modules, the
Kawai Ks3m. The Kv3m is truly outstanding value combining
advanced microelectronics technology, innovative performance
features, and superior sound quality. Your K-3m is an investment
in digital synthesis technology that will provide you with many
years of musical enjoyment.

A New Approach to Sound Synthesis

The Kawai K-3m synthesizer module combines wave sampling
technology with true synthesis ability for a totally new approach
to sound generation. It starts by constructing the waveform for
a digital sound source from its harmonic components. (There are
32 such waveforms built into the synthesizer module, but you
can program your own by assigning relative amplitudes for any
32 of the first 128 harmonics.) The aUdio signals from each
oscillator are then combined and passed through filters, LFOs,
envelope generators, and other components usually found only
in today's more advanced analog synthesizers.

Wave sampling yields very faithful reproduction of the original
because it produces a highly accurate description of sound
produced by a piano, trombone, bass guitar, or any other instru-
ment. The technology used, however, calls up a fixed sample
and plays it back in a fashion not unlike a tape recorder. Using
such a fixed sound source sacrifices control over the articulation,
the way in which the sound varies over time after the musician
first strikes the key. Analog synthesizers, on the other hand,
generally provide greater control over articulation and other
parameters required to produce a more "live" sound - only to
lose sampling accuracy and the ability to easily program the
synthesizer to emulate an existing instrument The Kawai K-3m's
digitally programmed sound sources give you the best of both
worlds: lifelike samples and complete control of articulation.

Other Features

The Kawai K-3m synthesizer module has several other advanced

features as well:

0 Programmable velocity and aftertouch (pressure), that allow
you to personalize keyboard response for each tone patch

0 Programmable stereo chorus and delay for creating tone patches
with realistic, studio quality effects

0 Slot for a removable memory cartridge, an external storage
device which holds 50 additional tone patches

o Advanced MIDI implementation including support for "system
exclusive" messages which expand the control possible with
this world standard interface.

0 The Scope feature allows the K-3m to read or respond only
to specified notes within the zone and makes the Split"
feature pessible.

- Mastering the K-3m from the K3 synthesizer allows up to 12
notes to be played at the same time using the unique Spillover"
feature

0 Analog and digital sound synthesis - the best of both worlds!

Do not let all these advanced features overwhelm you. The
Kawai K-3m synthesizer module also has many of the standard
features which you already know how to use. (See In a Hurry?"
below.) We do suggest, however, that you study this manual and
keep it handy as a reference so that you can get the most from
the wide range of advanced features available to you.

Note: The abbreviation LED stands for "light-emitting diode"
and, when used as a noun, refers to the on/off status
indicator located just above a front panel control switch.
(Larger LEDs are used to form letters and digits on the
LED display above these switches.)

In a Hurry?

(1) To play:

- Carefully unpack your new K-3m and plug the AC cord into a
power outlet with the proper voltage.

0 Plug a set of stereo headphones into the iack provided (on the
front edge, at the left) or connect the audio output jacks (left
for mono; both for stereo) on the rear panel to an amplifier.

0 Connect MIDI IN jack on the rear panel to MIDI OUT jack of
a MIDI keyboard.

- Turn on the K-3m and the MIDI keyboard. (The LED next to
the PROGRAM INT switch should light; the PGM/COUNT
part of the LED display should read 1".)

Select a tone patch number: INT or CART plus one of the
fifty numbered keys to the right of the control switches.
Adjust volume and play.

(2) To program a patch:

- Select the number for a tone patch to edit.

a Press the PARA switch. (The LED next to it will light.)

a Select a parameter from the fifty numbered keys to the right
of the control switches. (The parameter number will appear
in the PARA/HARMO part of the LED display.)

0 Press one of the VALUE switches to adjust the VALUE/
INTEN. part of the LED display.

- Turn the PARA switch on and off to compare the effects of
the edited and unedited versions on the K-3m output.

(3) To store an edited patch:

0 Turn off the memory protect switch on the front panel
(INTERNAL patch) or the memory cartridge.

- Press the WRITE switch. (The LED next to it will light.)

a Select a tone patch number for the edited version. Either
write over the old patch by re-entering the original patch
location, or enter a new tone patch location. (The LED next
to the WRITE switch will go out.)

- Turn on the appropriate memory protect switch.