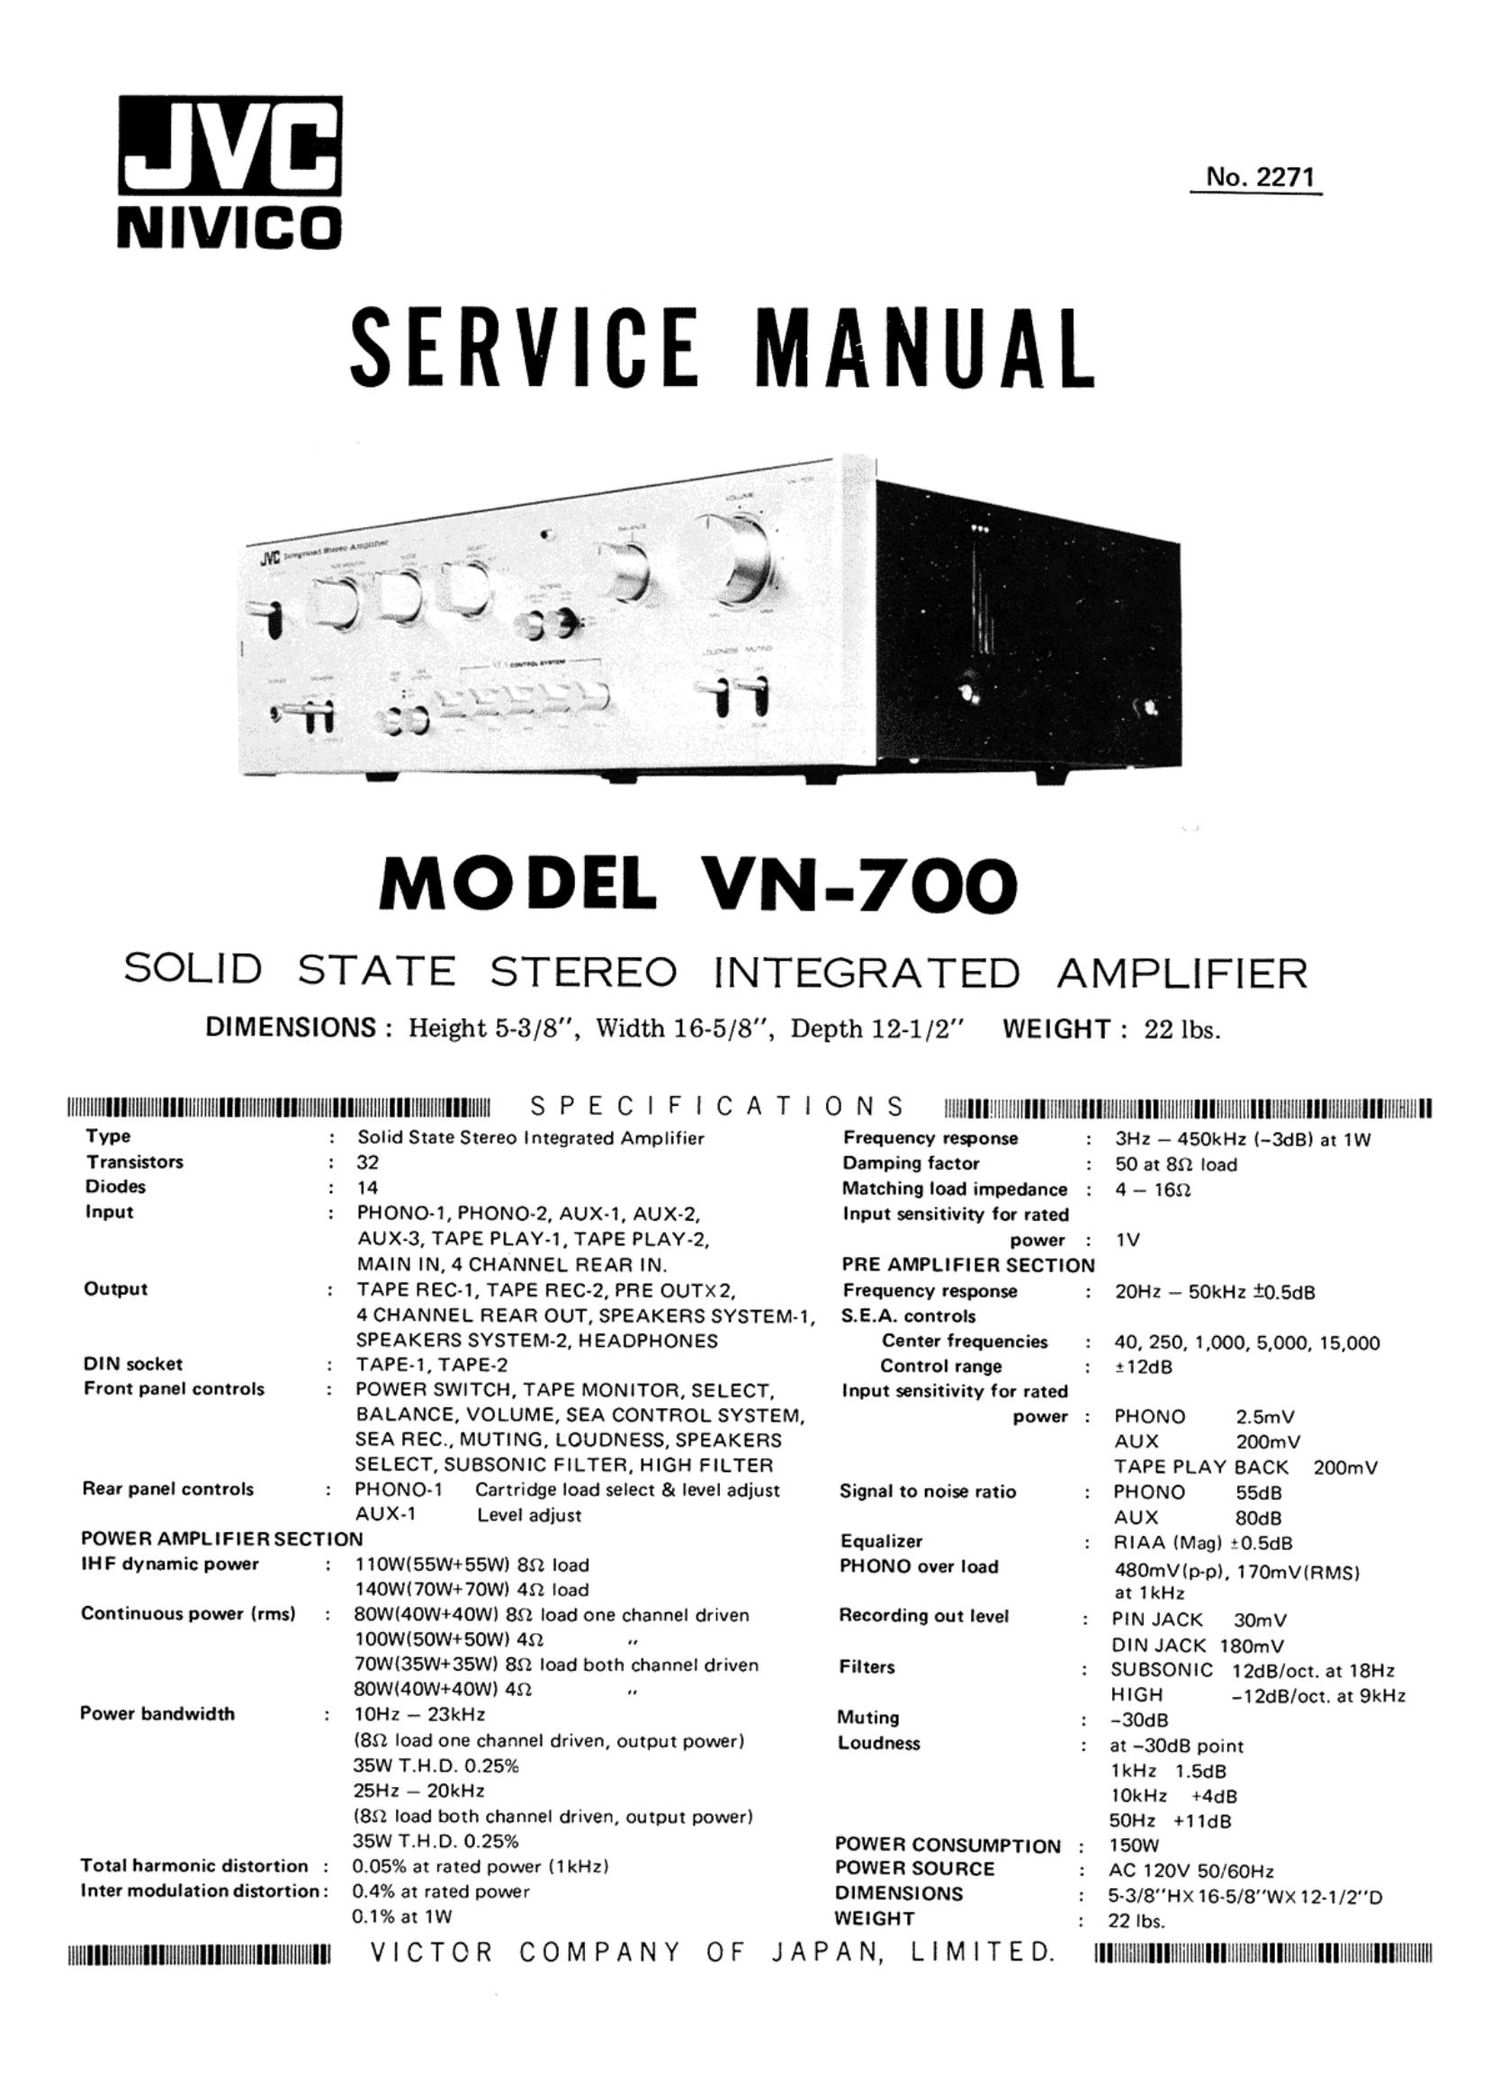
Jvc VN 700 Service Manual

This is the 28 pages manual for Jvc VN 700 Service Manual.
Read or download the pdf for free. If you want to contribute, please mail your pdfs to info@audioservicemanuals.com.

Page: 1 / 28
left right
Jvc VN 700 Service Manual

Extracted text from Jvc VN 700 Service Manual (Ocr-read)


Page 2

HOW TO CHECK THE CENTER VOLTAGE
AND TI:IE IDLING CURRENT OF POWER AMPLIFIER

NOTE : Allow the set to warm up at least for 10 minutes before you begin the following procedure.

@ 6)

R420 R412

TAD-89C

Fig. 1


POWER TRANSIS rm

OUT PUT POINT T0 SPEAKER
JUMPER { SELECT

WIRE
gt: v.r.v. M

A7

AMMETER

Fig. 2

Connection of a measurement instrument as shown Fig. 2.--- This circuit is the standard one of main amplifier. -

9 Turn VOLUME control to minimum

(1) Connect the probe of VTVM (D.C.) to a positive pole of output point. And connect the ground lead of VTVM
(D.C.) to a chassis.
(2) Insert an ammeter and a jumper wire together as shown Fig. 2.

NOTE : After the power switch has been turned on and jumper wire has been take off, adjust the idling
current in order to protect the ammeter against being damaged by surge current.

0 Turn POWER SWITCH on

(1) VTVM (D.C.) ought to show zero V. If VTVM (D.C.) is not zero V adjust R412 to VTVM (D.C.) reading of
zero V.

(2) An ammeter ought to show 10mA~ 20mA. If an ammeter reading of volume are not 10mA~ 20mA, adjust R420
to an ammeter reading of 10mA~ 20mA.

NOTE : The adjustment of the center voltage of power amplifier should be performed before measuring the
idling current.

VN-700 2 -