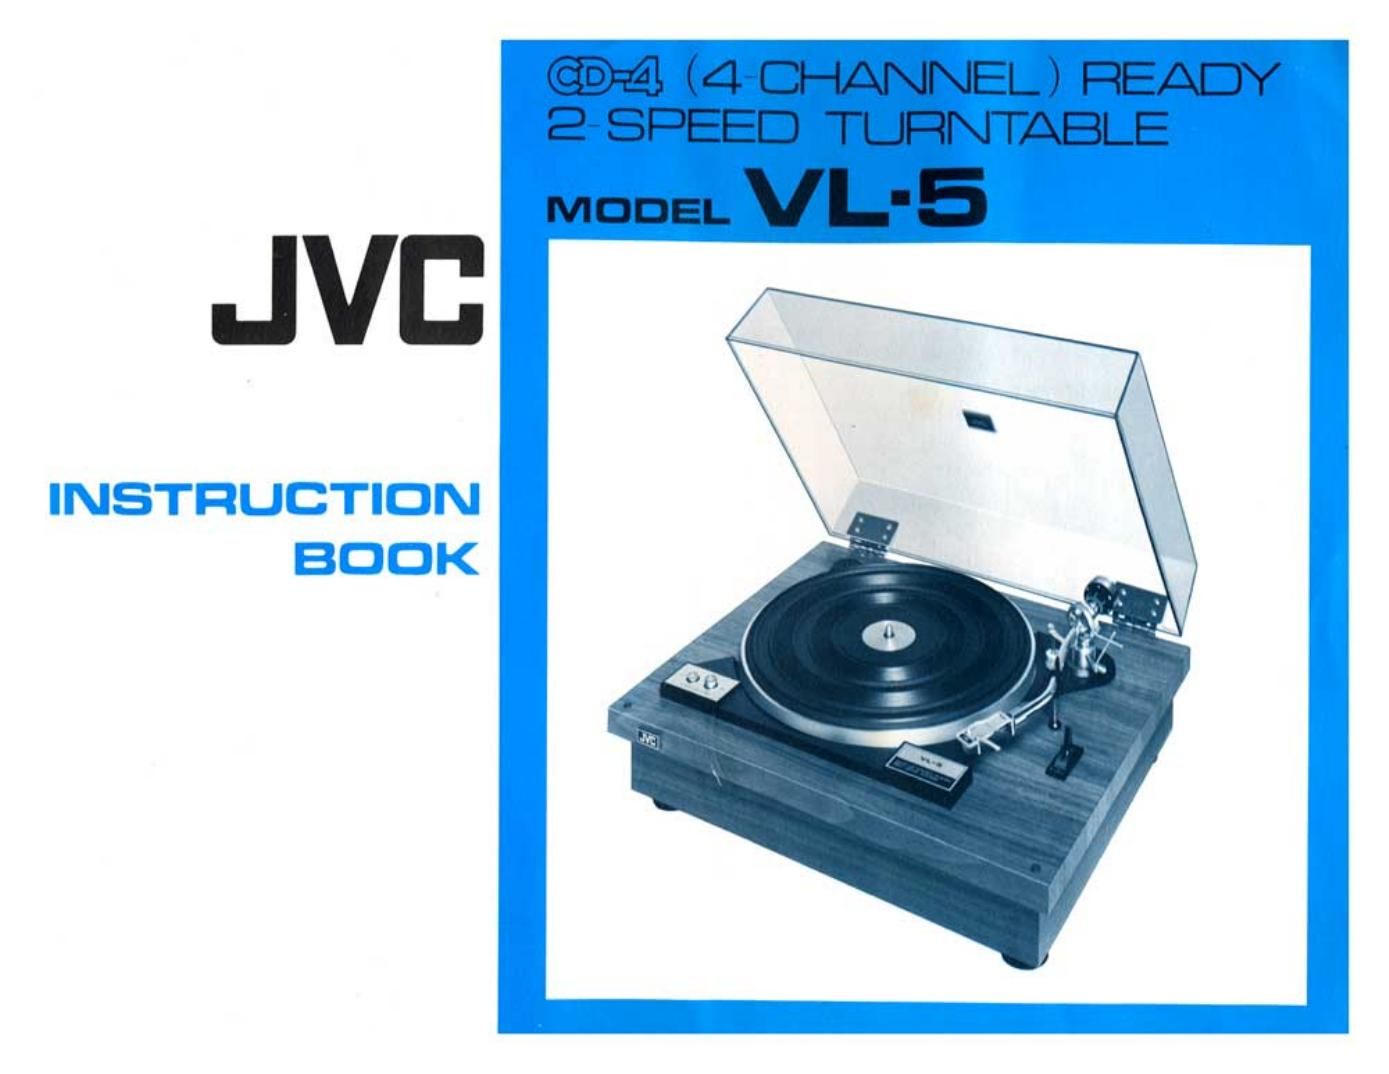
Jvc VL 5 Owners Manual

This is the 9 pages manual for Jvc VL 5 Owners Manual.
Read or download the pdf for free. If you want to contribute, please mail your pdfs to info@audioservicemanuals.com.

Page: 1 / 9
left right
Jvc VL 5 Owners Manual

Extracted text from Jvc VL 5 Owners Manual (Ocr-read)


Page 2

CONTENTS INTRODUCTION

Introduction ........................................... 1 4-Channel/2-Channel Compatible

Unpacking """"""""""""""""""""""""" 1 The VL-5 rs wpplred wrthoul a carlridge; you can choose one which meets your
3?"an up """"""""""""""""""""""" 2 specific rcquuemenls. To play [he new discrete 4-channcl CD-d records JVC's
meg a cartridge ....................................... 2

4MD-20X is recommended.
Adjusting the overhang

"""""""""""""""""""""" 3 The VL-5 IS a delicate instrument <0 please read these instructions carefully to
Setting the weight ....................................... 3 avoid damaging .L
Anti-skating ........................................... 3
Connecting the signal cords ................................. 3
Operation ............................................. a
Fitting the dust cover ..................................... 4
Specifications .......................................... 4 UNPACKI NG
Schematic diagram ....................................... 5
The package includes:
Player and arm
WARNING 2 Platter (wnh belt)
TO PREVENT FIRE OR SHOCK HAZARD, DO NOT 9'3" "3
Parts box - Mann weight
EXPOSE THIS APPLIANCE TO RAIN OR MOISTURE.

Shell weigh!
Head shell

45 rpm adapter
Set screws

Page 5

OPERATION

Connection

Two connections should be made with the amplifier; the right channel is red and
the left white.

The power cord should be plugged into a convenient AC outlet.

Speed selection
The speed is selected by pressing one at two buttons on the turntable.
Press the button corresponding to the speed you require.

Playing a record

Remove the clip holding the tone arm to the tone arm rest. Lower the casing lever
to Mt the tone arm. A spring returns the warm; lever to its up position.

Position the stylus above the part of the record you want to play. When the tone
arm leaves its rest the platter will start to rotate,

Lower the warm lever; the stylus will now be lowered gently onto the record.

Note : When the tone arm is returned to its rest the power will be switched oil
and the platter will stop.

Auto-up

When the record linishes the autoup mechanism hits the stylus lrom the record.
The platter will continue to rotate. You can now reposition the stylus above any
part at the record you want to hear or return the tone arm to the tone arm test.
When the stylus is lifted automatically the tone arm will move slightly towards the
rest; this is not because of any delect.

Note : It you want to interrupt the playing of a record. lower the cueing lever to
tilt the tone arm and return it to the tone aim rest.

FITTING THE DUST COVER

The VL.5 has a removable dust cover. To remove this cover slide it to the left so
that the hinge units will come out at the J-shaped slots on the rear panel. The cover
can easily be refitted in the same way, sliding it to the right.

E-

0 Dust cover side

l.

<32

SPECIFICATIONS

Motor

Speeds

Platter

Drive system
Rumble

Wow & flutter
Tone arm
Recommended stylus pressure
Power source
Power consumption
Dimensions

Weight

4-pole synchronous
33-1/3 Si 45 rpm

12" diecast

Belt

Better than 46dB

Less that 0.10% (WRMSl
Static balance

15 - 2.09

AC 120V, 60Hz

11W

7-1/8"(Hl x 18-1/8"(W) x M-7/8"(D)
15.8 lbs.