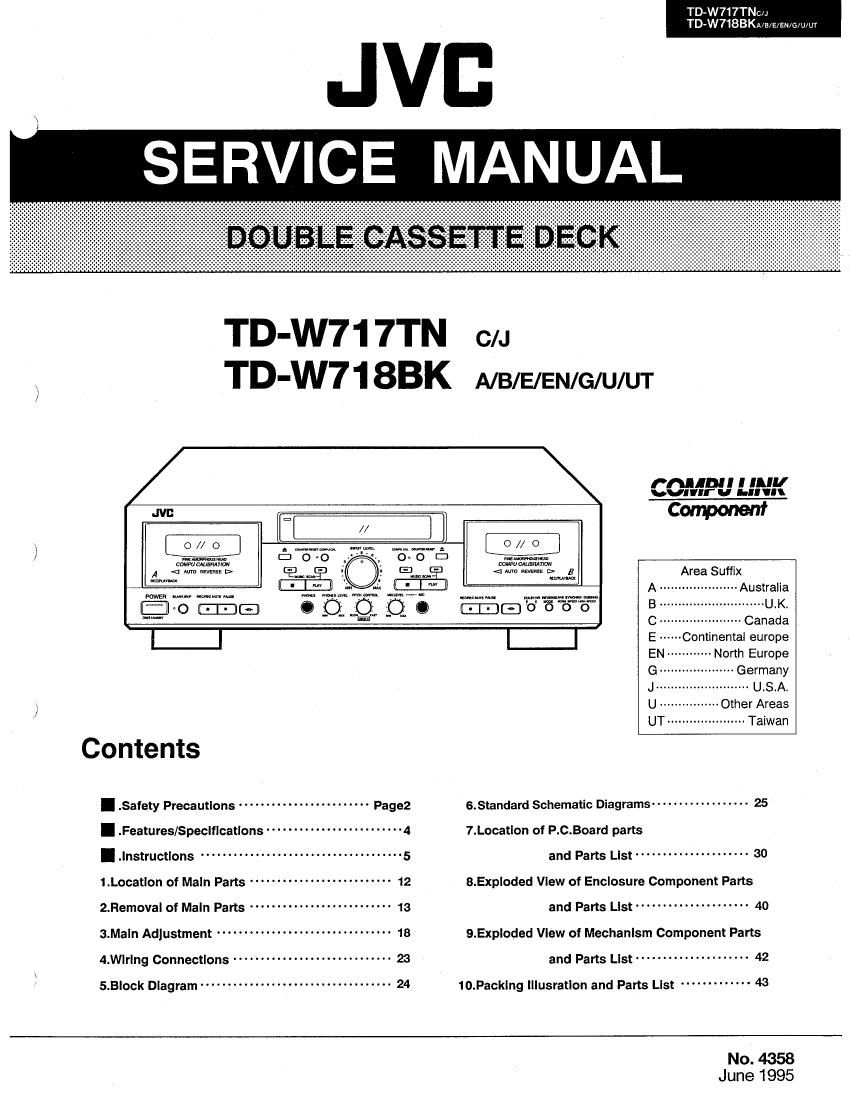
Jvc TDW 718 BK Service Manual

This is the 62 pages manual for Jvc TDW 718 BK Service Manual.
Read or download the pdf for free. If you want to contribute, please mail your pdfs to info@audioservicemanuals.com.

Page: 1 / 62
left right
Jvc TDW 718 BK Service Manual

Extracted text from Jvc TDW 718 BK Service Manual (Ocr-read)


Page 1

TD'W717TNC/J
TD-W7183Kn E/E/EN/G/U/UT

JVD

SERVICE MANUAL

TD-W71 7TN
TD-W71 83K

C/J
A/B/E/EN/G/U/UT

Cu "199 LIHK

Component


Area Suffix
A -~ Ausiraiia
B
C Canada
E Continental europe
EN ------------ North Europe
G - Germany
J- ----- UisiAi
) U Other Areas
' UT- ---------- Taiwan
Contents
I -Sathy Precautions """""""""""" Pagez 6.Standard Schematic Diagrams ------------------ 25
I .Features/Speclflcations -------------------- 4 7.Locatlon of P.C.Board parts
I .lnstructlons .......... . .......................... 5 and pans Llst ..................... 30
1.Location of Maln Parts -------------------------- 12 8.Exploded View of Enclosure Component Parts
2.Rem0va| of Maln Parts . . ..... . .................. 13 and Parts Llst ..................... 4o
3.Maln Adlustment ---------------------- - -- 18 9.Exploded Vlew of Mechanlsm Component Parts
4.ering Connectlons ............................. 23 and pans List ..................... 42
, 5.8lock Diagram ................................... 24 10.Packlng lllusration and Parts List . . . . . ........ 43
No. 4358

June 1995

Page 2

T W717TNcIJ
71BBKA/a/E/Eu/a/u/ur

I Safety Precautios

1. The design this product contains special hardware and many circuits and components specially for safety purposes. For continued
protection, no changes should be made to the original design unless authorized in writing by the manufacturer, Replacement parts
must be identical to those used in the original circuits. Service should be performed by qualified personnel only.

2, Alterations of the design or circuitry of the product should not be made. Any design alterations of the product should not be made,
Any design alterations or additions will void the manufacture's wan'anty and will further relieve the manufacture of responsibility for
personal iniury or property damage resulting therefrom.

3. Many electrical and mechanical parts in the product have special safety - related characteristics, These characteristics are often
not evident from visual inspection nor can the protection afforded by them necessarily be obtained by using replacement
components rated for higher voltage. wattage. etc. Replacement parts which have these special safety characteristics are identified
in the parts list of service manual. Electrical components having such features are identified by shading and( A )on the schematic
diagram and by ( A ) on the parts list in the service manual. The use of a substitute replacement which does not have the same
safety characteristics as the recommended replacement part shown in the parts list of service manual may create shock. fire. or
other hazards. A

4. The leads in the products are routed and dressed with ties, clamps . tubings. barriers and the like to be separated from live parts.
high temperature pans. moving parts and or sharp edges for the prevention of electric shock and fire hazard. When service is
required. the original lead routing and dress should be observed, and it should be confirmed that they have been returned to normal.
after reassembling.

5. Leakage current check (Electrical shock hazard testing)

After re - assembling the product. always perform an isolation check on the exposed metal parts of the product (antenna

terminals. knobs. metal cabinet. screw heads. headphone jack, control shafts. etc.) to be sure the product is safe to operate without

danger of electrical shock. Do not use a line isolation transformer during this check.

- Plug the AC line cord directly into the AC outlet. using aLeakage current tester. measure the leakage current from each exposed
metal part of the cabinet. particulary any exposed metal part having a return path to the chassis. to a known good earth ground.

Any leakage current must not exposeed 0,5mA AC(r.m.s.)

AC VOLTMETER
- Alternate check method EH (Having 1000 ohms/volt,
or more sensitivity.)
Plug the AC line cord directly into the AC outlet. Use an AC

3 o

-l
0.15 uF AC TYPE
following manner. Connect a 1.500 ohms 10W resistor paralleled by .

voltmeter having 1.000 ohms per volt or more sensitivity in the

a 0.15 11 F AC type capacitor between an exposed metal part and Place "55 probe
on each exposed
a known good earth ground. Measure the AC voltage across the 1500 n, 10 w metal part.

resustor With the AC voltmeter, Move the resistor connection to each Good earth ground

exposed metal part. particularly any exposed metal part having a return path to the chassis. and measure the AC voltage across
the resistor. Now. reverse the plug in the AC outlet and repeat each measurement. Any voltage measured must not exceed 0.75V
AC(r.m.s.).This corresponds to 0.5mA ACfr.m.s.).

0 Warning (UK only)

1. This equipment has been designed and manufactured to meet international safety standards.

2. It is the legal responsibility of the repairer to ensure that these safety standards are maintaintained.
3. Repairs must be made in accordance with the relevant safety standards.

4. It is essential that safety critical components are replaced by approved parts.

5, If mains voltage selector is provided. check setting for local voltage.

2 (No. 4358)

Page 21

Q Mechanism Adjstment

TD-W71 7TNC/J
TD-WHSBKA/wE/EN/c/u/m

1W224 1 (R EV)

Ost = 0.775V
Item Conditions Adjustment and Confirmation Standad value Adjust point
Adjusting Test tape :VTT704 1. Connect an electronic voltmeter to the Maximum Screws
Head (12.5kHz) LINE OUT terminals. (FWD, REV)
azimuth 2. Play back the V'l'l'704 (12.5kHz) test tape.
3. Adjust the head angle with the screw
(FWD and REV) until the reading of the
electronic voltmeter becomes maximum
for both channels (phase difference must
be "0".)
4. Repeat the adjustment in FWD and REV
modes as well as for the decks A and B.
5. Confirm that difference level between
deck A and deck B within 2dB.
Adesting 1. After adjustment 1. Connect a frequency counter to the Normal speed: Deck :
Tape speed of normal speed, LINEOUT terminals. Deck ,I :3000 i Normal;VH7o1
(motor speed) then adjust high 2. Perform normal speed adjustment first, 15Hz High ; VH702
speed. and then do high speed adjustment. High speed : Deck I;
2,For high speed 3.Play back the VTT712 test tape. Deck II, ;6000 : Norma|;VFt703
adjustment, set the 4. Adjust for normal speed 30Hz High; VR704
deck for play mode Adjust VR701(deck I) and VR703 (deck
and shortcircuit I) for normal speed at 3000Hz.
between H. SPEED 5. Adjust for high speed
TP and GND. After adjustment of normal speed.
3.00 not do anything adjust VR702 (deck ) and VR704
while H. SPEED (deck ) for high speed at 6000Hz.
and TP GND are 6. Difference in FWD and REV frequencies
shortcircuited. must be less than 48Hz.
Test tape:
\n'T-712 (3kHz)
Checking Test tape: Connect a wow and flutter meter to LINE less than 0.17%
WOW and V'IT-712 (3kHz) OUT terminals. Play back the VTT712 test (WRMS)
flutter tape. Check to see if the reading of the meter
is less than 0.17% (WRMS).
Checking Torque gauge Employ a torque testing cassette tape 27 - 70 g-om
play back TW2111(FWD) (TW21 1 1 [FWD] / TW21 21 {REV} for the
torque TW2121(REV) checking, or remove the cassette cover and
use a torque gauge.
Checking Torque gauge Measure the torque 1n the fast forvvard mode 90 - 200 g - cm
fast forward/ TW2231 (FWD) in the same manner as in the above.
rewind torque TW2241 (REV) Test cassette : TW2231 (FWD),

(No. 4358) 19

Page 24

TD-WTI 7TNC/J
TD-W7183KA/B/E/EN/G/u/UT

20 dB
3)Erase a part of the recording.
4)Measure the output difference between the
erased part and non- erased part to compare
with an electronic voltmeter.
For the measurement using a metal tape,
connect a band pass filter between the deck
and the electronic voltmeter.

Input Tape deck
9 (recording.
( kHz) erasing)

(1 kHz)

Band pass filter 9 Electronic
voltmeter

Item Conditions Adjustment and Confirmation Standard Adjusting
12 Checking 1)Apply a 400 Hz, +20 st signal to the LINE W More than 55
erasing terminals. 13
coefficient 2)Pertorm recording with the signal enhaned by

22 (No. 4358)