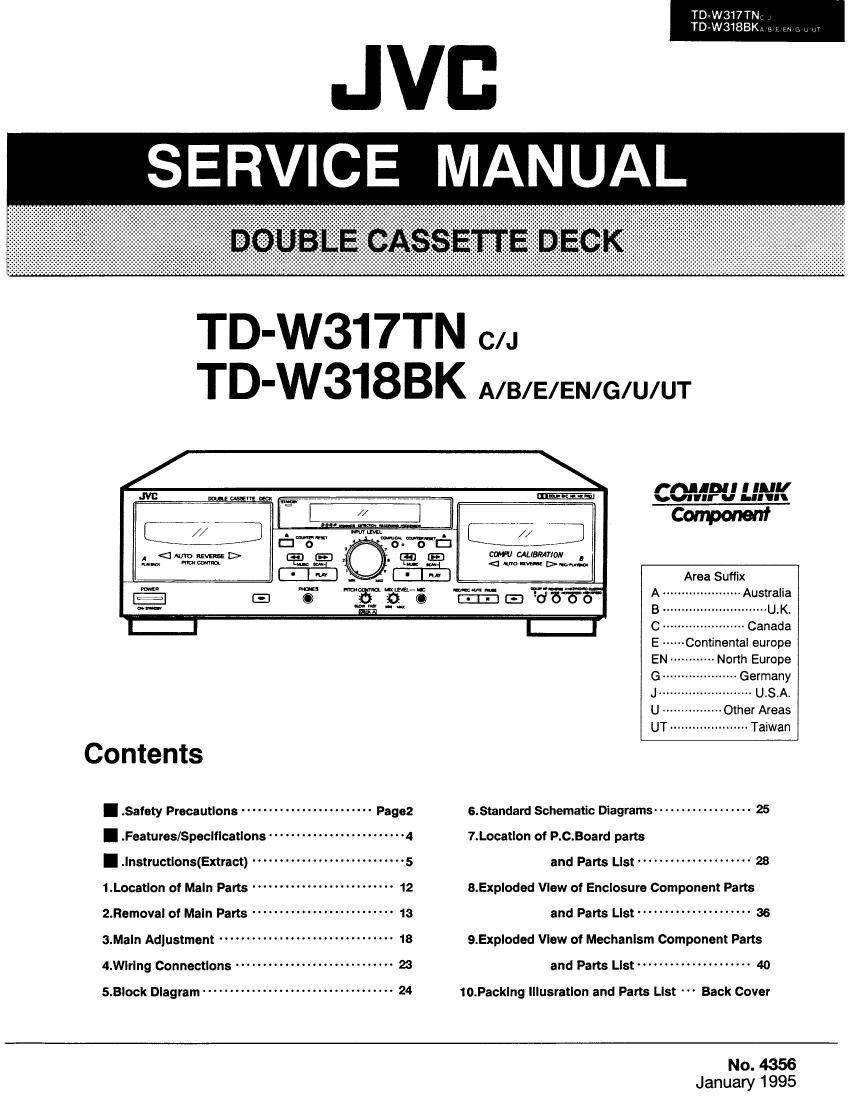
Jvc TDW 317 TN Service Manual

This is the 54 pages manual for Jvc TDW 317 TN Service Manual.
Read or download the pdf for free. If you want to contribute, please mail your pdfs to info@audioservicemanuals.com.

Page: 1 / 54
left right
Jvc TDW 317 TN Service Manual

Extracted text from Jvc TDW 317 TN Service Manual (Ocr-read)


Page 1

TD-W317TN cu
TD'W31BBK A/B/E/EN/G/U/UT

PND'I I ll"!

2__.____._vm-"m

Conponenf

Contents
- _sa'°ty Precautlons ........................ P3982
I .Feaures/specmcauons ......................... 4
I .lnstructlons(Extract) ............................ 5
1.Locatlon Of Maln pans .......................... 12

2.Removal of Maln Parts " 13

3.Maln Adjustment ......... ............. .......... 18
4'wmng Connecflons ............................. 23
5.5OCK Dlagram ................................... 24

Area Suffix
A -Austra!ia
B ........ UVK.
C ...................... Canada
E Continental europe
EN ----------- North Europe
G Germany
~ US.A
U ~-~Other Areas
UT --------------------- Taiwan
8.standard Schematic Diagrams ~~~~~~~~~~~~~~~~~~ 25
7.Locatlon of P.c.Board parts
and pans List ..................... 28
8.Exploded Vlew of Enclosure Component Parts
and Pans L's: . .................... 36

9.Exploded Vlew of Mechanism Component Parts
and Parts Llst ..................... 4o

10.Packlng Illusrauon and Parts List Back Cover

No. 4356
January 1995

Page 2

TD-W317TNC/J
TD-W3183KA/I/E/aue/unn

I Safety Precautios

1. The design this product contains special hardware and many circuits and components specially for safety purposes. For continued
protection. no changes should be made to the original design unless authorized in writing by the manufacturer, Replacement parts
must be identical to those used in the original circuits. Service should be performed by qualified personnel only.

2. Alterations of the design or circuitry of the product should not be made. Any design alterations of the product should not be made,
Any design alterations or additions will void the manufactures warranty and will further relieve the manufacture of responsibility for
personal injury or property damage resulting therefrom.

3. Many electrical and mechanical pans in the product have special safety - related characteristics. These characteristics are often
not evident from visual inspection nor can the protection afforded by them necessarily be obtained by using replacement
components rated for higher voltage. wattage. etc, Replacement parts which have these special safety characteristics are identified
in the parts list of service manual. Electrical components having such features are identified by shading and( AX )on the schematic
diagram and by ( A ) on the parts list in the service manual. The use of a substitute replacement which does not have the same
safety characteristics as the recommended replacement part shown in the parts list of service manual may create shock. fire. or
other hazards.

4. The leads in the products are routed and dressed with ties. clamps . tubings. barriers and the like to be separated from live parts.
high temperature pans. moving parts and or sharp edges for the prevention of electric shock and fire hazard. When service is
required. the original lead routing and dress should be observed. and it should be confirmed that they have been returned to normal.
after reassembling.

S. Leakage current check (Electrical shock hazard testing)

After re - assembling the product. always perform an isolation check on the exposed metal parts of the product (antenna

terminals, knobs, metal cabinet. screw heads. headphone jack. control shafts. etc.) to be sure the product is safe to operate without

danger of electrical shock. Do not use a line isolation transformer during this check.

~ Plug the AC line cord directly into the AC outlet. using aLeakage current tester". measure the leakage current from each exposed
metal part of the cabinet. particulary any exposed metal part having a return path to the chassis. to a known good earth ground.

Any leakage current must not exposeed 0.5mA AC(r.m.s.) AC VOLTMETER
.Altemate check method m (Havin910000hmslvolt,
or more sensitivity.)
Plug the AC line cord directly into the AC outlet. Use an AC

voltmeter having 1.000 ohms per volt or more sensrtivrty In the 0,15,: AC TVPE

following manner. Connect a 1.500 ohms 10w resistor paralleled by _.,_

a 0.15 M F AC type capacitor between an exposed metal part and Place this From
w on each exposed

a known good earth ground, Measure the AC voltage across the 1500 n 10W metal part.

reststor With the AC voltmeter. Move the resrstor connection to each Good earth ground

exposed metal part. particularly any exposed metal part having a return path to the chassis. and measure the AC voltage across
the resistor. Now. reverse the plug in the AC outlet and repeat each measurement. Any voltage measured must not exceed 0.75V
AC(r.m.s.).This corresponds to 0.5mA AC(r.m.s.).

9 Warning

1. This equipment has been designed and manufactured to meet international safety standards.

2. It is the legal responsibility of the repairer to ensure that these safety standards are maintaintained.
3. Repairs must be made in accordance with the relevant safety standards.

4. It is essential that safety critical components are replaced by approved parts.

5. ll mains voltage selector is provided. check setting for local voltage.

2 (No. 4356)

Page 4

TD'W317TNC/J
TDwasBKA/IIE/EN/GIU/UT

I Features

1. Double auto-reverse mechanism tor recording/playback in
deck 3 and playback In deck A
COMPU CAL tunctlon which automatically at: the tint
characteristic: and brings out maximum tape penormance.
Full logic mechanism
Dolby HX PRO headroom extension
Dolby B A C noise reduction system
DDRP (Dynamics Detention Recording Processor) compati-
blllty
The DDRP Iunctlon Is possible only when used with a suit-
able JVC CD player
zoolor FL peak level Indicator
Digital tape counter respectively Ior deck A and dealt B
Synchro Itert (normel-IhIgh-sp-ed) dubbing

. Auto tape eel-ct mechanism (decks A and B)

. Multl munla scan mechnnlem tor either direction
Under License at Staar SA. Brussels, Belgium"

12. PITCH control

13. Microphone mixing Is possible

14. COMPU LlNK-3 compeiible

.N

E"???

:gpws

I Specrflcatlons

Type 1 Double cassette deck

Track system : 4»track. 2-channel

Tape speed : 4.8 cm/sec (14/8 inch/sec) (Normal)
9.5 ism/sec (345/4 Inch/sec) (High)

Frequency

response :(-20 dB recording)

Type IV tape ; 20 - 17,000 Hz
30 - 16.00 Hz ($3418)
Type II tape ; 20 - 16,000 Hz
30 - 15,000 Hz (:SdB)
Type I tape : 20 - 16,000 Hz
30 - 15.000 Hz (tadB)
S/N ratio :58 dB (5 = 315 Hz, k3 = 3%. N =
A-welghted, Type IV tape)
The SIN ls Improved by about 15 dB at
500 Hz and by max. 20 dB at 1 kHz ~
10 kHz with Dolby O NH on and Improved
by 5 dB at 1 kHz and by 10 dB at above
5 kHz with DOLBY B NR ont
Improvement
oi MOL :4 dB at 10 kHz with Dolby O NH on.
Wow and Ilutter 008% (WRMS), 102% (DIN/IEO)
Channel

separation :40 dB (1 kHz)

Crosstalk :60 dB (1 kHz)

Harmonic

distortion :kS; 013% (Type IV tape. 315 Hz, 0 VU)
Heads :Deck A; METAPERM head tor playback x 1

Deck B; MET APERM head (or recording/
playback, 2-gep territe head for
erasure; combination head it 1

4 (No. 4356)

- Dolby noise reduction and HX Pro headroom extension
manufactured under license from Dolby Laboratories
Licensing Corporation. HX Pro originated by Bang & Oluisen.

- "Dolby", the double-D symbol [1] and "HX PRO" are trade-
marks 01 Dolby Laboratories Licensing Corporation

COMPU W
W

COMPU LINK control system is the convenient system
using COMPU LINK-3/SYNCHRO terminals on the rear
panel. (See page 4 and 10)

D-D~R'E

o YIIIAMICS DETECTION

RECORDING Pnocssson
This product can be combineted with a DDRP (DYNAMICS
DETECTION RECORDING PROCESSOR) system (com-
pact disc player + cassette deck. etc.) to enable setting
the optimum recording level automatically. Reier to these
Instructions lor details.

Motors :Electric governed DC motor ior capstan x 1
DC motor tor reel x 1
DC motor tor mechanism drive x 1
(For both decks A and B)
Fast forward/
rewind time :Approx 110 sec. with 060 cassette
Input terminals
LINE IN
(x1 circuit) : Input sensitivity; 80 mV (0 VU)
Input Impedance; 50 kn
MIC x l
(Monaural) :lnput sensitivity; 0.4m V (-GadBV)
Matching Impedance; 600 ~ 10 kn
Output terminals
LINE OUT
(x 1 circuit) :Output level; 300 mV (0 VU)
Output impedance: 5 kn
PHONES x 1 :Output level; 0,3 le8 (I (0 VU)
Matching Impedance 8 Q - 1 kn
Other terminals :COMPU LINK-SISYNCHHO x 2
Power
requirement : AC 240 V, 50 Hz (Australia)
AC 230 v, 50 Hz (U.K.)
AC 120 V. 60 Hz (USA)

Power
consumption :Wlth power switch on 17 W

With power switch standby 40 W
Dimensions
(WxHxD) :435x134x331mm

(17-3/16" x 56/16 x 13-1/16")
Weight :43 kg (10.9 lbs)
Accessories :Pln plug cord .


Remote cable

Design and specifications are sublect to change without notice.

Page 11

CONNECTIONS

C Do not switch the power on until all the connections are
completed.

0 Insert the plugs firmly, or poor contact will result, causing
noise.

0 When the pin-plug cords are employed, always connect the
white plug to the Ielt channel terminal. This helps to avoid
reversed connections.

0 When using the Compu Llnk Control System version 3, do
not connect the power cord to the SWITCHED AC OUTLET of
an ampllller or receiver. Otherwise, the automatic power
on/oII (STANDBY) function cannot be carried out.

1. Connection to a stereo emplliler

Note:
When installing the deck, be sure to Install at a distance from

your emplilier. It they are stacked, noise (hum) may occur.

Pin-plug cords (provided)

__,g§h.___...

TD-W317TNcu
TDW31BBKA/B/E/EN/G/UIUT

2. Remote cable connection tor COMPU LINK

0 By connecting a remote cable, COMPU LINK functions (auto-
matic power on/oll (STANDBY). automatic source selection,
synchronized recording and DDRP recording) can be per-
formed. In this time the provided pin-plug cords must be also
connected.

C When making synchronized recording with a CD player, con~
nect the remote cable to the COMPU LlNK-t/SYNCHRO or
COMPU LINK-SISYNCHHO iacks.

Notes:

1. When making synchronized recordings, only a single deck
should be connected to the amplifier.

2. It a component is not a JVC COMPU LINK component,
bypass It when making the remote cable connections.

a. This deck can be connected with an amplifier and a CD
player which have the COMPU LiNK-i/SVNCHRO tacks tor
COMPU LINK periormence. (See page 10 Ior details.)

1
Stereo amplifier 5 :J

meme
3 Remote cebie (provided with CD player)

CD player

Remote cable (provided)
cg; g

(No. 4356) ii

Page 21

TD-W317TNcu
TD-w31BBKA/BIE/ENIGIU/Uf

Item Conditions Adjustment and Confirmation Standard Adiusting
'7 REC/PB ' LINEINRUT level: This step must be performed after the slave 12.5 kHz level:
frequency Ref. - 20dB( - :39st oscillation adjustment. 0 i 2 dB
response : 2dB) Record the 1 kHz and 12.5 kHz sig- nals at the higher than
check MIC INPUT level: level of 7 20 dB (20 dB lower than the the 1kHz level.
Flef. -20dB (-88st reference level).
i 3dB) Playing back the recorded signals, check that the
NH SWITCH : OFF level of the 1245 kHz signal is O i 2 dB to the
level of the 1 kHz signal;

Increase In high
frequencies

Low bias current

Decrease in Appropriate bias current
high Irequencies"' High bias current
Frequencies

Response (:18)

O 50 Hz 1 kHz 12.5 kHz

8 Recording/ 1.Supp|y a 400Hz signal to the LINE IN termi- Normal,
playback nals record a 400Hz signal at reference level Chrome,
sensitivity of -20dB Metal:
check 2.Confirm that REC indicator should turn on -28st

when LINE OUT level is --28st during re- 3:1 dB
cording.

9 Maximum Supply 1 kHz signal to the LINE IN terminal In LINE OUT:
out put the Rec. monitoring mode. and read more
check non-clipped signal level at the LINE IN terminal than 5 st

PHONES
OUT: more
than - 16st

10 Checking 1)Record a 1 kHz, - 19 st signal to LINE IN Nornal:
record/ terminals Less than
playback 2)Play back the recorded part, Check the 2%
distortion output with a distortion meter to see it the CrOZ/Metal:

value conforms to the standard value, Less than
3%
Metal tape:

11 Checking 1)Record a 1 kHz. 7 19 st signel. Stop the Normal,
signal to _ input bu disconnecting from the terminal to More than 40
noise ratio perform non-signal recording. dB
recording 2)Play back the recorded part.Measure the - 8 Metal, chrome;
playback st recording output and the non-signal More than 41

recording output for comparison using an dB
electronic voltmeter. Check to see if the value
conforms to the standard valuet

(No. 4356) 21