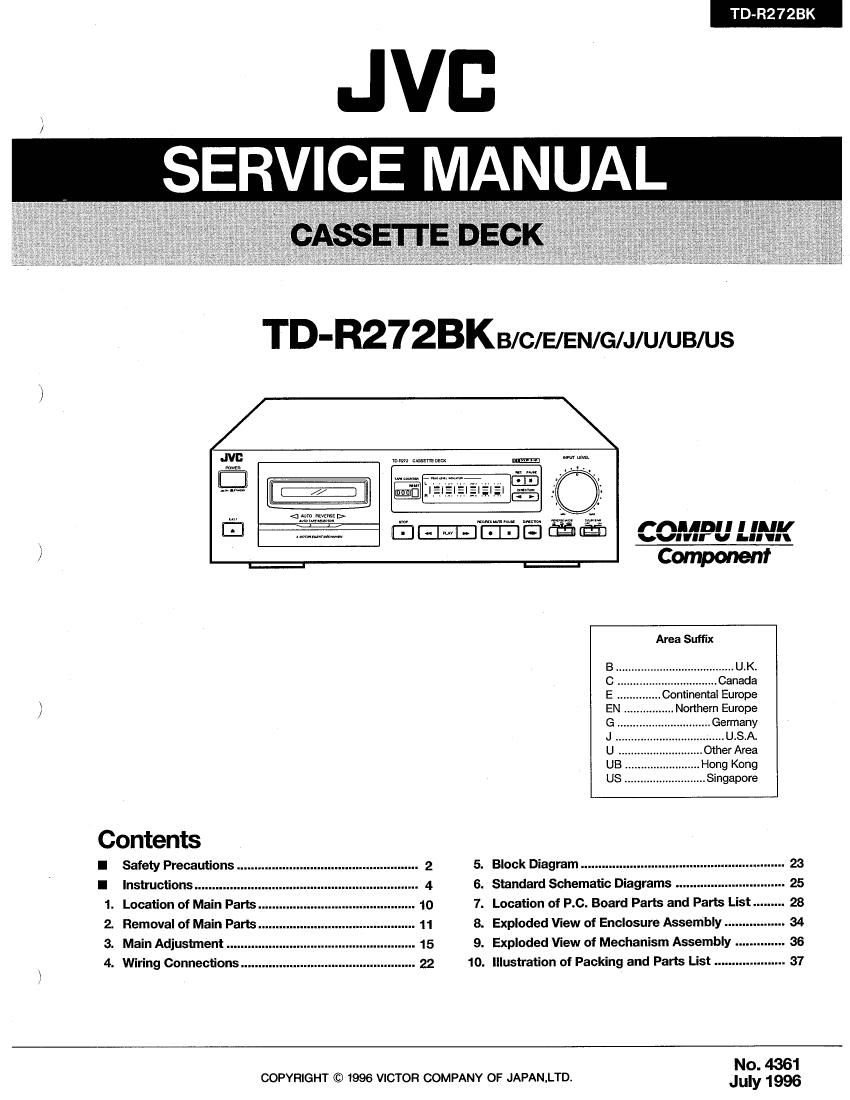
Jvc TDR 272 BK Service Manual

This is the 50 pages manual for Jvc TDR 272 BK Service Manual.
Read or download the pdf for free. If you want to contribute, please mail your pdfs to info@audioservicemanuals.com.

Page: 1 / 50
left right
Jvc TDR 272 BK Service Manual

Extracted text from Jvc TDR 272 BK Service Manual (Ocr-read)


Page 1

TD-R27ZBK

m mm mnem mm mm
.. £12222» ...... ....
W ... I'm ...... ' fnllbll I ll",
_\ a m..... Guild we @ m3 \uvnnrv ......
/ Component
Area Suffix

B ...................................... U.K.

C ........... Canada

E Continental Europe
) EN.

.Northern Europe

G Germany
J U.S.A.
U Other Area

Contents


I Safety Precautions. 5. Block Diagram... ................................. ................. 23

l Instructions.......... 6. Standard Schematic Diagrams ...... .. ....................... 25

1. Location of Main Paris ......................... .. .................. 1o 7. Location of P.C. Board Parks and Parts List . 28

2 Removal of Main Paris .. 11 8. Exploded View of Enclosure Assembly . . 34

3. Main Adjustment . 15 9. Exploded flaw of Mechanism Assembly . . 36

\ 4. Wiring Connections 10. Illustration of Packing and Parts List . ................... 37
No. 4361

COPYRIGHT © 1996 VICTOR COMPANY OF JAPAN.LTD. July 1996

Page 2

TD-R27ZBK

I Safety Precautios

1. The design this product contains special hardware and many circuits and components specially for safety purposes. For continued
protection. no changes should be made to the original design unless authorized in writing by the manufacturer. Replacement parts
must be identical to those used in the original circuits. Service should be performed by qualified personnel only.

2. Alterations of the design or circuitry of the product should not be made. Any design alterations of the product should not be made.
Any design alterations or additions will void the manufactures warranty and will further relieve the manufacture of responsibility for
personal injury or property damage resulting therefrom

3. Many electrical and mechanical parts in the product have special safety - related characteristics. These characteristics are often
not evident from visual inspection nor can the protection afforded by them necessarily be obtained by using replacement
components rated for higher voltage. wattage. etc. Replacement parts which have these special safety characteristics are identified
in the pans list of service manual. Electrical components having such features are identified by shading( -) and( AX )on the
schematic diagram and by ( A ) on the parts list in the service manual. The use of a substitute replacement which does not have
the same safety characteristics as the recommended replacement part shown in the parts list of service manual may create shock.
fire. or other hazards,

4, The leads in the products are routed and dressed with ties. clamps . tubings. barriers and the like to be separated from live parts.
high temperature parts. moving parts and or sharp edges for the prevention of electric shock and fire hazard, When service is
required. the original lead routing and dress should be observed. and it should be confirmed that they have been returned to normal.
after reassembling.

5. Leakage current check (Electrical shock hazard testing)

After re - assembling the product. always perform an isolation check on the exposed metal parts of the product (antenna

terminals. knobs. metal cabinet. screw heads. headphone jack. control shafts. etc.) to be sure the product is safe to operate without

danger of electrical shock. Do not use a line isolation transformer during this check.

- Plug the AC line cord directly into the AC outlet. using a"Leakage current tester". measure the leakage current from each exposed
metal part of the cabinet. particulary any exposed metal part having a return path to the chassis. to a known good earth ground.

Any leakage current must not exposeed 0.5mA AC(r.m.s.)

AC VOLTMETEH
- Alternate check method EB (Having 1000 ohms/volt.
Plug the Ac line cord directly into the Ac outlet. Use an Ac °°'3"""Y-l
voltmeter having 1.000 ohms per volt or more sensitivity in the ;_.__:J

0.15 11F AC TYPE

following manner. Connect a 1.500 ohms 10W resistor paralleled by

a 0.15 H F AC type capacitor between an exposed metal part and Place this probe
w on each exposed
a known good earth ground. Measure the AC voltage across the 1500 n 10 W metal part.

resistor with the AC voltmeter. Move the resistor connection to each

exposed metal part. particularly any exposed metal part having a return path to the chassis. and measure the AC voltage across
the resistor. Now. reverse the plug in the AC outlet and repeat each measurement. Any voltage measured must not exceed 0.75V
AC(r.m.s.).This corresponds to 0.5mA AC(r.m.s.).

9 Warning (UK only)

I. This equipment has been designed and manufactured to meet international safety standards.

2. It is the legal responsibility of the repairer to ensure that these safety standards are maintaintained.
3. Repairs must be made in accordance with the relevant safety standards.

4. It is essential that safety critical components are replaced try approved parts.

5. If mains voltage selector is provided. check setting for local voltage.

2 (No. 4361)

Page 6

.:c..uu.mm 25.3 2.5 5....
«.2. a. $255 Enau 20E!

.um_o....zoz>m. . .3 3.2:
3.200 a... a. .3... 05.025
:22... 3:200 2.. .2550 .

in... ac

©©§-

5.; .355...
2:8 32......

525.58 2:8 2.52 m... :55... :2... ._ 3......

582.53 .2... 2.500 0.; a 5: 3 52.558 .. ._ .m
. 55: as 5 38:55 a... 2.6%

:33. 352:5... 3.5... .555 .-

3292

.0... 2.5.. a .5: ..

3.5% .2 m mu... Sm. dam. 9.52.6

.3. a. .22... 9.5.00 0:. a. :38 2.5.». a... .8:
:5 .55.: no u 5.... -5.83 3.52:8... 95.2.. 5...... .

35:53: on...

an fin... 3:8 9:95.. 35.63 a... .5... m5. :_ $253.3

3 :3 3:558. Emu :5. .5533. 55:... .52.... 8......
35a. 30.65:. zz: DLEOD .250 22...! w 9535.90 .5 .
22... 2:00 .3 :a...»::8 .3... 22.3: ,N

5252.50 35%.
50.5 2 so: a...» 555.... 5:5... 5.. a5 2 m5... 2......

9.. 5258 5:... .8555: a... 53 5.9:... a... :23.
5.5:

2.38 .552 ___.s .858 .8. .o 2...... 3:... a... :35 .
3......

.59.. En 9.28258 :5 _.a E. :o .32. m... 5.56 .2. an .

.05....5 nu.u.n n a. 5.32.50 .-

52....9... 2:8 25:...

.3.

9
:

mi

w... .W.

TD R27ZBK

it ow:
5...... i...
5...: 8 W
5:55. 353
.55.... E

3.... .5. 5.... cause...

.53 use...
wz OFOWZ 200

552.8
5.5:... .5: =5. 2.. .2. a. £58... 2 53.. m .35
5...... :o .. 5... :m... :5. :25: m... .5 5... .m: .5: m5.
. 3.5.. 9.5.5:... as. .55 ..:= 2. 552.85 2::
an 22.5%: .. .52. .53 :. 25.58 .5» 225.53.. 2..
.552» 25.23.23 2:: :5. a... 82 55.58225 m .o
.558 a... 5.5.. 35:52. 2: :5. .5. .9 9.5.5.0.... 5.5. a
.53....
:2... 2.: 5...... new I a... a... 55:8 .9325». .3
a 20 5...»; $.50: u... 9:5... 22.... 52.55% a: .5...
a... 5.55 55.82 .: 5min... m... a. 5» .3: a... .5...
c.3255. .5 .o 20 .55... m. :53 525.. o... :22. a
22.5 .u

in: 5.3.2. as .5...

39. 5.52.... 3.. 6.0

.5: m... 55:. 5: .5 8.5:...
.955 39.... 3%. 2.2.62.2 an: «E. as 32 .3559:
8 55.3 8:523:29 5.553....» 53.8 8% .89..
5.... 9...: 29:. .32. :38... 2.. 5.... 2.5.... 3 .2.
.55 m8... 552.... .06 .522»... .a 3...: 553 2.3

. 25. . 5...... "cm. 2.... 35...:

.32. 5.52% 59...... 3.535 .

.. . m. 9.3 3:55... «06
.23.. .3. was .22..
.35.. .3520. 5...: 8.338 .
6%. w... .2 £5.53 a... 8 .9m 2m 5:33....» .5»
ma... 3.85.: :3... an: R... .o 25 w... .3: .2385 o...
3...: 52. 2... .o 8:... 52» a :85... 85.5.5.3:
:25. 55:23:. swim a...» 9.55.5.4 :u E... .8: .5:
5.55.qu .33 2... 2553...: ,m

5.25.... .o 3....
.5352 :2; 2 .833 32:. a :- .a in E u BE .36.
2»: 2.295. n m. 22.. 2...... .3». 2.3.8 2% .9. on. Q

n .nE

:3. £55

k: a... x? .5 .h. :E

(a aflw

...... 5...... 5....

9.... E... 9.. .2. v.82... :5 a... 2 as 59.5.5

5.... a...» a... 5..qu $53.23 a 5.; En... a... 955...
5.5558: :32» :52. 5.... £55.82 522.. a... .m

:88

:9... 5:52.22. 2.52.5.5 8.... .EEWEES. .2. m.
83.25.... a 5:2... 5... .25.... 8.. 8.6 .a a... 2.... a

6%. 0.: :25: o. :05. we: 5....
N .mfi

6 at. .6

.5... u 5.... mm... a... 95...... .3 x83 96me .5530?
5:52.... on... a... :_ 3.9.... 9:82. .5... 2.5 .52... .-
3.1.3.330 .v

59:: 8.....5 m... .95.... .55

.5... mm 9.5.3.: 5:5... 5. .95.... 5 2.53 m... .952
5:33 9.35.520 .a

.83.: 2a.. .2... $55... 5.

5.3:... 5.5:... .5... s... at .5: a... 2:»... 35.2.3

9:22.. .: 3.5:... .532... 5.6:... s: .35 85: En...
m e 6.... 8:... 28 m 52. 5.3:... 3.5.: w. .3 .5 ._ .n

.2253... .o .2...

5.5.5.... 2.3.8.6 A... N... o... :m... m»... .o is 5.2.5,.

.3: .5 :..m .8. ,m a. £3: 99 953 35.5....
,5... 5:55.. 2 .83.; 5.58. a «a... so} a

.3 >.- a 50.. 03.30... 3 .6. 3 E... 2.

:32 .3535» a... .3 2.8..» 5.. mum... m a. .5: w... 265.

.m... :5 .a man... :58 .5 58.52: 9:2. 5.... 5.5 52,
b... 2 555:... :u o. 525.... 5 :o .5: 2.1.58... v.9... :
5.3.5.»... .N

6 (No. 4361)

Page 18

TD-R272BK

4. Adjust LINE IN level with the attenuator so
that the electronic voltmeter reads -8 st.
Moreover, confirm that the input level to the
set is within -20 st i 2 dB at that time.

1 kHz output

LINE IN LINE OUT

Attenuator Set

Oscillator

E. voltmeter

GQOdBi2dm

b8dB$

EReference value of REC input level should be

based on these correlative levels.

Item Test 0 ondition Check and adjustment procedure Standard value Adjusting part
Adjusting Tape: Metal tape 1. Load the set with a metal cassette tape 95 kHz i 1 kHz T821
recording fre- Operation mode: and start recording.
quency Recording 2. Adjust T821 so that the frequency meter

Measuring point: reads 95 kHz 3: 1 kHz.
3801
Checking eras- Operation mode: Connect a 1 Q resistor to the erase head ter~ Reference values
ing current Recording minal in series, and measure voltage at both Metal tape mode:
(Values appear- Measring point: ends of the resistor to check to see if meas- 173 mA(173 mV)
ing here are just Both ends 0H (2 ured voltage meets the following requirements. Cro2 tape mode:
for reference.) resistor connect- - When the tape selector is set for METAL tape, 1 15 mA (1 15 mV)
ed to the erase the voltage is 173 mV (173 mA in current). Normal tape mode:
head terminal in 0 When the tape selector is set for CrO2 (chro- 76 mA (76 mV)
series. mium dioxide) tape, the voltage is 115 mV
(115 mA).
IWhen the tape selector is set for NORMAL
tape, the voltage is 76 mV (76 mA).
Checking Measuring point: 1. Connect a 100 Q resistor to the R/P head in Reference values L: VR121
recording bias Both ends of series and measure voltage at both ends of Metal tape: R: VR221
current 100 Q resistor the resistor. Approx. 1300 uA
(Values appear- connected to the 2. Adjust VR121 (L) and VR221 (R) so that bias 1 20 %
ing here are just R/P head current between the measuring points meets Grog tape:
for reference.) terminal the following requirements on both channels. Approx. 830 pA
- In recording with metal tape, the bias cur- i 20 %
rent is 1300 uA (1.3 mV) or higher. Normal tape:
0 In recording with Cr02 tape, the bias cur- Approx. 565 pA
rent is 830 M (0.8 mV). i 20 %
. In recording with normal tape, the bias
current is 565 11A (0.56 mV).
(This adjustment must be repeated more
precisely in the folloWing step of recording
frequency response adjustment.)
Checking input Input: 1 kHz, 1. Turn the INPUT volume of the set to the -20 sti2 dB
sensitivity -20 st i 2 dB maximum position.
signal to LINE IN 2. Connect an electronic voltmeter to the LINE
terminals OUT of the set.
Measuring point: 3. Supplyt kHz signal output from an oscillator
LINE OUT to the LINE IN of the set through an
terminals attenuator.

18 (No. 4361)