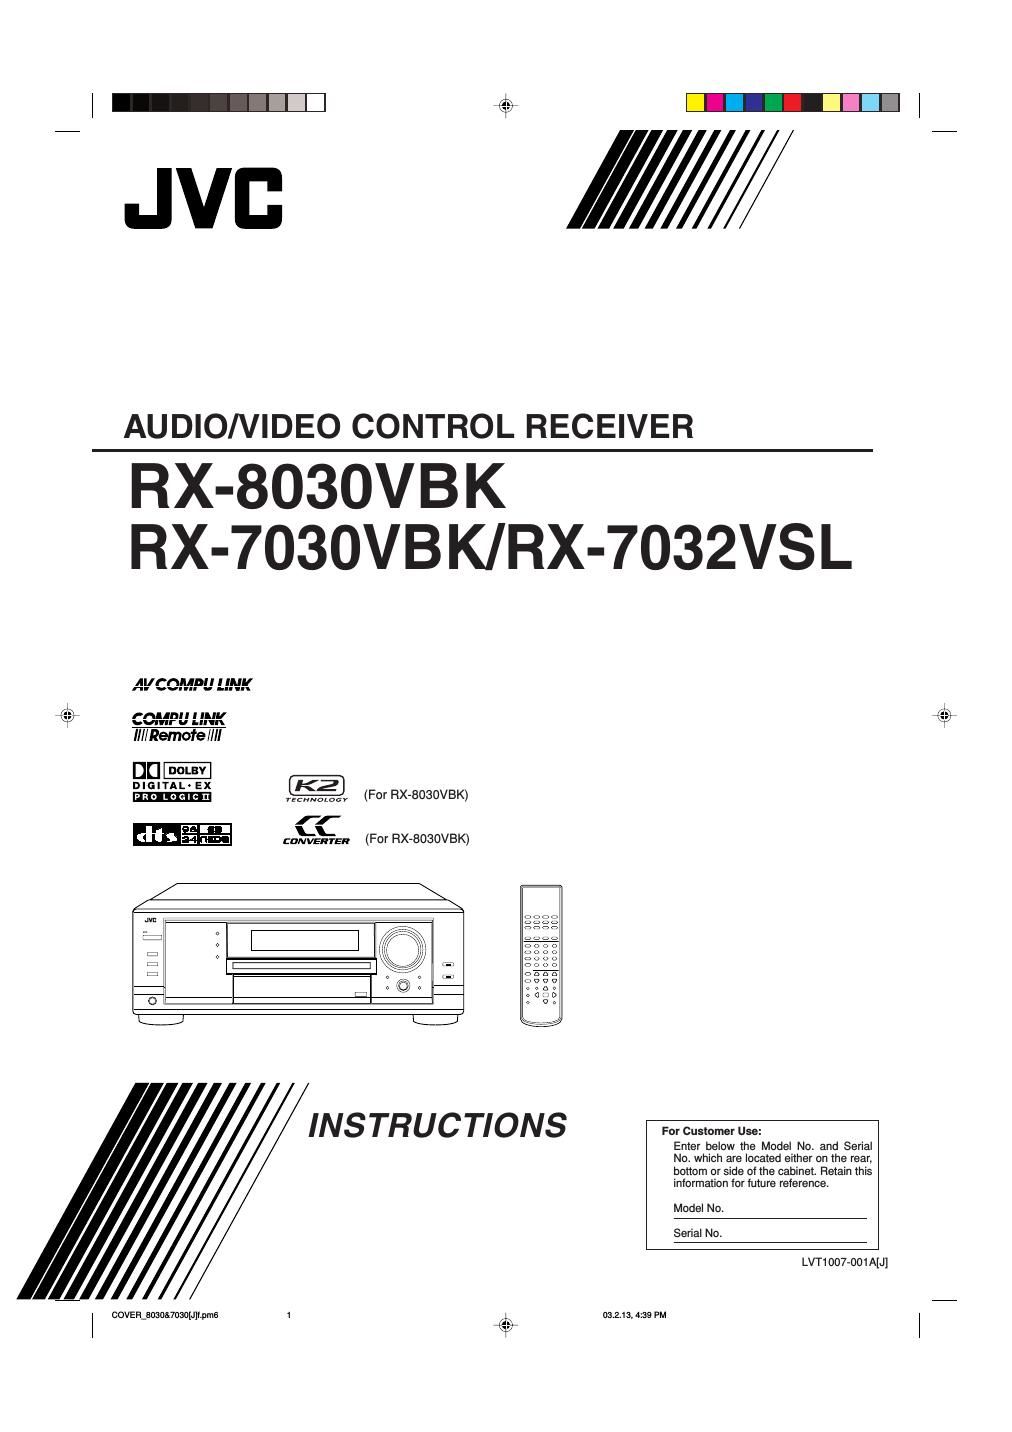
Jvc RX 7030 VBK Owners Manual

This is the 114 pages manual for Jvc RX 7030 VBK Owners Manual.
Read or download the pdf for free. If you want to contribute, please mail your pdfs to info@audioservicemanuals.com.

Page: 1 / 114
left right
Jvc RX 7030 VBK Owners Manual

Extracted text from Jvc RX 7030 VBK Owners Manual (Ocr-read)


Page 2

G}?

{it

Warnings, Cautions and Others/
Mises en garde, précautions et indications diverses

CAUTION: TO REDUCE THE RISK OF ELECTRIC SHOCK.
DO NOT REMOVE COVER (OR BACK)
NO USER SERVICEABLE PARTS INSIDE.
REFER SERVICING TO QUALIFIED SERVICE PERSONNEL.

The lightning llash with arrowhead symbol,
within an equilateral triangle is intended to
alert the user to the presence of uninsulated
"dangerous voltage" within the product's
enclosure that may be of sufficient
magnitude to constitute a risk of electric
shock to persons.

The exclamation point within an equilateral
triangle is intended to alert the user to the
presence of important operating and
maintenance (servicing) instructions in the
literature accompanying the appliance.

For U.S.A

This equipment has been tested and found to comply with the limits
for a Class B digital device, pursuant to part 15 of the FCC Rules.
These limits are designed to provide reasonable protection against
harmful interference in a residential installation.

This equipment generates, uses and can radiate radio frequency
energy and, if not installed and used in accordance with the
instructions, may cause harmful interference to radio
communications. However, there is no guarantee that interference
will not occur in a particular installation. if this equipment does cause
harmful interference to radio or television reception, which can be
determined by turning the equipment off and on, the user is
encouraged to try to correct the interference by one or more of the
following measures:

Reorient or relocate the receiving antenna.

increase the separation between the equipment and receiver.
Connect the equipment into an outlet on a circuit different from that
to which the receiver is connected.

Consult the dealer or an experienced radio/TV technician for help.

Changes or modifications not expressly approved by the
manufacturer for compliance could void the users authority to
opratethe equipment.

WARNING: TO REDUCE THE RISK OF FIRE
OR ELECTRIC SHOCK, DO NOT EXPOSE
THIS APPLIANCE TO RAIN OR MOISTURE.

CAUTION
To reduce the risk of electrical shocks, fire, etc.:
1. Do not remove screws, covers or cabinet.
2. Do not expose this appliance to rain or moisture.
ATTENTION
Atin deviter tout risque d'électrocution, d'incendie, etc.:
1. Ne pas enlever les vis ni les panneaux et ne pas ouvrir le
coffret de l'appareil.
2. Ne pas exposer l'appareil a la pluie ni a l'humidite'.

Note to CATV system installer:

This reminder is provided to call the CATV system installer's
attention to Section 820-40 of the NEC which provides guidelines for
proper grounding and, in particular, specifies that the cable ground
shall be connected to the grounding system of the building, as close
to the point of cable entry as practical.

Caution -- (D/I STANDBY/ON button!

Disconnect the mains plug to shutthe poweroff completely. The
(DH STANDBY/ON button in any position does not disconnect
the mains line. The power can be remote controlled.
Attention - Commutateur ('JII STANDBY/ON!

Déconnecter la fiche de secteur pour couper completement le
courant. Le commutateur (bll STANDBY/ON he coupe jamais
completement la ligne de secteur, quelle que soit sa position. Le
courant peut étre telécommande.

G-1

Safety78030&7030[d]f.pm6 1

For Canada/pour Le Canada

CAUTION: TO PREVENT ELECTRIC SHOCK, MATCH WIDE
BLADE OF PLUG TO WIDE SLOT, FULLY INSERT

ATTENTION: POUR EVITER LES CHOCS ELECTRIQUES,
INTRODUIRE LA LAME LA PLUS LARGE DE LA FICHE DANS LA
BORNE CORRESPONDANTE DE LA PRISE ET POUSSER
JUSQUAU FOND

THIS DIGITAL APPARATUS DOES NOT EXCEED THE CLASS B
LIMITS FOR RADIO NOISE EMISSIONS FROM DIGITAL APPA-
RATUS AS SET OUT IN THE INTERFERENCE-CAUSING
EQUIPMENT STANDARD ENTITLED DIGITAL APPARATUS,"
ICES-003 OF THE DEPARTMENT OF COMMUNICATIONS.

CET APPAREIL NUMERIQUE RESPECTE LES LIMITES DE
BRUITS RADIOELECTRIQUES APPLICABLES AUX APPAREILS
NUMERIQUES DE CLASSE B PRESCRITES DANS LA NORME
SUR LE MATERIEL BROUILLEUR; APPAREILS NUMERIQUES",
NMB-003 EDICTEE PAR LE MINISTRE DES COMMUNICATIONS.

03.2.13. 4:39 PM

(Jr.
op

Page 23

\-:1:D {as -\

Turning Analog Direct 0n and Off Changing the Source Name

You can enjoy the sound closer to the original source by overriding When you have connected an MD recorder to the TAPE/MD jacks
the sound adjustments such as speaker output level adjustments (see or a DBS tuner to the TV SOUND/DES jacks on the rear panel,
page 32), Digital Equalization (see page 32), Surround and DSP change the source name which will be shown on the display.

modes (see pages 34 to 39), Bass Boost (see page 22) and Midnight

Mode (see page 20). You can only adjust the volume level while

Analog Direct is in use.

- Once you have made adjustment, it is memorized for each analog
source.

When changing the source name from TV to BBS:
1. Press TV SOUND/DES.
- Make sure TV appears on the display.

Ecoooooo
El:

2e-

2. Press and hold TV SOUND/DB5 until ASSGN DBS

Press ANALOG DIRECT so that A DIRECT appears on the appears on the display.

display.

The lamp on the button also lights up. .mm

- Each time you press the button, Analog Direct turns on and off. was.

Notes:

- When digital input mode is in use, Analog Direct is not available.
- Turning on Surround or DSP mode cancels Analog Direct and Note:

PeVousy 599 57 aj/5mems 39 mama"- When connecting a DDS tuner to the TV SOUND/D38 IN jacks,

. If 909 Direct is in use, Midnight Mode is temporarily canceled. change the source name to BBS," which will be shown on the display
. Turning on Analog Direct cancels Input Attenuator (page 20) (and when selected as the source. Otherwise you cannot view any picture
CC Converter for RX-8030VBK: below). from DBS tuner

{/9

For RX-8030VBK:
When changing the source name from TAPE to MD:
1. Press TAPE/MD.

- Make sure TAPE appears on the display.

Ma Sounds Natural

JVCs CC (Compensative Compression) Converter eliminates jitter
and ripples, achieving a drastic reduction in digital distortion by
processing the digital music data in 24 bitequantization and by
expanding the sampling frequency to 128 kHz (for fs 32 kHz
signals)/l76.4 kHz (for fs 44.1 kHz signals)/l92 kHz (for fs 48 kHz

2. Press and hold TAPE/MD until ASSGN MD appears on
the display.

For RX-7030VBK/RX-7032VSL:

signals). . a v n in
By using CC Converter, you can obtain a natural sound field from When changing the source namefrom TAPE to CDR '
both digital and analog sources. 1- Press TAPE/CDR'

- Make sure TAPE appears on the display.
2. Press and hold TAPE/CDR until ASSGN CDR appears on

l- \/ t:
a a : © : To change the source name to TV and TAPE, repeat the
h m same procedure above.
Note:
Press CC CONVERTER so that the lamp on the button lights Without changing the source name, you can still use the
up. connectedcomponents. However, there may be some inconvenience.
0 Each time you press the button, CC Converter turns on and off (the For RX'9030VBK:
lamp goes off) alternately. - "TAPE " or TV"will appear on the display when you select the MD
recorder or 035 tuner.
- You cannot use the digital input (see pages 19 and 20) for the

Note:
- MD recorder.
You cannot use this function while Analog Direct is in use. If you turn _ You cannot use the COMPU LINK remote control system (see
on Analog Direct while this function is in use, this function will be pages 41) to operate the MD recorder.
canceled. - For RX-7030VBK/RX-7032VSL:

- TAPE" or TV" will appear on the display when you select the CD
recorder or DBS tuner

- You cannot use the digital input (see pages 19 and 20) for the
CD recorder.

21

17-2278030&7030[J]10.pm6 21 03.2.13, 2:45 PM

Page 88

: shows the initial setting in the following
tables.

Setting the Speakers

To obtain the best possible surround effect from the Surround and

DSP modes, register the setting about the speaker arrangement after

all connections are completed.

- If you have used Quick Speaker Setup on page 25, this setting is
not required.

Before you start, remember...
There is a Lime limit in doing the following steps. If the setting is _
canceled before you finish, start from step 1 again. I SUbWDUfEI 58"? -5UB WUDFEH

Select whether you have connected a subwoofer or not.
Ex. When setting One Touch Operation to ON.

YES: Select when a subwoofer is connected
1. Press SETTING. NO:

The last selected item appears on the display.

Select when no subwoofer is used.

W Note:

If you have selected NO" for the subwoofer, you cannot use the
SUBWOOFER OUT ON/OFF button on the front panel.

l Speaker size-FRONT SPEAKER CNTR SPEAKER
SURR SPEAKER SBACK SPEAKER

Select the size for each connected speaker.

2. Turn MULTI JOG until an item you want
appears on the display.

0 In this example, select ONE TOUCH OPE." For available
items, see the list Basic Setting Items on page 26.

LARGE: Select when the speaker size is relatively large.

SMALL: Select when the speaker size is relatively small.
NONE:

El El Select this when you have not connected a

a" speaker. (Not selectable for the front speakers)

smt

@

110th I. :l

* Initial setting for front speakers.
*2 Initial setting for center, surround, and surround back

3. Push in MULTI JOG (PUSH SET).

speakers.
The current setting for the selected item appears on the display.
my. Notes:
E Fl 5m - Keep the following comments in mind as reference when

adjusting.

- It the size of the cone speaker unit built in your speaker is
larger than 12 cm (4 3/4 inches), select LARGE,"and it it is
smaller than 12 cm (4 3/4 inches), select "SMALL."

m... E '5

4. Turn MULTI JOG until a setting you want
appears on the display.

mun xmmm
lII El
Emmy
110th I_ II

5. Press EXIT.
6. Repeat steps 2 to 5 to set other items if necessary.

7. Press EXIT.

The source indication resumes on the display.

2573078030&7030[C]7.pm6 27

- If you have selected NO" for the subwoofer setting, you can
only select "LARGE" lor the front speakers.

- If you have selected SMALL" for the front speakers, you cannot
select "LARGE" lor the center, surround, and surround back
speakers.

- If you have selected SMALL" for the surround speakers, you
cannot select "LARGE" lor the surround back speakers.

- If you have selected NONE"lor the surround speakers, the
surround back speakers are fixed to "NONE.

Surround back Speakers quantitv-SBACK OUT
Select the number of the surround back speakers connected.

ISPK: Select this to use 1 surround back speaker.

ZSPK: Select this to use 2 surround back speakers.

Note:

If you have selected NONE"for the surround back speakers (see
above), this setting is not available.

27

03.2.13. 2:52 PM