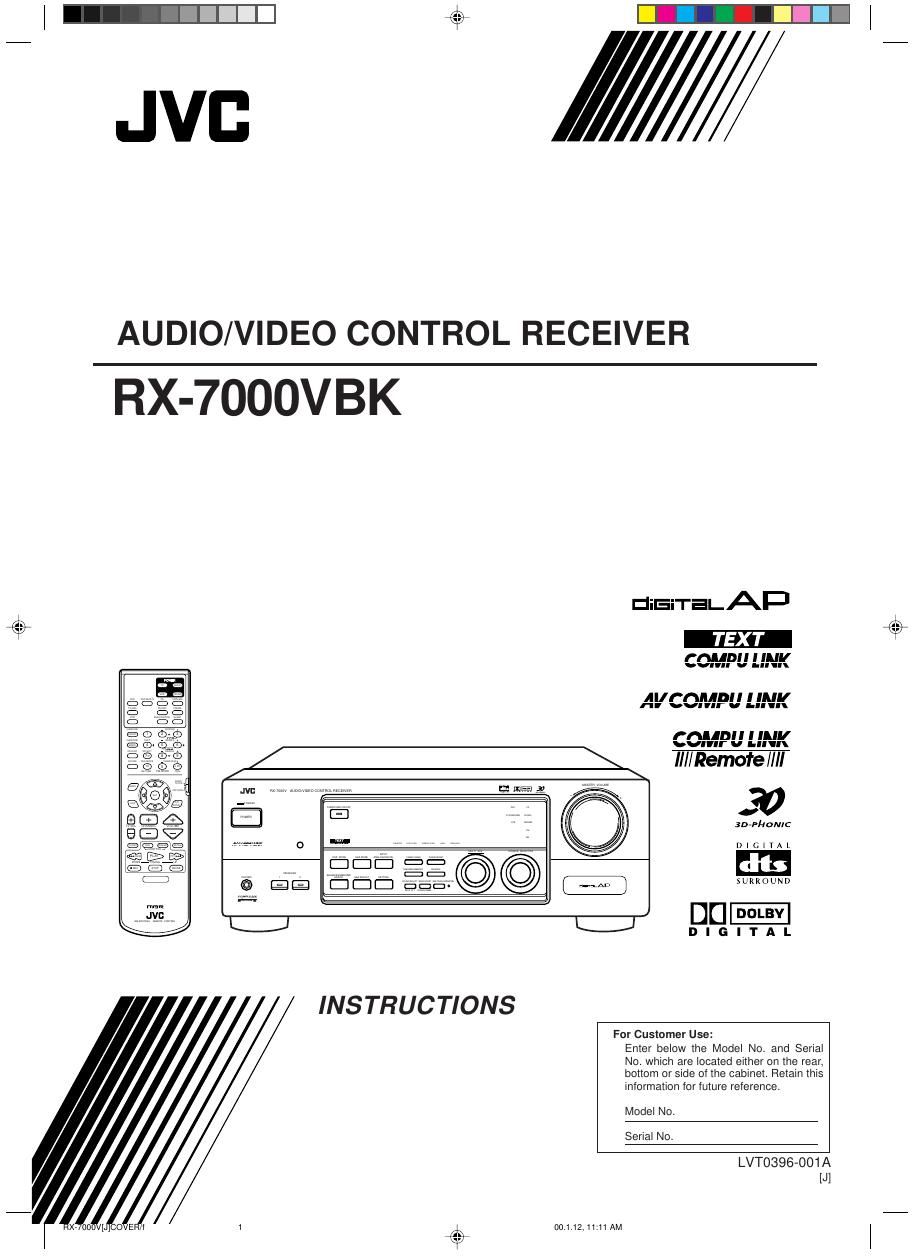
Jvc RX 7000 RBK Owners Manual

This is the 55 pages manual for Jvc RX 7000 RBK Owners Manual.
Read or download the pdf for free. If you want to contribute, please mail your pdfs to info@audioservicemanuals.com.

Page: 1 / 55
left right
Jvc RX 7000 RBK Owners Manual

Extracted text from Jvc RX 7000 RBK Owners Manual (Ocr-read)


Page 1

G-1 Warnings, Cautions and Others RX-7000VBK Floor Spacing 15 cm or more Stand height 15 cm or more Wall or obstructionsFront Caution: Proper Ventilation To avoide risk of electric shock and fire and to protect from damage. Locate the apparatus as follows: Front: No obstructions open spacing. Sides: No obstructions in 10 cm from the sides. Top: No obstructions in 10 cm from the top. Back: No obstructions in 15 cm from the back Bottom: No obstructions, place on the level surface. In addition, maintain the best possible air circulation as illustrated. CAUTION: TO REDUCE THE RISK OF ELECTRIC SHOCK. DO NOT REMOVE COVER (OR BACK) NO USER SERVICEABLE PARTS INSIDE. REFER SERVICING TO QUALIFIED SERVICE PERSONNEL. RISK OF ELECTRIC SHOCK DO NOT OPEN The lightning flash with arrowhead symbol, within an equilateral triangle is intended to alert the user to the presence of uninsulated "dangerous voltage" within the product's enclosure that may be of sufficient magnitude to constitute a risk of electric shock to persons. The exclamation point within an equilateral triangle is intended to alert the user to the presence of important operating and maintenance (servicing) instructions in the literature accompanying the appliance. CAUTION WARNING: TO REDUCE THE RISK OF FIRE OR ELECTRIC SHOCK, DO NOT EXPOSE THIS APPLIANCE TO RAIN OR MOISTURE. CAUTION To reduce the risk of electrical shocks, fire, etc.: 1. Do not remove screws, covers or cabinet. 2. Do not expose this appliance to rain or moisture. Caution ÐÐ POWER switch! Disconnect the mains plug to shut the power off completely. The POWER switch in any position does not disconnect the mains line. The power can be remote controlled. For U.S.A.This equipment has been tested and found to comply with the limits for a Class B digital device, pursuant to part 15 of the FCC Rules. These limits are designed to provide reasonable protection against harmful interference in a residential installation. This equipment generates, uses and can radiate radio frequency energy and, if not installed and used in accordance with the instructions, may cause harmful interference to radio communications. However, there is no guarantee that interference will not occur in a particular installation. If this equipment does cause harmful interference to radio or television reception, which can be determined by turning the equipment off and on, the user is encouraged to try to correct the interference by one or more of the following measures: Reorient or relocate the receiving antenna. Increase the separation between the equipment and receiver. Connect the equipment into an outlet on a circuit different from that to which the receiver is connected. Consult the dealer or an experienced radio/TV technician for help. RX-7000V[J]Safety/f00.1.12, 11:11 AM 1

Page 2

1 Table of Contents Using the DSP Modes ................................ 21 Available DSP Modes According to the Speaker Arrangement .. 23 Adjusting the 3D-PHONIC Modes .......................................... 24 Adjusting the DAP Modes ....................................................... 24 Adjusting the Surround Modes ................................................ 25 Activating the DSP Modes ....................................................... 27 Using the DVD MULTI Playback Mode .......... 29 Activating the DVD MULTI Playback Mode .......................... 29 Using the On-Screen Menus ........................ 30 Selecting the Source to Play ..................................................... 30 Selecting Different Sources for Picture and Sound .................. 30 Activating the DSP Modes ....................................................... 30 Selecting the Analog or Digital Input Mode.............................. 30 Adjusting the Front Speaker Output Balance ........................... 31 Reinforcing the Bass ................................................................ 31 Attenuating the Input Signal .................................................... 31 Adjusting the Subwoofer Output Level .................................... 31 Adjusting the DSP Modes ........................................................ 31 Adjusting the DVD MULTI Playback Mode ........................... 32 Selecting Your Favorite SEA Mode ......................................... 32 Creating Your Own SEA Mode ................................................ 32 Setting the Basic Setting Items ................................................ 33 Operating the Tuner .................................................................. 33 Storing the Preset Stations ....................................................... 34 Assigning Names to Preset Stations ......................................... 34 COMPU LINK Remote Control System ......... 35 TEXT COMPU LINK Remote Control System .. 36 7 Showing the Disc Information on the TV Screen ................. 37 7 Searching for a Disc (Only for the CD player) .................... 38 7 Entering the Disc Information .............................................. 39 AV COMPU LINK Remote Control System .... 41 Operating JVCÕs Audio/Video Components ... 43 Operating Audio Components .................................................. 43 Operating Video Components .................................................. 45 Operating Other ManufacturersÕ Video Equipment ............................................ 46 Troubleshooting ......................................... 48 Specifications ............................................ 49 Parts Identification ...................................... 2 Getting Started ........................................... 3 Before Installation ...................................................................... 3 Checking the Supplied Accessories ........................................... 3 Connecting the FM and AM Antennas ....................................... 3 Connecting the Speakers ............................................................ 4 Connecting Audio/Video Components ....................................... 5 Connecting the Power Cord ....................................................... 9 Putting Batteries in the Remote Control .................................... 9 Basic Operations ....................................... 10 Turning the Power On and Off (Standby) ................................ 10 Selecting the Source to Play ..................................................... 10 Adjusting the Volume ............................................................... 11 Selecting the Front Speakers .................................................... 11 Muting the Sound ..................................................................... 12 Reinforcing the Bass ................................................................ 12 Attenuating the Input Signal .................................................... 12 Adjusting the Subwoofer Output Level .................................... 12 Basic Settings ........................................... 13 Recording a Source .................................................................. 13 Adjusting the Front Speaker Output Balance ........................... 13 Changing the Source Name ...................................................... 13 Setting the Subwoofer Information .......................................... 14 Setting the Speakers for the DSP Modes ................................. 14 Digital Input (DIGITAL IN) Terminal Setting ......................... 16 Selecting the Analog or Digital Input Mode ............................ 16 Showing the Text Information on the Display ......................... 17 Storing the Basic Settings and Adjustments Ñ One Touch Operation ........................................................................... 17 Using the Sleep Timer .............................................................. 17 Receiving Radio Broadcasts ........................ 18 Tuning in Stations Manually .................................................... 18 Using Preset Tuning ................................................................. 18 Selecting the FM Reception Mode ........................................... 19 Assigning Names to Preset Stations ......................................... 19 Using the SEA Modes ................................ 20 Selecting Your Favorite SEA Mode........................................... 20 Creating Your Own SEA Mode ................................................ 20 EN01-09.RX-7000V[J]/f00.1.12, 11:36 AM 1

Page 8

7 RIGHT VIDEO VIDEO S-VIDEO RIGHT LEFT AUDIO MONITOR OUT VCR IN (PLAY) OUT (REC) TV SOUND /DBS DV D TV and/or DBS tuner When connecting the TV, DO NOT connect the TVÕs video output to these video input terminals. Connect the TV to the MONITOR OUT jack to view the playback picture from the other connected video components. TV To S-video input To composite video input To audio output DBS RIGHT VIDEO VIDEO S-VIDEO RIGHT LEFT AUDIO IN (PLAY) OUT (REC) IN(PLAY) OUT (REC) TV SOUND /DBS DVD VCR 2 DBS tuner To audio output To composite video output To S-video output Note: When connecting the DBS tuner to the TV SOUND/DBS jacks, change the source name, which will be shown on the display when selected as the source, to ÒDBS.Ó See page 13 for details. To center channel audio output õTo subwoofer audio output -To S-video output ëTo front left/right channel audio output äTo rear left/right channel audio output ìTo composite video output VIDEO VIDEO S-VIDEO RIGHT LEFT AUDIO VCR IN (PLAY) OUT (REC) TV SOUND /DBS DV D DVD DV D CENTER SUB WOOFER A E D B C F DVD player DVD player ¥ When you connect the DVD player with stereo output jacks: DVD player To front left/right channel audio output (or to audio mixed output if necessary) õTo S-video output -To composite video output DVD VIDEO VIDEO S-VIDEO RIGHT LEFT AUDIO DV D A B C ¥ When you connect the DVD player with its analog discrete output (5.1 CH reproduction) jacks: EN01-09.RX-7000V[J]/f00.1.12, 11:37 AM 7

Page 33

32 6. Press % / Þ to move to the item you want to set or adjust, then press @ / #. On this adjustment menu, you can do the following: ÒCENTER LEVELÓ: Adjust the center speaker output level. ÒREAR L LEVELÓ: Adjust the left rear speaker output level. ÒREAR R LEVELÓ: Adjust the right rear speaker output level. 7. When you finish, press EXIT repeatedly until the menu disappears from the TV. Selecting Your Favorite SEA Mode (Also see page 20) 1. Press MENU. The MAIN MENU appears on the TV. ¥ Pressing one of the % / Þ / @ / # buttons also displays the MAIN MENU. 2. Press % / Þ to move to ÒSOUND CONTROL,Ó then press @ / #. The SOUND CONTROL menu appears. 3. Press % / Þ to move to ÒSEA,Ó then press @ / #. The SEA menu appears. 4. Press % / Þ to move to ÒSEA MODE.Ó 5. Press @ / # to select the SEA mode you want. 6. When you finish, press EXIT repeatedly until the menu disappears from the TV. Creating Your Own SEA Mode (Also see page 20) 1. Press MENU. The MAIN MENU appears on the TV. ¥ Pressing one of the % / Þ / @ / # buttons also displays the MAIN MENU. 2. Press % / Þ to move to ÒSOUND CONTROL,Ó then press @ / #. The SOUND CONTROL menu appears. 3. Press % / Þ to move to ÒSEA,Ó then press @ / #. The SEA menu appears. For DAP (LIVE CLUB, DANCE CLUB, HALL, PAVILION) : ÒREAR L LEVELÓ: Adjust the left rear speaker output level. * ÒREAR R LEVELÓ: Adjust the right rear speaker output level. * ÒDSP EFFECTÓ: Select the effect level. For Dolby Pro Logic: ÒTEST TONEÓ: Output a test tone. ÒCENTER LEVELÓ: Adjust the center speaker output level. ** ÒREAR L LEVELÓ: Adjust the left rear speaker output level. * ÒREAR R LEVELÓ: Adjust the right rear speaker output level. * For Dolby Digital and DTS Digital Surround: ÒTEST TONEÓ: Output a test tone. ÒCENTER LEVELÓ: Adjust the center speaker output level. ** ÒREAR L LEVELÓ: Adjust the left rear speaker output level. * ÒREAR R LEVELÓ: Adjust the right rear speaker output level. * For JVC Theater Surround: ÒTEST TONEÓ: Output a test tone. ÒCENTER LEVELÓ: Adjust the center speaker output level. ** ÒREAR L LEVELÓ: Adjust the left rear speaker output level. * ÒREAR R LEVELÓ: Adjust the right rear speaker output level. * ÒDSP EFFECTÓ: Select the effect level. Notes: *Not displayed when ÒREAR SPKÓ is set to ÒNONEÓ (see page 14). **Not displayed when ÒCENTER SPKÓ is set to ÒNONEÓ (see page 14). 7. When you finish, press EXIT repeatedly until the menu disappears from the TV. Adjusting the DVD MULTI Playback Mode (Also see page 29) 1. Press MENU. The MAIN MENU appears on the TV. ¥ Pressing one of the % / Þ / @ / # buttons also displays the MAIN MENU. 2. Press % / Þ to move to ÒSOURCE.Ó 3. Press @ / # to select ÒDVD MULTI.Ó 4. Press % / Þ to move to ÒSOUND CONTROL,Ó then press @ / #. The SOUND CONTROL menu appears. 5. Press % / Þ to move to ÒSURROUND LEVEL,Ó then press @ / #. The SURROUND LEVEL menu appears. EN30_40.RX-7000V[J]/f00.1.12, 11:58 AM 32