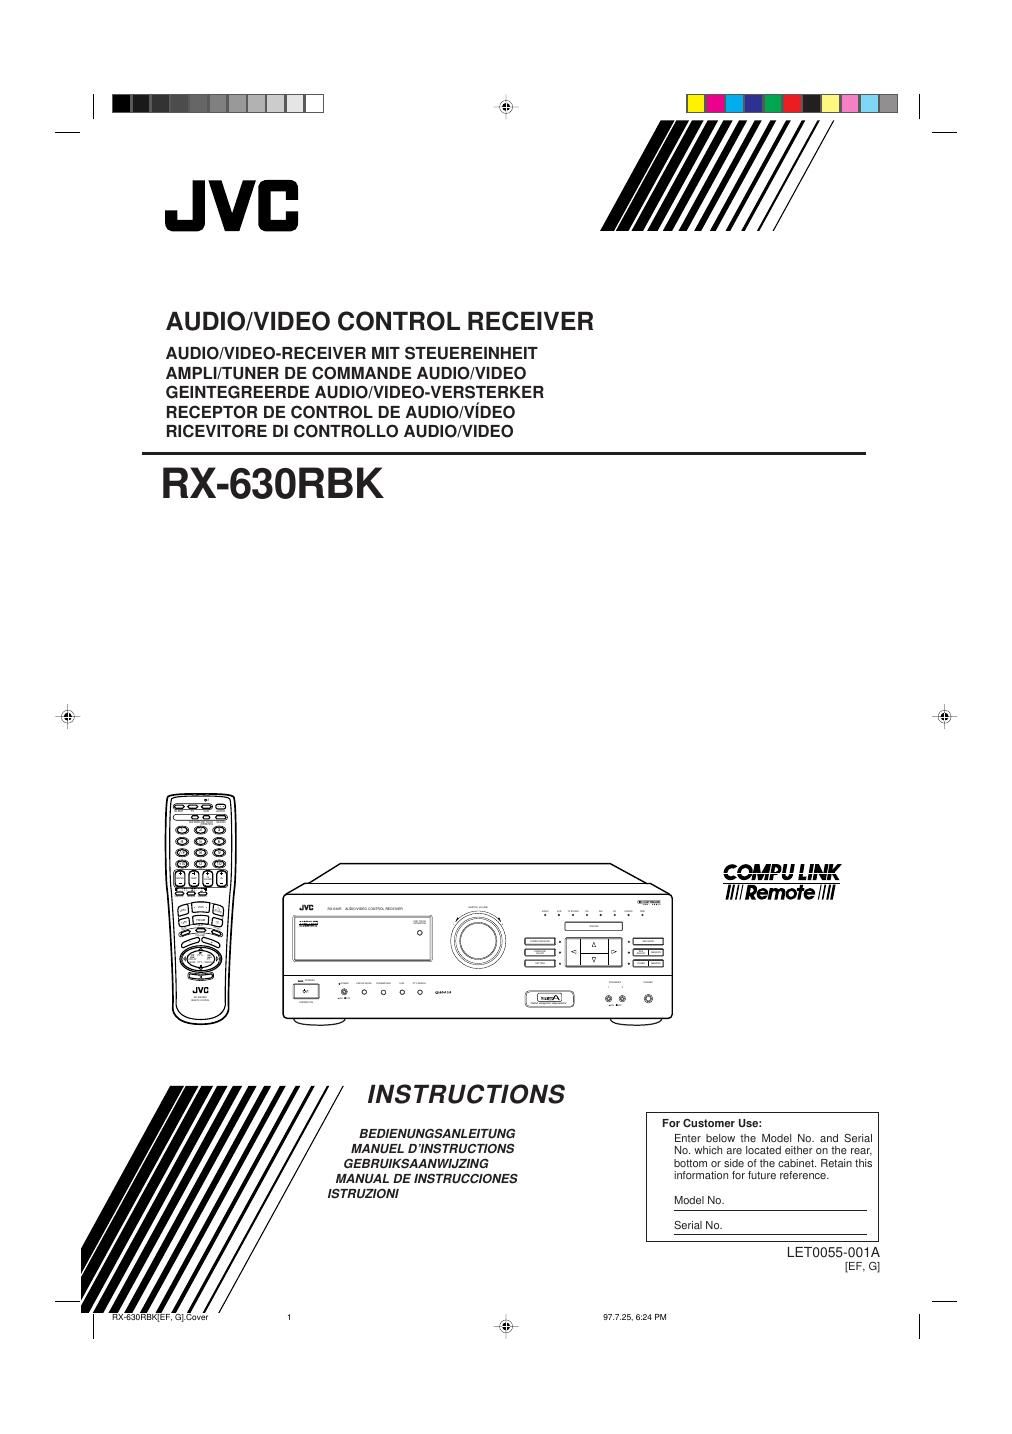
Jvc RX 630 RBK Owners Manual

This is the 46 pages manual for Jvc RX 630 RBK Owners Manual.
Read or download the pdf for free. If you want to contribute, please mail your pdfs to info@audioservicemanuals.com.

Page: 1 / 46
left right
Jvc RX 630 RBK Owners Manual

Extracted text from Jvc RX 630 RBK Owners Manual (Ocr-read)


Page 1

(-51

BITE]-

.JVI: //

AUDIO/VIDEO CONTROL RECEIVER

AUDIO/VIDEO-RECEIVER MIT STEUEREINHEIT
AMPLI/TUNER DE COMMANDE AUDIO/VIDEO
GEINTEGREERDE AUDIO/VIDEO-VERSTERKER
RECEPTOR DE CONTROL DE AUDIO/ViDEO
RICEVITORE DI CONTROLLO AUDIO/VIDEO

RX-630RBK

ffillbll I ll",
\onnr v Llll

Ill/Remofe/III

For Customer Use:
BEDIENUNGSANLEITUNG Enter beiow the Model No. and Serial
MANUEL DINSTRUCTIONS No. which are located either on the rear,
GEBRUIKSAANWIJZING bottom or side of the cabinet. Retain this
MANUAL DE INSTRUCCIONES information for future reference.
ISTRUZIONI Model No.
Serial No.
LET0055-001A
[EF, G]
I

RXVGSDRBKEF, G].Cover 97.7.25, 6 24 PM

Page 2

/\

\r/

t

a?)

,

Warnings, Cautions and Others/Warnung, Achtung und sonstige Hinweise/
Mises en garde, précautions et indications diverses/Waarschuwingen,
voorzorgen en andere mededelingen/Avisos, precauciones y otras notas/
Avvertenze e precauzioni da osservare

G-1

FIXVGBORBMEF, eye Pages I

IMPORTANT for the UK.

DO NOT cut off the mains plug from this equipment. If the plug
fitted is not suitable for the power points in your home or the cable
is too short to reach a power point, then obtain an appropriate
safety approved extension lead or consult your dealer.

BE SURE to replace the fuse only with an identical approved type,
as originally fitted.

If nonetheless the mains plug is cut off ensure to remove the fuse
and dispose of the plug immediately, to avoid a possible shock
hazard by inadvertent connection to the mains supply.

If this product is not supplied fitted with a mains plug then follow
the instructions given below:

IMPORTANT.
DO NOT make any connection to the terminal which is marked with
the letter E or by the safety earth symbol or coloured green or
green-and-yellow.
The wires in the mains lead on this product are coloured in
accordance with the following code:

Blue : Neutral

Brown : Live
As these colours may not correspond with the coloured markings
identifying the terminals in your plug proceed as follows:
The wire which is coloured blue must be connected to the terminal
which is marked with the letter N or coloured black.

The wire which is coloured brown must be connected to the
terminal which is marked with the letter L or coloured red.

IF IN DOUBT - CONSULT A COMPETENT ELECTRICIAN.

Per lltalia:

Si dichiara che i| questo prodotto di marca JVC é conforme
alle prescrizioni del Decreto Ministeriale n.548 del 28/08/95
pubblicato sulla Gazzetta Ufficiale della Repubblica ltaliana
n.301 del 28/12/95."

97.7.25. 6:32 PM

Page 24

t

5?)

,

Receiving Radio Broadcasts

You can browse through all the stations or use the preset function to go immediately to a particular station.

Tuning in Stations Manually

0n the front panel only:

1. Press TUNER so that the Control A / V / < /l> buttons work for tuner settings.
The lamp next to the button lights up.

2. Press Control A / V until appears on the display.

3. Press Control 4 / D to select the band.
Each time you press the button, the band alternates between FM and AM (MW/LW).

4. Press Control A / V until -TUNING+ appears on the display.
5. Press Control 4 / D until you find the frequency you want.

- Pressing Control <1 decreases the frequency.
' Pressing Control l> increases the frequency.

A Notes:
4 l> - When you holddown Control <1/l> in step 5, thefrequency keeps changing untilyoupress the button again
V or a station is timed in.

- When a station ofsuf/icient signal strength is tuned in, the TUNED indicator lights up on the display.
:l ti When an FM stereo program is received, the STEREO indicator also lights up.

Front panel

Using Preset Tuning

Once a station is assigned to a channel number, the station can be quickly tuned. You can preset up to 40
stations at random.

Storing the preset stations

On the front panel only:

1. Tune in the station you want to preset (see above).
If you want to store the FM reception mode for this station, select the FM reception mode you want.
See page 20 for details.

2. Press MEMORY (next to the TUNER button).
CH7 appears and the channel number position starts flashing on the display for about 5 seconds.

3. Press Control A / V to select a channel number while the channel number position is flashing.
- Pressing Control A increa s the number.
- Pressing Control V decreases the number.

Note:
You can use the 10 keys on the remote control to select the preset number. When using the 10 keys, he sure
that they are activatedfor tuner, notfor the CD and others. (See page 36.)

4. Press MEMORY (next to the TUNER button) again while the selected channel number is
flashing on the display.
The selected channel number stops flashing.
The station is assigned to the selected channel number.

s1 I
7?:

5. Repeat steps 1 to 4 until you store all the stations you want.

Front panel

To cancel a stored preset station
Storing a new station on a used number erases the previously stored one.

Page 19

HXVGBORBMEHDOSSVOOIA.En.01727 19 97.7.25, 5:24 PM

Page 26

l -l:l:|:l:|:|

,

5?)

4

Assigning Names to Preset Stations

You can assign a name ofup to five characters to each preset station (from preset channel number 1 to 20).
When a preset station is tuned in, its assigned name will appear on the display.

0n the front panel only:

1. Tune in a preset station (preset channel number 1 to 20).
See page 20 for details.

2. Press MEMORY (next to the TUNER button). \ 7 I
The preset channel number starts flashing. >

Note: ? E
[f you press Comm! A / V while the preset -- - - - -=
Channel number isflashirrg, you can change the 5 5

mu Ix sax
preset channel number.
3. Press Control l> (or <) until the first character
position starts flashing. I
CH I
E -h - - - _
E E '
m .x mi
4. Press Control A / V to select a character. \A.
You can use the characters listed below. I < I. h
CH- I '7\_ _ _ _

w wk
A;
T/ A 5. When a character you want appears, press _
Controll> (or <). I L I
< > The next (or previous) character position starts I I 74_(. _ _ _

V flashing.

6. Repeat steps 4 and 5 to enter up to five characters.


35: l 7. Press MEMORY (next to the TUNER button) again, while the last selected character is
m # flashing. after you have assigned a name.
To erase the input characters
Front panel Insert blanks using the same procedure described above.
Available characters
Blank
l'lAlBICIDlElFIGIHl IIJ IKILIMINIOI-l
L>lP|0|RlSITIUIVIWIXIY|2l0|1l2|3l4|-|
Lam-nu
Page 21
HXVGBORBMEHDOSSVOOIA.En.01727 21 97125.5:24 PM