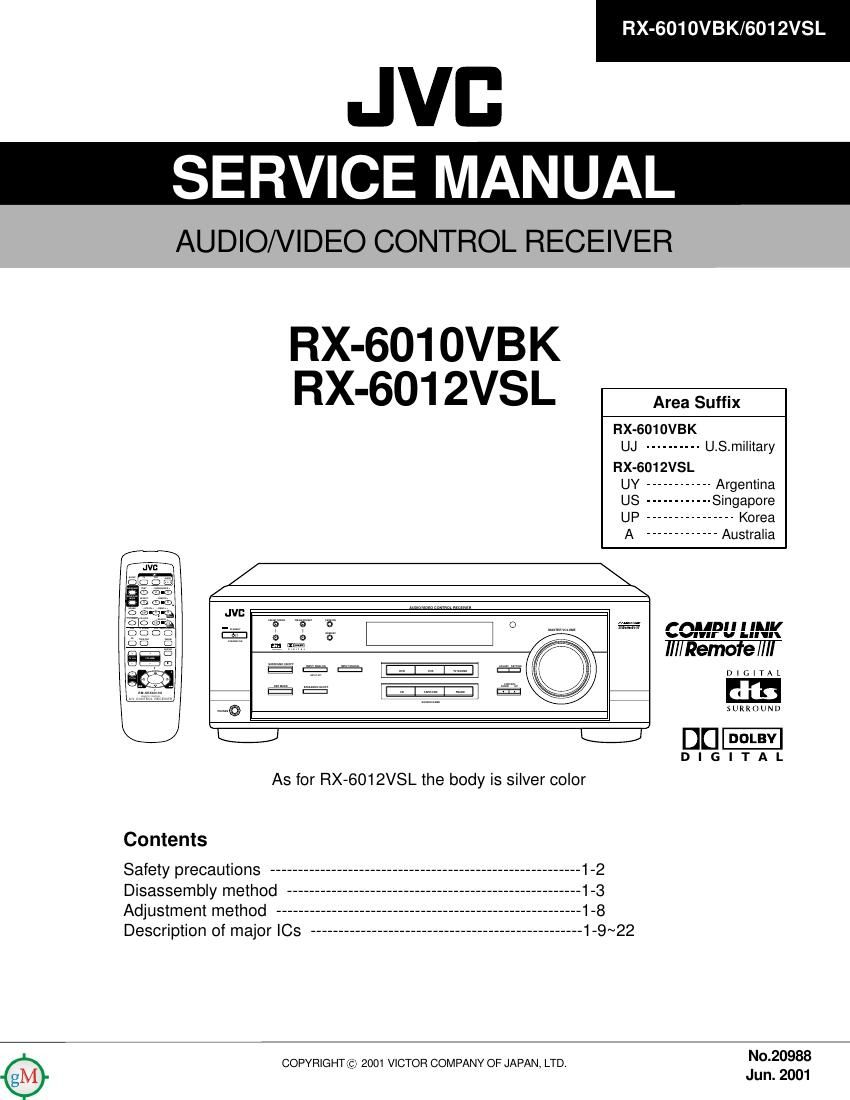
Jvc RX 6010 VBK Service Manual

This is the 91 pages manual for Jvc RX 6010 VBK Service Manual.
Read or download the pdf for free. If you want to contribute, please mail your pdfs to info@audioservicemanuals.com.

Page: 1 / 91
left right
Jvc RX 6010 VBK Service Manual

Extracted text from Jvc RX 6010 VBK Service Manual (Ocr-read)


Page 2

http: //getMANUAL . com

RX-6010VBK/ RX-6012VSL

-Safety Precautions

1. This design of this product contains special hardware and many circuits and components specially for safety
purposes. For continued protection, no changes should be made to the original design unless authorized in
writing by the manufacturer. Replacement parts must be identical to those used in the original circuits. Services
should be performed by qualified personnel only.

2. Alterations of the design or circuitry of the product should not be made. Any design alterations of the product
should not be made. Any design alterations or additions will void the manufacturers warranty and will further
relieve the manufacture of responsibility for personal injury or property damage resulting therefrom.

3. Many electrical and mechanical parts in the products have special safety»related characteristics. These
characteristics are often not evident from visual inspection nor can the protection afforded by them necessarily
be obtained by using replacement components rated for higher voltage, wattage, etc. Replacement parts which
have these special safety characteristics are identified in the Parts List of Service Manual. Electrical
components having such features are identified by shading on the schematics and by (/i\) on the Parts List in
the Service Manual. The use of a substitute replacement which does not have the same safety characteristics
as the recommended replacement parts shown in the Parts List of Service Manual may create shock, fire, or
other hazards.

4. The leads in the products are routed and dressed with ties, clamps, tubings, barriers and the like to be
separated from live parts, high temperature parts, moving parts and/or sharp edges for the prevention of
electric shock and fire hazard. When service is required, the original lead routing and dress should be
observed, and it should be confirmed that they have been returned to normal, after re-assembling.

5. Leakage currnet check (Electrical shock hazard testing)

After reassembling the product, always perform an isolation check on the exposed metal parts of the product

(antenna terminals, knobs, metal cabinet, screw heads, headphone jack, control shafts, etc.) to be sure the

product is safe to operate without danger of electrical shock.

Do not use a line isolation transformer during this check.

0 Plug the AC line cord directly into the AC outlet. Using a "Leakage Current Tester", measure the leakage
current from each exposed metal parts of the cabinet, particularly any exposed metal part having a return
path to the chassis, to a known good earth ground. Any leakage current must not exceed 0.5mA AC (r.m.s.).

0 Alternate check method
Plug the AC line cord directly into the AC outlet. Use an AC voltmeter having, 1,000 ohms per volt or more
sensitivity in the following manner. Connect a 1,500 Q10W resistor paralleled by a 0.15M F AC-type capacitor

between an exposed metal part and a known good earth ground. AC VOLTMETER
Measure the AC voltage across the resistor with the AC a (Having1000
voltmeter. ohms/volts, .. .
Move the resistor connection to each exposed metal part, c mow sens""y)
particularly any exposed metal part having a return path to

the chassis, and meausre the AC voltage across the resistor. 015 AC TYPE

Now, reverse the plug in the AC outlet and repeat each -| P'acemis
measurement. Voltage measured any must not exceed 0.75 V WV . :géfieeigosed
AC (r.m.s.). This corresponds to 0.5 mA AC (r.m.s.). 15009 10W metal part.
Good earth ground
-Warning A CAUTION

1.This equipment has been designed and manufactured to meet international safety standards.
2. It is the legal responsibility of the repairer to ensure that these safety standards are maintained.
3. Repairs must be made in accordance with the relevant safety standards.

4. It is essential that safety critical components are replaced by approved parts.

5. If mains voltage selector is provided, check setting for local voltage.

Burrs formed during molding may
be left over on some parts of the
chassis. Therefore, pay attention to
such burrs in the case of
preforming repair of this system.

In regard with component parts appearing on the silk-screen printed side (parts side) of the PWB diagrams, the
parts that are printed over with black such as the resistor (-), diode (h) and ICP (Q) or identified by the "A"
mark nearby are critical for safety.

When replacing them, be sure to use the parts of the same type and rating as specified by the manufacturer.
(Except the JC version)

1-2

Page 67

EN01707RX7601 0&6012[US]J

Digital connections

This receiver is equipped with two DIGITAL IN terminals 7 one
digital coaxial terminal and one digital optical terminal.

You can connect any component to one of the digital terminals using
a digital coaxial cable (not supplied) or digital optical cable (not
supplied).

IMPORTANT:

When connecting the DVD player or digital TV broadcast tuner
using the digital terminal, you also need to connect it to the video
jack on the rear. Without connecting it to the video jack, you can
view no playback picture.

After connecting the components using the DIGITAL IN terminals,

set the following correctly if necessary.

- Set the digital input (DIGITAL IN) terminal setting correctly. For
details, see Digital Input (DIGITAL IN) Terminal Setting" on page
14.

- Select the digital input mode correctly. For details, see Selecting
the Analog or Digital Input Mode" on page 14.

Digital TV
-
E DVD player
:-
I--I
CD player CD recorder
- -
- I:I I:l EEEEI - - l:l I:I EEEEI -
0 ==- - E 0 =5: - E

When the component has a digital
coaxial output terminal, connect it to the
DIGITAL 1 (DVD) terminal, using the
digital coaxial cable (not supplied).


DIGITAL 1
DVD

)

When the component has a digital
optical output terminal, connect it to the
DIGITAL 2 (CD) terminal, using the

digital optical cable (not supplied). nmrmzicu)

Before connecting a digital
optical cable, unplug the

protective plug. IE

DIGITAL IN

Notes:

' When shipped from the factory, the DIG/ML IN terminals have
been set for use with the following components.
- DIG/ML 1 (coaxial):For DVD player
- DIGIWIL 2 (optical): For CD player

' When you want to operate the CD player or CD recorder using the
COMPU LINK remote control system, connect the target
component also as described in "Analog connections" (see page 5).

\l

\.

at

Connecting the Power Cord

Before plugging the receiver into an AC outlet, make sure that all
connections have been made.

Plug the power cord into an AC outlet.

Keep the power cord away front the connecting cables and the
antenna. The power cord may cause noise or screen interference. We
recommend that you use a coaxial cable to connect the antenna,
since it is well~shielded against interference.

Notes:

- The preset settings such as preset channels and sound adjustment
may be erased in a few days in the following cases:

-When you unplug the power cord.

-When a power failure occurs.

It the wall outlet does not match the AC plug, use the supplied AC
plug adaptor

CAUTIONS:

- Do not plug in betore setting the voltage selector switch on the rear
of the unit and all connection procedures are complete.

- Do not touch the power cord with wet hands.

- Do not pull on the power cord to unplug the cord. When unplugging
the cord, always grasp the plug so as not to damage the cord.

Putting Batteries in the Remote 0 ntrol

Before using the remote control. put two supplied batteries first.
When using the remote control, aim the remote control directly at
the remote sensor on the receiver.

1. On the back of the remote control, remove the
battery cover.

2. Insert batteries. Make sure to match the polarity:
(+) to (+) and (-) to (-).

3. Replace the cover.

If the range or effectiveness of the remote control decreases, replace
the batteries. Use two R6P(SUM73)/AA(15F) type dryecell batteries.

CAUTION:

Follow these precautions to avoid leaking or cracking cells:

- Place batteries in the remote control so they match the polarity: (+)
to (+) and (-) to (-).

- Use the correct type of batteries. Batteries that look similar may
differ in voltage.

- Always replace both batteries at the same time.

- Do not expose batteries to heat or Ilame.

00.12.20. 2:21 PM

Page 85

i-:::: as -l

I COMPU LINK Remote Control System

The COMPU LINK remote control system allows you to operate JVC audio components through the remote sensor on
the receiver.

To use this remote control system, you need to connect JVC audio Automatic Power On/fo (Standby): only possible
components through the COMPU LINK (SYNCHRO) jacks (see with the COMPU LINK-3 and COMPU LINK-4
below) in addition to the connections using cables with RCA pin connection

P111345 (see page 5)- Both the CD player and cassette deck (or CD recorder) turn on and
- Make sure that the AC power cords of these components are off (standby) along with the receiver.

unplugged before COmeCiOH- Plug the AC power Ids only after When you turn on the receiver, the CD player or cassette deck (or
all connections are complete. CD recorder) will turn on automatically, depending on which
component has been previously selected.

When you turn off the receiver, both the CD player and cassette

deck (or CD recorder) will turn off (standby).

Cassette deck
or

CD recorder Synchronized Recording

Synchronized recording means the cassette deck starts recording as

cnmruuux-a soon as a CD or a record begins playing.
ixmeunni

To use synchronized recording, follow these steps:

1. Put a tape in the cassette deck and a disc in the

EEC ' CD player
E CD player.

2. Press the record (0) button and the pause (ll)
button on the cassette deck at the same time.

ates: This puts the cassette deck into recording pause.
- There are four versions of COMPU LINK remote control system. If you do not press the record (0) button and pause (II) button at
This receiver l5 equipped With 79 fourth Version - COMPU LWK' the same time, the synchronized recording feature will not

4. This version is added systematic operations with the CD recorder
to the previous version - COMPU LINK-3.

If your audio component has two COMPU LINK jacks, you can use 3. Press the play (>) button on the CD player.
either one. If it has only one COMPU LINK jack, connect it so that it
is the last item in the series of components. (For example, the CD
player in the diagram above.)

- To operate the cassette deck or CD recorder using the COMPU

operate.

The source changes on the receiver, and as soon as play starts.
the cassette deck starts recording. When the play ends, the
cassette deck enters recording pause, and stops about 4 seconds

LINK remote control system, set the source name correctly. men
(See page 11.)
- Refer also to the manuals supplied with your audio components. NOTES:
- During synchronized recording, the selected source cannot be
This remote control system allows you to use four functions listed changed.
below. - II the power of any component is shut off during synchronized
recording, the COMPU LINK remote control system may not
Remote Control throuqh the Remote Sensor on the operate pmperlr- I" W5 case, you must start again from 79
Receiver WWW/"9-

You can control the connected audio components through the remote
sensor on the receiver using this remote control. Aim the remote
control directly at the remote sensor on the receiver. For details. see
pages 26 and 27.

Automatic Source Selection

When you press the play (b) button on a connected component or
on its own remote control, the receiver automatically turns on and
changes the source to the component. On the other hand, if you
select a new source on the receiver or on the remote control, the
selected component begins playing immediately.

In both cases, the previously selected source continues playing
without sound for a few seconds.

25

ENZSrSORXeBOl 0&6012[US]J 25 00.12.20, 2:23 PM