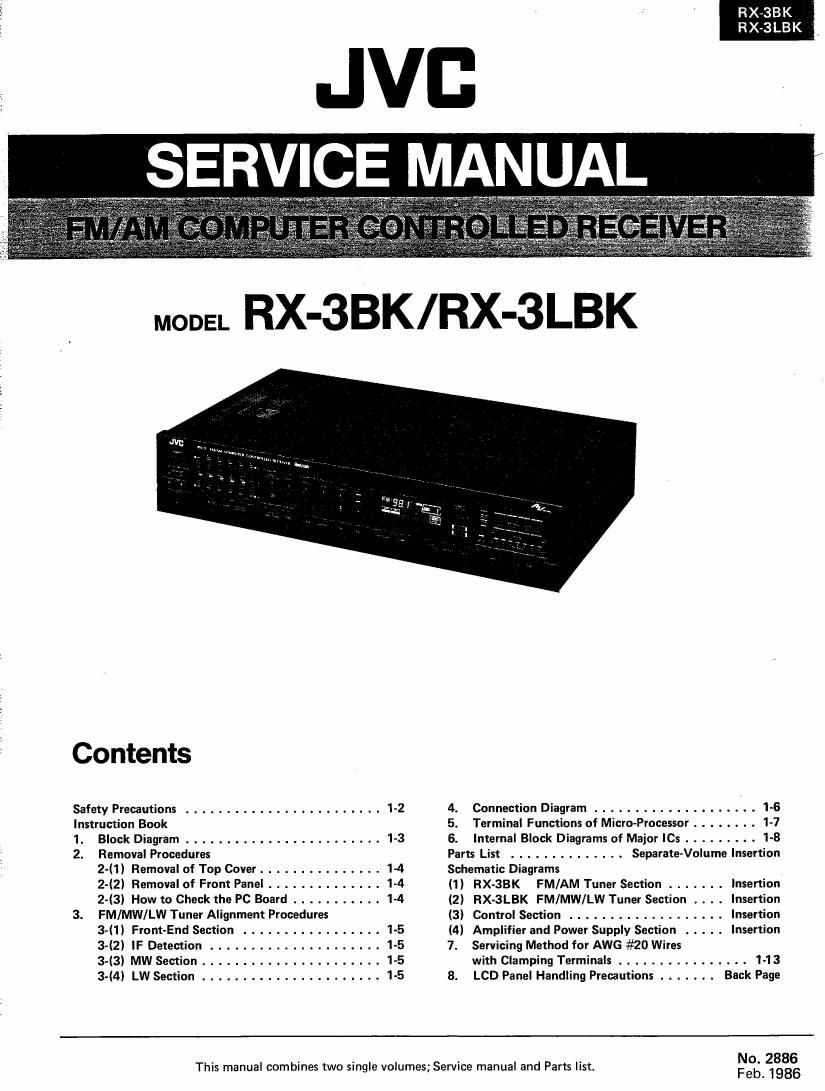
Jvc RX 3 BK Service Manual

This is the 36 pages manual for Jvc RX 3 BK Service Manual.
Read or download the pdf for free. If you want to contribute, please mail your pdfs to info@audioservicemanuals.com.

Page: 1 / 36
left right
Jvc RX 3 BK Service Manual

Extracted text from Jvc RX 3 BK Service Manual (Ocr-read)


Page 1

Contents


Safety Precautions ........................ 1-2 4. Connection Diagram .................... I-G
Instruction Book 5. Terminal Functions of Micro-Processor . . . . . . I-7
1. Block Diagram ........................ 1-3 6. Internal Block Diagrams of Major le ......... 1-8
2. Removal Procedures Parts List .............. Separate-Volume Insertion
2-) Removal of Top Cover ............... 1~4 Schematic Diagrams
2-(2) Removal of Front Panel . . . . ......... 1-4 (1) FIX-33K FM/AM Tuner Section ....... Insertion
2-(3) HOW to Check the PC Board ----------- 1-4 (2) RX-3LBK FM/MW/LW Tuner Section . . . . Insertion
3. FM/MW/LW Tuner Alignment Procedures (3) Control Section ................... Insertion
3-(1) Front-End Section ................. 1-5 (4) Amplifier and Power Supply Section ..... Insertion
3-(2) IF Detection ................... 1-5 7. Servicing Method for AWG #20 Wires
3-(3) MW Section .................... 1-5 with Clamping Terminals ................ 1-1 3
3-(4) LW Section ...................... 1-5 8. LCD Panel Handling Precautions ....... Back Page
No. 2886

This manual combines two sin le volumes; Service manual and Parts list.
9 Feb. 1986

Page 2

HX-3BK
. I RX-3LBK

Safety Precautions

1. The design of this product contains special hardware,

many circuits and components specially for safety pur-
poses.

For continued protection, no changes should be made
to the original design unless authorized in writing by
the manufacturer. Flaplacement parts must be identical
to thoe used in the original circuits. Service should be
performed by qualified personnel only.

. Alterations of the design or circuitry of the product
should not be made. Any design alterations or additions
will void the manufacturer's warranty and will further
relieve the manufacturer of responsibility for personal
injury or property damage resulting therefrom.

. Many electrical and mechanical parts in the product
have special safety-related characteristics. These charao
teristics are often not evident from visual inspection
nor can the protection afforded by them necessarily
be obtained by using replacement components rated for
higher voltage, wattage, etc. Replacement parts which
have these special safety characteristics are identified in
the parts list of Service manual. Electrical components
having such features are identified by shading on the
schematics and by ( A ) on the parts list in Service
manual. The use of a substitute replacement which does
not have the same safety characteristics as the recom-
mended replacement part shown in the parts list in
Service manual may create shock, fire, or other hazards.

. The leads in the products are routed and dressed with
ties, clamps, tubings, barriers and/or the like to be
separated from live parts, high temperature parts, mov-
ing parts and/or sharp edges for the prevention of
electric shock and fire hazard.

When service is required, the original lead routing and
dress should be observed, and they should be confirmed
to be returned to normal, after reassembling.

5. Leakage current check

(Safety for electrical shock hazard)

After re-assembling the product, always perform an

isolation check on the exposed metal parts of the

product (antenna terminals, knobs, metal cabinet,

screw heads, headphone jack, control shafts, etc.) to be

sure the product is safe to operate without danger of

electrical shock.

Do not use a line isolation transformer during this check.

0 Plug the AC line cord directly into the AC outlet.
Using a Leakage Current Tester", measure the
leakage current from each exposed metal part of the
cabinet, particularly any exposed metal part having a
return path to the chassis, to a known good ground.
Any leakage current must not exceed 0.5 mA AC
(r.m.s.).

0 Alternate check method
Plug the AC line cord directly into the AC outlet.
Use an AC voltmeter having 1,000 ohms per volt
or more sensitivity in the following manner. Con-
nect a 15009 10W resistor paralleled by a 0.15 uF
AC-type capacitor between an exposed metal part
and a known good ground.
Measure the AC voltage across the resistor with the
AC voltmeter.
Move the resistor connection to each exposed metal
part, particularly any exposed metal part having a
return path to the chassis, and measure the AC
voltage across the resistor. Now, reverse the plug in
the AC outlet and repeat each measurement. Any
voltage measured must not exceed 0.75 V AC (r.m.s.).
This corresponds to 0.5 mA AC (r.m.s.).

AC VOLTMETER
@ (Having 1000 ohms/volt,
or more sensitivity.)

c

0.15pr Ac TYPE
)-

Place this probe
1565; low on each exposed
metal part.

Good Ground

CHECKING YOUR LINE VOLTAGE Except for U.S.A., Canada, Australia, U.K. and Continental Europe.)
Before inserting the power plug, please check this setting to see that it corresponds with the line voltage in
your area. If it doesnt, be sure to adjust the voltage selector switch to the proper setting before operating this
equipment. The voltage selector switch is located on the bottom board.

CAUTION Before selecting the "Voltage selector switch" to proper voltage disconnect the power plug.

1-2 (No. 2886)

Page 29

5. Terminal Functions of Micro-Processor

IC4fll:LC5813fl-221
I

I I
IPin No.I Syubol I Name Il/OI Terminal Function
l I l I I
I 1 | PM I M I 0 Illey output
I 2 I TEST 1 l TEST 1 I- --Illot use.
I 3 l TEST 2 I TEST 2 I- --|llot use.
I 4 I 81 I 81 I I [Port for key input;Conpose the key matrix with lib-M.
I 5 I 82 I 82 I l IPort for key input:Co-pose the key Iatrix with ilk-M.
| 6 I 83 I 53 I l IPort for key input;Coupose the key matrix with lll~ll4.
I 7 I 54 I Illll I l IBack-up detection |
I I I I I - I
I 8 I N1 I MUTE I 0 Ilihen Huting 0N ,output is 'll'. I
I 9 I N2 I llOllO I 0 IHhen llONO .output is 'll'. I
I It | N3 I can I o IDisplay input of cnv |
I 11 I N4 | POHER I o IHhen rowan on .output is 'L. I
I 12 I S104 I STIlll I 0 IConnect the STRO of 17000. I
I 13 I 8103 I CLll I 0 IConnect the CH of LH7UUUN. I
I 14 | 5102 I um I o IConnect the mm of Lll7llllllll. |
I 15 I 5101 I CE I 0 IConnect the CE of Ll'l7flllllN. I
I I I I I I
I 16 I ALARM I 005 OUT I 0 ILine data output of DCS.(Positive Logic) I
I 17 I T4 I T4 I-- -INot use. |
I 18 I Vss2 I VssZ I- IGND I
I 19 | VLCU I VLCD I---IVoltage reference of LCD. (Light at IN) I
I 2| I van I van I- --I+5v I
I 21 IX'tal Ill IX'tal [ll I---INot use. |
I 22 IX'tal OUTIX'tal 0UTI---INot use. I
I l I I I I
l 23 I CR [N I CR IN I---IConnect the cerelic oscillator. I
I 24 I CR OUT I E OUT I-IConnect the ceralic oscillator. I
I 25 I P1 I E I l ILine data input of DCS.(Neaetive Logic) I
I 26 I P2 I 31' P IN I I IInput of AUTO STOPl I
I 27 I P3 I IGNAL [NI 1 IInput of 'TUNED' display I
I 28 I P4 ISTEREO I I Ilnput of 'STERBO' display I
I
I I . __I_ I I .e j
I 29 I 60112 I 80? I 0 IConon 2 of LCD I
I 30 I TEST I TEST I---Illot use. I
I 31~54 I SEGl~24 I SEGI~24 I 0 ~24 sealants of LCD I
I 55 I COM I M] I 0 ICo-uon l of LCD I
I 56 I RES I ES. I I IInput of RESET I
I 57 I INT I INT I I IInput of Interrupt I
I I |
I 1 I | I I
I 58 I Kl I K1 I I llley input;Conpose the key latrix with H1414. I
I 59 I K2 I K2 I I Illey input;Conpose the key Iatrix with lll~lt4. I
I 60 I K3 I K3 | I IKey input;Co-pose the key Iatrix with lib-H4. I
I 61 I K4 I K4 I I llley input:CoIpose the key Iatrix with H1~H4. I
I 62 I I11 I I11 I o Illey output I
I 63 I H2 I I12 I 0 Illey output I
I 64 I H3 I I13 I 0 Illey output I

Fix-33K
R X-3 LB K

(No. 2886) 1-7