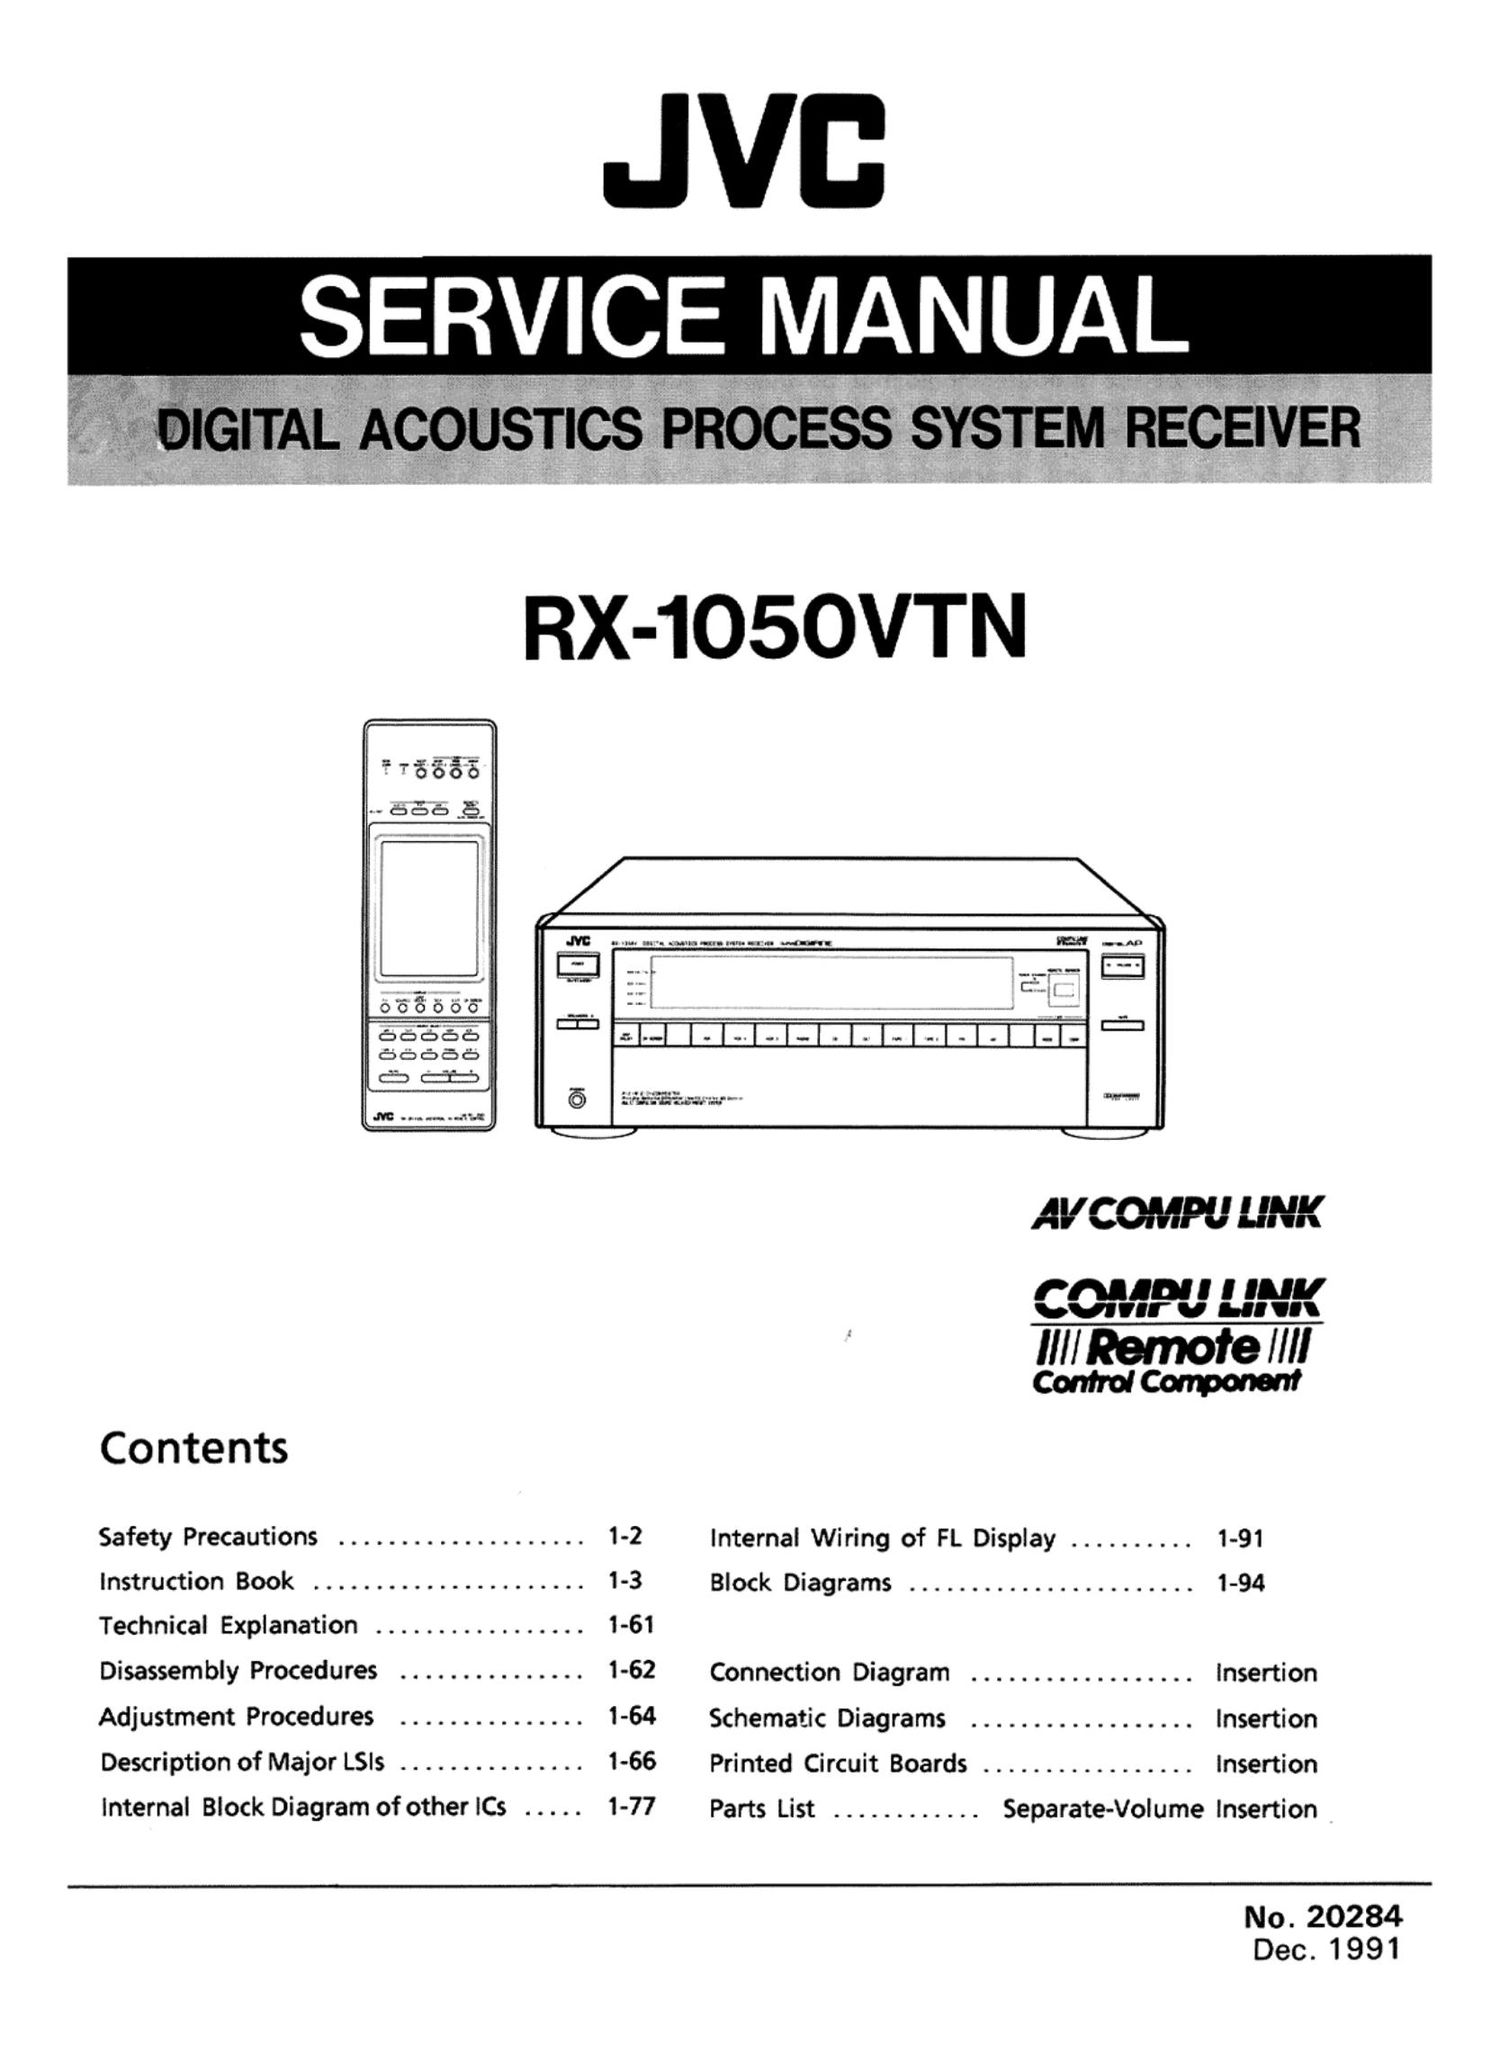
Jvc RX 1050 VTN Service Manual

This is the 100 pages manual for Jvc RX 1050 VTN Service Manual.
Read or download the pdf for free. If you want to contribute, please mail your pdfs to info@audioservicemanuals.com.

Page: 1 / 100
left right
Jvc RX 1050 VTN Service Manual

Extracted text from Jvc RX 1050 VTN Service Manual (Ocr-read)


Page 1

JVC


SEV'CE MANUL

" ITAL ACOUSTICS PROCESS SYSTEM RECEIVER

RX-1050VTN

(MINI I luv
hunt" to flll I\
III! Remote III!
(:ch
Contents
Safety Precautions .................... 1-2 Internal Wiring of FL Display .......... 1-91
Instruction Book ...................... 1-3 Block Diagrams ....................... 1-94
Technical Explanation ................. 1-61
Disassembly Procedures ............... 1-62 Connection Diagram .................. Insertion
Adjustment Procedures ............... 1-64 Schematic Diagrams .................. Insertion
Description of Major LSIs ............... 1-66 Printed Circuit Boards ................. Insertion
Internal Block Diagram of other ICs ..... 1-77 Parts List ............ Separate-Volume Insertion
No.20284

Dec.1991

Page 2

-Safety Precautions

1. The design of this product contains special hardware and many circuits and components
specially for safety purposes. For continued protection, no changes should be made to the
original design unless authorized in writing by the manufacturer. Replacement parts must
be identical to those used in the original circuits. Services should be performed by
qualified personnel only.

2. Alterations of the design or circuitry of the product should not be made. Any design
alterations of the product should not be made. Any design alterations or additions will
void the manufacturer's warranty and will further relieve the manufacture of responsibility
for personal injury or property damage resulting therefrom.

3. Many electrical and mechanical parts in the products have special safety-related
characteristics. These characteristics are often not evident from visual inspection nor can
the protection afforded by them necessarily be obtained by using replacement components;
rated for higher voltage, wattage, etc. Replacement parts which have these special safet'
characteristics are identified in the Parts List of Service Manual. Electrical component 5
having such features are identified by shading on the schematics and by (A) on the Part :5
List in the Service Manual. The use of a substitute repalcement which does not have th .
same safety characteristics as the recommended replacement parts shown in the Parts List of ,
Service Manual may create shock, fire, or other hazards. \

4. The leads in the products are routed and dressed with ties, clamps, tubings, barriers and J
the like to be separated from live parts, high temperature parts, moving parts and/or sharp
edges for the prevention of electric shock and fire hazard. When service is required, the
original lead routing and dress should be observed, and it should be confirmed that they
have been returned to normal, after re-assembling.

5. Leakage currnet check (Electrical shock hazard testing)
After re-assembling the product, always perform an isolation check on the exposed metal
parts of the product (antenna terminals, knobs, metal cabinet, screw heads, headphone jack,
contorl shafts, etc.) to be sure the product is safe to operate without danger of electrical

shock.
Do not use a line isolation transformer during this check.

0 Plug the AC line cord directly into the AC outlet. Using a "Leakage Current Tester",
measure the leakage current from each exposed metal parts of the cabinet, particularly
any exposed metal part having a return path to the chassis, to a known good earth
ground. Any leakage current must not exceed 0.5mA AC (r.m.s.).

0 Alternate check method
Plug the AC line cord directly into the AC outlet. Use an AC voltmeter having, 1,000
ohms per volt or more sensitivity in the following manner. Connect a 1,5000 10 W
resistor paralleled by a 0.15 #F AC-type capacitor between an exposed metal part and a .
known good earth ground.
Measure the AC voltage across the resistor
with the AC voltmeter.
Move the resistor connection to each exposed
metal part, particularly any exposed metal part
having a return path to the chassis, and
meausre the AC voltage across the resistor.
Now, reverse the plug in the AC outlet and
repeat each measurement. Any voltage
measured must not exceed 0.75 VAC (r.m.s.). 1500 low
This corresponds to 0.5 mA AC (r.m.s.). Good eanh ground

AC VOLTMETER
(Having 1000
ohms/volts,

Or more sensitivity.)

.15 ,uF AC TYPE

'-

Place this
probe on
each exposed
metal part.

- Warning

1. This equipment has been designed and manufactured to meet international safety standards.

2. It is the legal responsibility of the repairer to ensure that these safety standards are
maintained.

3. Repairs must be made in accordance with the relevant safety standards.
4. It is essential that safety critical components are replaced by approved parts.
5. If mains voltage selector is provided, check setting for local voltage.

1-2 (No. 20284)

Page 33

Signal Processor b Surround Processor

32

Surround Processor

DAP
OOLBV

Surround sound effects
group

"llc Icntouc Muir

DEED

t luv It-v I'

U
w.
B

C:

-oa.ov--

Digital Acoustics Processor
group

Eiéi

EDD

MR\ D

-- 06" '-

1-32 (No. 20284)

The built-in surround processor enables you to enjoy the 3-dimentional effect experienced in
movie theaters and the acoustics of concert hall in your own home.

To obtain the effect of the surround processor. press the DAP DOLBY button.

Selecting a Program

The surround processor provides two groups of programs.

The programs in the surround sound effects group replicate the sound experienced in movie
theater when video movies are played.

Press the desired program button

PRO LOGIC: Select this program when you play a source marked [Drain-FINE

3C}! LOGIC: Select this program when you play a source marked m@ and rear
speakers are not available.

THEATER: Select this program to play a source marked [Effie-awn} with its sound
spreading wider and deeper behind you. Feel of depth increases in four steps

at each press of the button.

The programs in the digital acoustics processor (DAP) group bring you the effect of a live
performance. as in a concert hall. when for example. listening to audio sources.

Press the MODE button on the receiver to select one of the six programs.
Each time you press the button. the program changes as follows.

SYMPHONY HALL" (SYMPHONY) F "PAVILION V STADIUM F
LIVE CLUB >CHURCH"> OPERA HOUSE > back to the beginning

SYMPHONY HALL": A shoe-box type hall accommodating an audience of 2.200 in the
Netherlands. This type of hall features fine acoustics.

PAVILION: An octagonal pavilion with a high ceiling in japan.

STADIUM: A stadium accommodating about 30.000 peaple. Such stadiums are
used for football and ball games as well as rock concerts.

LIVE CLUB: A club for live music with a low ceiling in Japan. Such clubs are
often used for jazz performances.

CHURCH: A cathedral with a 40-meter-high ceiling in Germany. This cathedral

has the special acoustics peculiar to stone buildings.

OPERA HOUSE: This hall is in Austria. It has a high roof and many layers of seats.

Note: The effect of a program in the digital acoustics processor group can be reflected in
recording. For details, see page 29.

Page 61

Others D Troubleshoothing

Troubleshooting

Problem

Possible Cause

Solutions

Receiver does not play;Display
window does not light up.

Power cord not plugged in

Plug Power cord into AC outlet.

No sound from the speakers.

Speaker wires not connected properly.

Check speaker wiring.
Reconnect if needed.

SPEAKERS buttons not set correctly.

Press the SPEAKERS buttons in or out
as desired.

Sound from one speaker only.

Speaker wires not connected properly.

Check speaker wiring.
Reconnect if needed.

Balance control may be set to one
extreme.

Adjust Balance control so both speakers
have sound.

Continuous hiss or buzzing
during FM reception.

Incoming signal may be too weak.

Adjust antenna.
Station may be too far away to receive.

Incorrect antenna used.

Check with your dealer to make sure you
are using the correct type of antenna.

Antenna not connected properly.

Make sure all antennas are properly
connected.

Occasional cracking noise
during FM reception.

Ignition noise from automobiles.

Move the antenna further away from the
road.

Howling during record playing.

Turntable too close to a speaker.

Move speakers away from the turntable.

No picture appears.

TV not connected properly.

Cheek TV connections.
Reconnect if needed.

The Remote Controller cannot
be operated.

1-60 (No. 20284)

There is an obstruction blocking

the REMOTE SENSOR on the receiver.

Remove the obstruction.

The batteries of the Remote
Controller are weak.

JVC

VICTORWOJW.LWED

Replace the battreries.

0 Printed in Japan
ll9lSNlS42TD

Page 74

I LC7218 (IC102) : PLL Synthesizer

1. The main function descriptions
(1) It makes the local oscillation frequency by the control data from IC102.
(2) Decode the control signal and transmit the signal for receiving conditions.
(3) For the best tuning. count the internal-frequency and transmit the data to IC102.

2. Terminal Layout 3. Block Diagram

X Out I' -------------------------------------------------- l
l <- "t5
I


Vss
P02

P01 1
Von
FM-OSC
WC
IF Reg
FM IF
Mil-W.


Reference
Driver

Phase DetectOr
Charge Pump

1
2
3
4
5
5
7
8
9


Swallow Counter
1116,1/17 abits

~1-

OUT4

2bit Programmabl
Divider

Universal
Counter


Shift Register & Latch

4. Pin Functions

Pin No. 1 SymbolflI/OJ Function
1, 24 Xin, Xout 110 Crystal oscillator (7.2MHz).
2 CE Plfi Fix the chip enable to H when inputting(Dl) and outputting (DC) the serialdata.
3 ; DI l TReceive the control data from the controller (IC421). I
4 i CK I This clock is used to synchronize data when transmitting the data of DI and DO. .
5 DO 0 Transmit the data from LC7218 to the controller which is synchronized with CK.
6 ] svc - Not use I
7 Tuned in l Receive the tuned signal from IC104(LA1266A).
8 Stop in I Not use
9 POWER - Not use
10 QSC :- Not use
11 MONO - MONO
12 FM 0 It is 'L" on FM mode.
13 MW 0 It is "L' on AM mode.
14 LW - Not use
15 AM-IF I Universal counter input for AM-IF from IC104(LA1266A).
16 FM-IF I Universal counter input for FM-IF from IC104(LA1266A).
17 IF REQ O Outputthe "IF-signal request" to IC104 when the pin-7 (tuned in) goes to H".
18 AM osc I Input the local oscillator signal of AM. '
19 FM osc I Input the local oscillator signal of FM.
20 V00 - This is a terminal of power supply.
PLL charge pump output: When the local oscillator signal frequency is higher than
21 p01 0 the reference frequency. high level signals will output. . _
When it IS lower than the reference frequency. low level signals wull output. When
it is same as reference frequency signals, it will be floating.
22 PDZ 0 Not use
23 V55 - GND

(No. 20284) 1-73