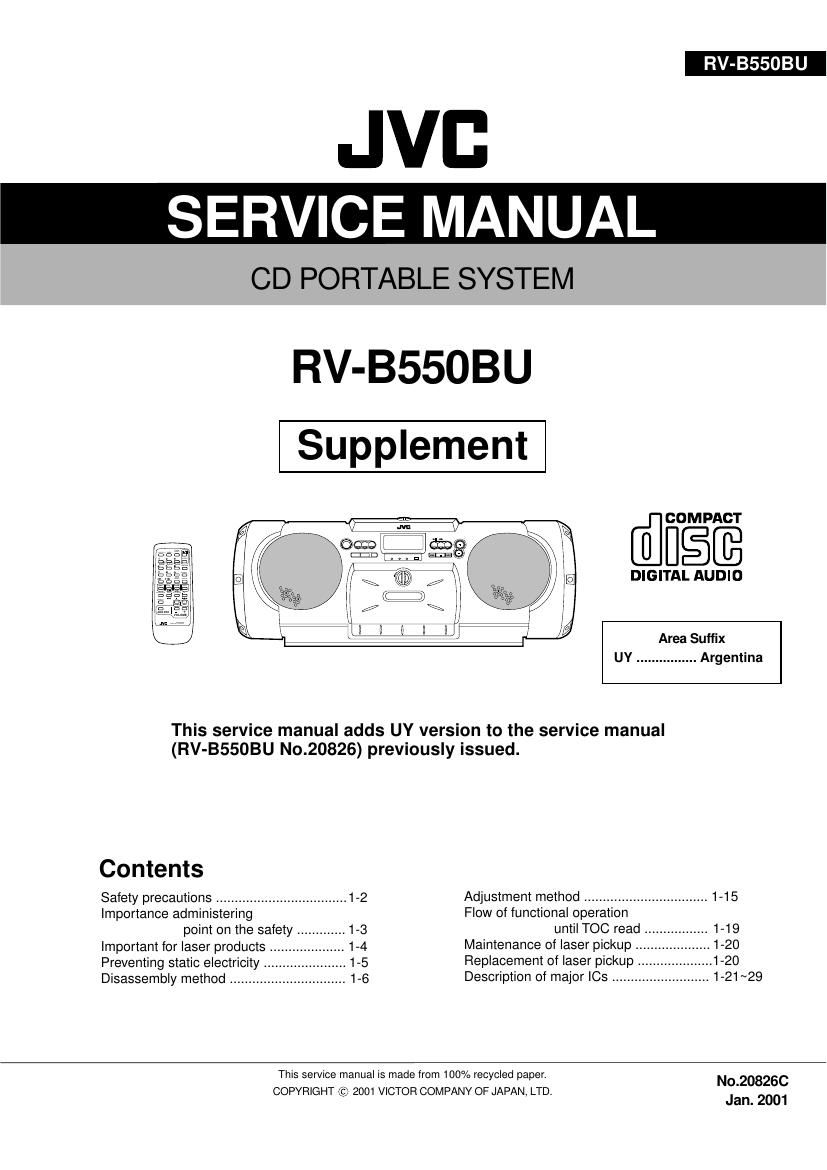
Jvc RVB 550 Service Manual

This is the 93 pages manual for Jvc RVB 550 Service Manual.
Read or download the pdf for free. If you want to contribute, please mail your pdfs to info@audioservicemanuals.com.

Page: 1 / 93
left right
Jvc RVB 550 Service Manual

Extracted text from Jvc RVB 550 Service Manual (Ocr-read)


Page 1

RV-B550BU 1-2 Safety precautions 1. This design of this product contains special hardware and many circuits and components specially for safety purposes. For continued protection, no changes should be made to the original design unless authorized in writing by the manufacturer. Replacement parts must be identical to those used in the original circuits. Services should be performed by qualified personnel only. 2. Alterations of the design or circuitry of the product should not be made. Any design alterations of the product should not be made. Any design alterations or additions will void the manufacturer`s warranty and will further relieve the manufacture of responsibility for personal injury or property damage resulting therefrom. 3. Many electrical and mechanical parts in the products have special safety-related characteristics. These characteristics are often not evident from visual inspection nor can the protection afforded by them necessarily be obtained by using replacement components rated for higher voltage, wattage, etc. Replacement parts which have these special safety characteristics are identified in the Parts List of Service Manual. Electrical components having such features are identified by shading on the schematics and by ( ) on the Parts List in the Service Manual. The use of a substitute replacement which does not have the same safety characteristics as the recommended replacement parts shown in the Parts List of Service Manual may create shock, fire, or other hazards. 4. The leads in the products are routed and dressed with ties, clamps, tubings, barriers and the like to be separated from live parts, high temperature parts, moving parts and/or sharp edges for the prevention of electric shock and fire hazard. When service is required, the original lead routing and dress should be observed, and it should be confirmed that they have been returned to normal, after re-assembling. 5. Leakage current check (Electrical shock hazard testing) After re-assembling the product, always perform an isolation check on the exposed metal parts of the product (antenna terminals, knobs, metal cabinet, screw heads, headphone jack, control shafts, etc.) to be sure the product is safe to operate without danger of electrical shock. Do not use a line isolation transformer during this check. Plug the AC line cord directly into the AC outlet. Using a "Leakage Current Tester", measure the leakage current from each exposed metal parts of the cabinet , particularly any exposed metal part having a return path to the chassis, to a known good earth ground. Any leakage current must not exceed 0.5mA AC (r.m.s.) Alternate check method Plug the AC line cord directly into the AC outlet. Use an AC voltmeter having 1,000 ohms per volt or more sensitivity in the following manner. Connect a 1,500 10W resistor paralleled by a 0.15 F AC-type capacitor between an exposed metal part and a known good earth ground. Measure the AC voltage across the resistor with the AC voltmeter. Move the resistor connection to each exposed metal part, particularly any exposed metal part having a return path to the chassis, and measure the AC voltage across the resistor. Now, reverse the plug in the AC outlet and repeat each measurement. Voltage measured any must not exceed 0.75 V AC (r.m.s.). This corresponds to 0.5 mA AC (r.m.s.). Warning 1. This equipment has been designed and manufactured to meet international safety standards. 2. It is the legal responsibility of the repairer to ensure that these safety standards are maintained. 3. Repairs must be made in accordance with the relevant safety standards. 4. It is essential that safety critical components are replaced by approved parts. 5. If mains voltage selector is provided, check setting for local voltage. Good earth groundPlace this probe on each exposed metal part. AC VOLTMETER (Having 1000 ohms/volts, or more sensitivity) 1500 10W 0.15 F AC TYPE ! CAUTION Burrs formed during molding may be left over on some parts of the chassis. Therefore, pay attention to such burrs in the case of preforming repair of this system.

Page 2

RV-B550BU 1-3 Importance administering point on the safety RV-B550J ONLY Full Fuse Replacement Marking Graphic symbol mark (This symbol means fast blow type fuse.) should be read as follows ; FUSE CAUTION FOR CONTINUED PROTECTION AGAINST RISK OF FIRE, REPLACE ONLY WITH SAME TYPE AND RATING OF FUSES ; F1901 : 1.0-A, 250-V F1902 : 6.3-A, 125-V F1903 : 6.3-A, 125-V F1904 : 6.3-A, 125-V F1901 : 1.0-A, 250-V F1902 : 6.3-A, 125-V F1903 : 6.3-A, 125-V F1904 : 6.3-A, 125-V RV-B550J SEULEMENT Marquage Pour Le Remplacement Complet De Fusible PRECAUTIONS SUR LES FUSIBLES POUR UNE PROTECTION CONTINUE CONTRE DES RISQUES D'INCENDIE, REMPLACER SEULEMENT PAR UN FUSIBLE DU MEME TYPE ; Le symbole graphique (Ce symbole signifie fusible de type a fusion rapide.) doit etre interprete comme suit ; Note : It's means "J" for U.S.A. and Canada market model.

Page 26

RV-B550BU 1-27 1. Terminal Layout 20 ~ 1 41 ~ 60 21 40 ~ 80 61 ~ 2.Block Diagram O F T / R F D E B D O V D E T T R C R S R F E N V T E F EINPUT SERVO TIMING GENERATOR A/D COVERTER / T E S T / R S T D V S S 1 D V D D 1 V S S V D D CLV SERVO MICRO COMPUTER INTERFACE VCO ITUNING GENERATION PITCH CONTROL ÊSTAT CK384(EFM) VCOF BYTCK SMCK FCLK CSEL MSEL X2 X1 PCK EFM PLLF DSLF IREF DRF ARF RSEL PSEL MLD MCLK MDATA DSL. PLL VCO AVDD2 SUB CODE BUFFER SSEL SQCK SUBQ AVDD2 CLVS CRC BLKCK CLDCK SBCK SUBC DEMPH RESY FLAG6(RESY) EFM DEMODULATION SUBCODE DEMODULATION SYNC INTERPOLATION 16k SRAM CIRC ERROR CORRECTION DEINTERLEVE LRCKIN(MSEL) BCLK(SSEL) SRDATAIN (PSEL) IOSEL DIGITAL DEEMPHSIS 8TIMES OVER SAMPUNC DIGITAL FILTER 1BIT DAC LOGIC SPEM (R) PEM (L) DIGITAL AUDIO INTERFASE DIGITAL AUDIO INTERFASE INTER POLATION SOFT MUTING DIGITAL ATTENUATION PEAK DETECTIVE AUTO CUE D/A CONVERTER OUTPUTPORT AVSS1 AVDD1 OUTR OUTL FLAG IPFLAG TX ECM PC LRCK SRDATA BCLK DMUTE TRKV KICK VREF TRVSTR ECS TVD TRD FOD TBAL FBAL TOFS TES /TLOCK /FLOCK PLAY LDON WVEL SENSE MN35510(IC603):DIGITAL SERVO&DIGITAL SIGNAL PROCESSER

Page 27

RV-B550BU 1-28 3. DescriptionPin No.symbol I/O O O O 1 2 3 4 5 6 7 8 9 10 11 12 13 14 15 16 17 18 19 20 21 22 23 24 25 26 27 28 29 30 31 32 33 34 35 36 37 38 39 40 Pin No.symbolI/O 42 41 43 44 45 46 47 48 49 50 51 52 53 54 55 56 57 58 59 60 61 62 63 64 65 66 67 68 69 70 71 72 73 74 75 76 77 78 79 80O I I I I O BCLK LRCK SRDATA DVDD1 DVSS1 TX MCLK MDATA MLDI I I SENSE FLOCK TLOCK BLKCK SQCKO O O O OO I I I I I SUBQ DMUTE STATUS I O O RST SMCK PMCK TRV TVD PC ECM ECS KICK TRDO O O O OO O I I I FOD VREF FBAL TBAL FE TE I I I II RF ENV VDET OFT TRCRS I O RFDET BDO LDONDescription Not used Not usedNot used Connected to GND Digital audio interface outputPower supply (Digital) Micom command clock signal input Micom command load signal inputMicom command data input Focus lock signal output Active :LowSence signal output(Data is latched at signal's rising point) Tracking lock signal output Active :Low sub-code - block - clock signal output Outside clock for sub-code Q resister input Sub-code Q -code output Connected to GND Status signal (CRC,CUE,CLVS,TTSTOP,ECLV,SQOK) Reset signal input (L:Reset) Not used Not used Traverse enforced output Traverse drive output Not used Spindle motor drive signal (Enforced mode output) 3-State Spindle motor drive signal (Servo error signal output) Kick pulse output Tracking drive output Focus drive output Reference voltage input pin for D/A output block (TVD,FOD,FBA,TBAL) Focus Balance adjust signal output Tracking Balance adjust signal output Focus error signal input(Analog input) Tracking error signal input(Analog input) RF envelope signal input(Analog input) Vibration detect signal input(H:detect) Off track signal input(H:off track) Track cross signal input RF detect signal input(L:detect) BDO input pin(L:detect) Laser ON signal output(H:on)I I I I/O I/O I III II Description Not used Not used TES PLAY WVEL ARF IREF DRF DSLF PLLFTracking error shunt signal output(H:shunt) RF signal input Reference current input pin Bias pin for DSL Not usedLoop filter pin for DSL Loop filter pin for PLL Power supply(Analog) Connected to GND(Analog) Not used Not used Not usedNot used Not used I II I Connected to GND(for X'tal oscillation circuit) I O I OO I I III I I I I I I I I I I I Not used Not used Not used Not used Not used Not used Not used Not used Not used Pull up Connected to GND Connected to GND Connected to GND pull uppull up pull up Power supply(Digital) Lch audio output Connected to GND Rch audio outputPower supply(for X'tal cscillation circuit)Input of 16.9344MHz X'tal oscillation circuit Output of X'tal oscillation circuit VCOF AVDD2 AVSS2 EFM PCK PDO SUBC SBCK VSS XI X2 VDD BYTCK CLDCK FLAG IPPLAG FLAG CLVS CRC DEMPH RESY IOSEL TEST AVDD1 OUT L AVSS1 OUT R RSEL SSELMSEL PSEL CSEL