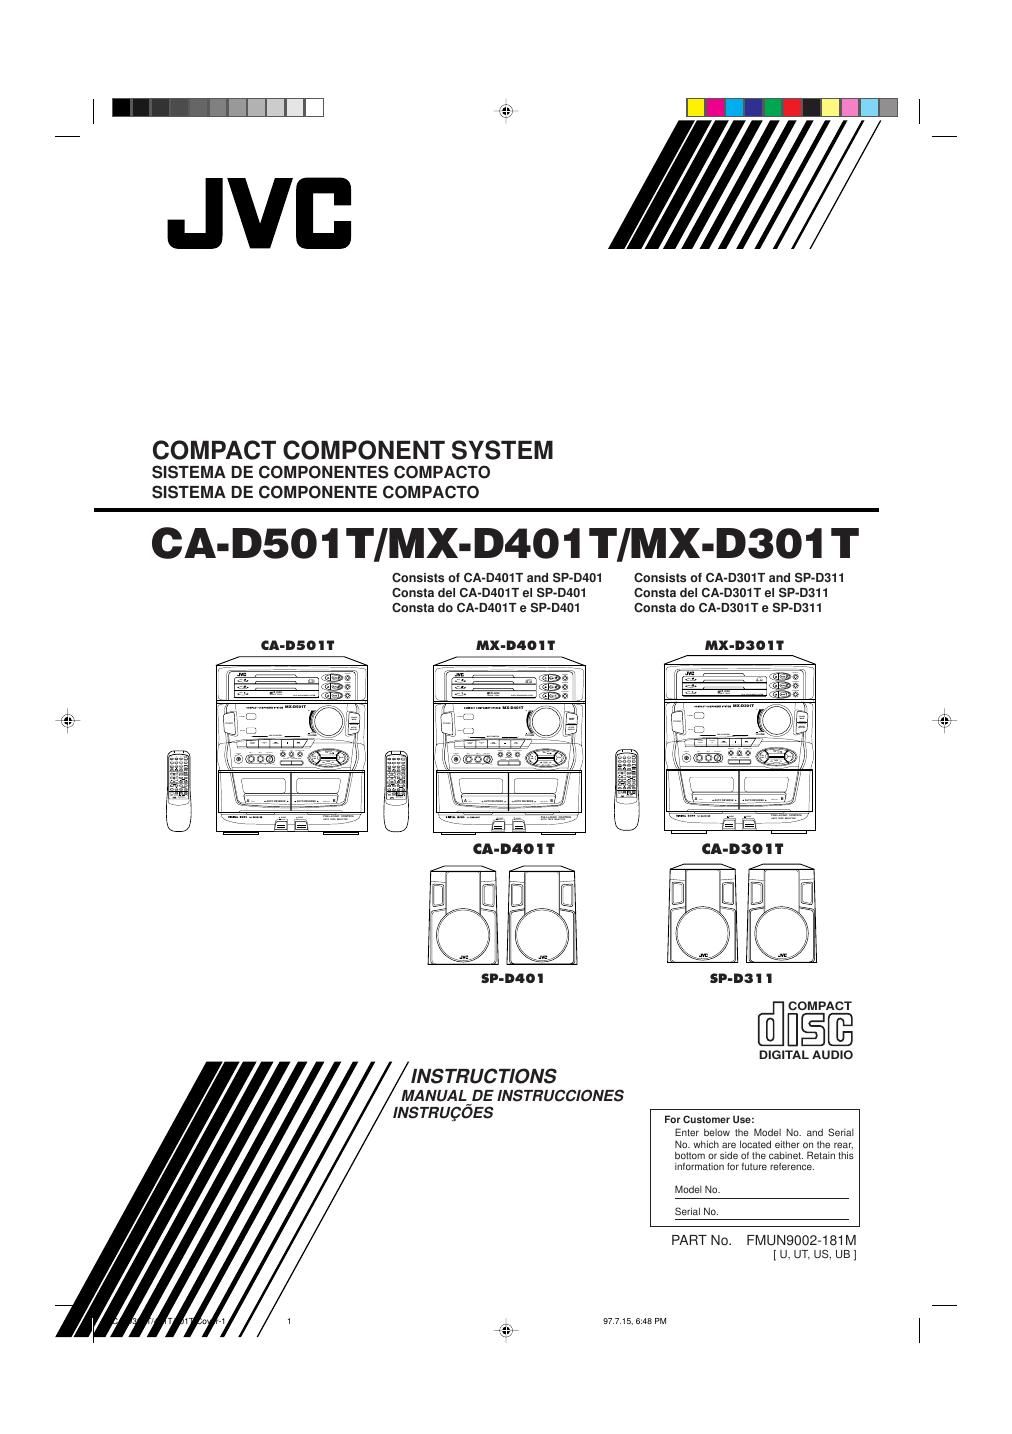
Jvc MXD 401 T Owners Manual

This is the 37 pages manual for Jvc MXD 401 T Owners Manual.
Read or download the pdf for free. If you want to contribute, please mail your pdfs to info@audioservicemanuals.com.

Page: 1 / 37
left right
Jvc MXD 401 T Owners Manual

Extracted text from Jvc MXD 401 T Owners Manual (Ocr-read)


Page 1

Warnings, Cautions and Others Avisos, precauciones y otras notas Advertncias, precau-es e outras notas Caution ÐÐ POWER switch! Disconnect the mains plug to shut the power off completely. The POWER switch in any position does not disconnect the mains line. The power can be remote controlled. ÁAtenci-n ÐÐ Interruptor POWER! Desconectar el cable de alimentaci-n para desactivar la alimentaci-n totalmente. Cualquier que sea la posici-n de ajuste del interruptor POWER, la alimentaci-n no es cortada completamente. La alimentaci-n puede ser controlada remotamente. Aten-o ÐÐ Interruptor POWER! Desconecte o cabo de alimenta-o para interromper a alimenta- -o completamente. Qualquer que seja a posi-o de ajuste do interruptor POWER, a alimenta-o n-o Ž completamente corta- da. A alimenta-o pode ser controlada remotamente. CAUTION To reduce the risk of electrical shocks, fire, etc.: 1. Do not remove screws, covers or cabinet. 2. Do not expose this appliance to rain or moisture. PRECAUCIîN Para reducir riesgos de choques elŽctricos, incendio, etc.: 1. No extraiga los tornillos, los cubiertas ni la caja. 2. No exponga este aparato a la lluvia o a la humedad. PRECAU-ÌO Para reduzir riscos de choques elŽtricos, incndio, etc.: 1. N-o remova parafusos e tampas ou desmonte a caixa. 2. N-o exponha este aparelho ˆ chuva nem ˆ umidade. IMPORTANT for the U.K. DO NOT cut off the mains plug from this equipment. If the plug fitted is not suitable for the power points in your home or the cable is too short to reach a power point, then obtain an appropriate safety approved extension lead or consult your dealer. BE SURE to replace the fuse only with an identical approved type, as originally fitted. If nontheless the mains plug is cut off ensure to remove the fuse and dispose of the plug immediately, to avoid a possible shock hazard by inadvertent connection to the mains supply. If this product is not supplied fitted with a mains plug then follow the instructions given below: IMPORTANT. DO NOT make any connection to the terminal which is marked with the letter E or by the safety earth symbol or coloured green or green-and-yellow. The wires in the mains lead on this product are coloured in accordance with the following code: Blue : Neutral Brown : Live As these colours may not correspond with the coloured markings identifying the terminals in your plug proceed as follows: The wire which is coloured blue must be connected to the terminal which is marked with the letter N or coloured black. The wire which is coloured brown must be connected to the terminal which is marked with the letter L or coloured red. IF IN DOUBT - CONSULT A COMPETENT ELECTRICIAN. G-1 CA-D301T/401T/501T/Cover-197.7.15, 6:49 PM 2

Page 2

IMPORTANT FOR LASER PRODUCTS / IMPORTANTE PARA PRODUCTOS LçSER / IMPOTANTE PARA PRODUTOS LASER / / REPRODUCTION OF LABELS / REPRODUCCIîN DE ETIQUETAS / REPRODU-ÌO DE ETIQUETAS / 1 CLASSIFICATION LABEL, PLACED ON REAR ENCLO- SURE 1 ETIQUETA DE CLASIFICACIîN, PEGADA EN LA PARTE POSTERIOR DE LA CAJA 1 ETIQUETA DE CLASSIFICA-ÌO LOCALIZADA NA PARTE POSTERIOR DA CAIXA DO APARELHO. 2 WARNING LABEL, PLACED INSIDE THE UNIT 2 ETIQUETA DE ADVERTENCIA, PEGADA EN EL INTE- RIOR DE LA UNIDAD 2 ETIQUETA DE ADVERTæNCIA LOCALIZADA NA PARTE INTERNA DA UNIDADE. CLASS 1 LASER PRODUCT 1. CLASS 1 LASER PRODUCT 2.DANGER: Invisible laser radiation when open and interlock failed or defeated. Avoid direct exposure to beam. 3.CAUTION: Do not open the top cover. There are no user serviceable parts inside the Unit; leave all servicing to quali- fied service personnel. 1. PRODUCTO LçSER CLASE 1 2.PELIGRO: En el interior hay radiaci-n l-ser invisible. Evite el contacto directo con el haz. 3.PRECAUCIîN: No abra la tapa superior. En el interior de la unidad no existen piezas reparables por el usuario; deje todo servicio tŽcnico en manos de personal calificado. 1. PRODUTO LASER CLASSE 1 2.PERIGO: O laser emite uma redia-o invisvel que Ž perigosa, caso o aparelho esteja aberto e a trava inoperante ou danificada. Evite exposi-o direta ao feixe dos raios. 3.CUIDADO: N-o abra a caixa do aparelho. N-o existem peas repar-veis pelo usu-rio na parte interna da unidade. Solicite assistncia tŽcnica somente a pessoal tŽcnico qualificado. DANGER: Invisible laser radiation when open and interlock failed or defeated. AVOID DIRECT EXPOSURE TO BEAM. (e) ADVARSEL: Usynlig laser- stråling ved åbning, når sikkerhedsafbrydere er ude af funktion. Undgå udsæt- telse for stråling (d) VARNING: Osynlig laser- strålning när denna del är öppnad och spärren är urkopplad. Betrakta ej strålen. (s)VARO: Avattaessa ja suo- jalukitus ohitettaessa olet alttiina näkymättömälle lasersäteilylle. Älä katso säteeseen. (f) G-2 CA-D301T/401T/501T/Cover-197.7.15, 6:50 PM 3

Page 16

13 English The Quickest Way To Start a CD Is With the One Touch Operation ÑÑÑÑÑÑÑÑÑÑÑÑÑÑÑÑÑÑÑÑÑÑÑÑÑ Press the CD Ü/8 button (or the £/8 button on the Remote Control). For Normal Play (Play mode indicator is not lit): ¥ If there is a CD in the disc tray for the selected disc number, the power is automatically turned on and the CD is played from the first track. ¥ If there is no CD in the disc tray for the selected disc number, the power is automatically turned on and ÒNO DISCÓ appears on the display. The CD Player is in stop mode. For Continuous Play or Random Play in Display mode (CONT. or RANDOM indicator is lit): ¥ If there is a CD in the disc tray for the selected disc number, the power is automatically turned on and the CD is played continuously from the first track or the tracks are played in random order. ¥ If there is no CD in the disc tray for the selected disc number, the power is automatically turned on and other tray containing a CD is selected and is played continuously from the first track or the tracks are played in random order. ¥ If there are no CDs in CD player, the power is automatically turned on and ÒNO DISCÓ appears on the display in Normal Play mode. The CD Player is in stop mode. Press a DISC button (1 to 3). ¥ If there is a CD in the disc tray for the selected disc number, the power is automatically turned on and playback starts from the selected CD. ¥ If there are no CDs in CD Player, the power is automatically turned on and ÒNO DISCÓ appears on the display in Normal Play mode. The CD Player is set to stop mode. o Press the 0 button. ¥ The power turns on, and the tray opens automatically. To Insert Discs 1. Press the 0 button on the left of the Disc button you want to insert the disc into. The disc tray slides out automatically. 2. Place a CD, with its label side up, onto the tray. ATTENTION: To avoid malfunctions when you play a CD, please set the CD in the right place at the centre of the tray. CD CORRECT INCORRECT Tray 3. Press the 0 button to close the tray. 4. Repeat steps 1 to 3 to insert other discs into other trays. ¥ To continue putting discs into other trays, even if a tray is open, by pressing the 0 button of another disc tray, the open tray will close automatically, and the new disc tray will slide out. o To put an 8 cm CD into a tray, insert it so that it is aligned with the groove in the trayÕs centre. If a tray is open when the System switches to Standby mode, the tray is closed automatically. or CA-D301/401/501T[U]/EN97.7.15, 6:06 PM 13