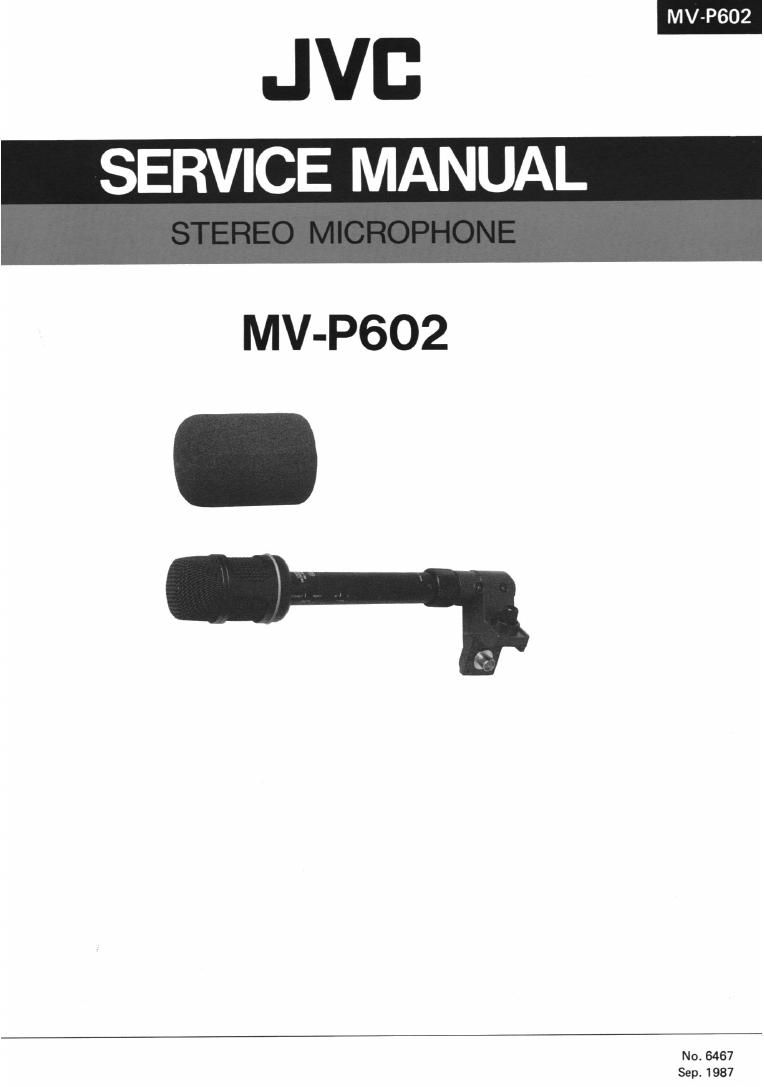
Jvc MVP 602 Service Manual

This is the 13 pages manual for Jvc MVP 602 Service Manual.
Read or download the pdf for free. If you want to contribute, please mail your pdfs to info@audioservicemanuals.com.

Page: 1 / 13
left right
Jvc MVP 602 Service Manual

Extracted text from Jvc MVP 602 Service Manual (Ocr-read)


Page 2

MV-P602

LMV-P602 STEREO MICROPHONE INSTRUCTIONS

Thank you for purchasing the JVC MV-P602 stereo microphone. To gain maximum benefit from the use of the MV-P602,

read this leaflet carefully.

FEATURES

Being a hot shoe type (cable-less) stereo microphone, the MV-P602 can be readily connected to JVC color video cameras.
0 MS stereo system with three microphone units. The MV-P602 covers a wider frequency response to obtain a high-fidelity

recording.

0 The MV-P602 can be available as a monaural microphone by selecting the MODE switch.
0 Windscreen (an accessory) and MN switch keeps cut wind noise in capturing sound outdoors.

PRECAUTIONS

Do not strike or drop the microphone; a shock could result in the microphone's characteristics being degraded.

0 There are precision parts inside the microphone which have been accurately adjusted before the microphone leaves the
factory;do not disassemble or the original performance may not be able to be reproduced.

0 Do not use or store the microphone in a hot or humid place (in direct sunlight, near a heater or in a closed automobile in

summer.)
The performance of the microphone could be degraded.

CONTROLS AND CONNECTORS

'i

OWindscreen
Very effective in keeping out pop noise and wind noise.
0 MODE Switch
STEREO : For stereo recording
MONO For monaural recording
0 TONE Switch
M: Set to this position for the standard frequency
response with strong low frequencies.
V: Set to this position to decrease ambient noise and to
improve the clarity of the human voice.
0 Camera adapter fixing ring
For fixing the microphone to the camera mounting
adapter @-

CONNECTION

The MV-PGOZ can be mounted directly on the JVC com-

patible video cameras.

The method follows:

1. Attach the camera mounting adapter to the microphone
body.
Align the slots so that the connector can be inserted,
then turn fixing ring in the direction of the arrow.

I

0 Connector
6-pins connector for connection to the camera mounting
adapter 6.

(3 Camera mounting adapter
For mounting the microphone on the JVC compatible
video camera.

0 Camera fixing screw
Double screw for mounting in the microphone shoe of
the JVC compatible video camera.

9 Camera connector
6-pins connector for connection to the MIC INPUT
socket of the JVC compatible video camera.

2. Insert the camera mounting adapter into the cameras
microphone shoe.

Fixing screw

Microphone shoe

Page 13

VICTOR COMPANY OF JAPAN. LIMITED

® Printed in Japan