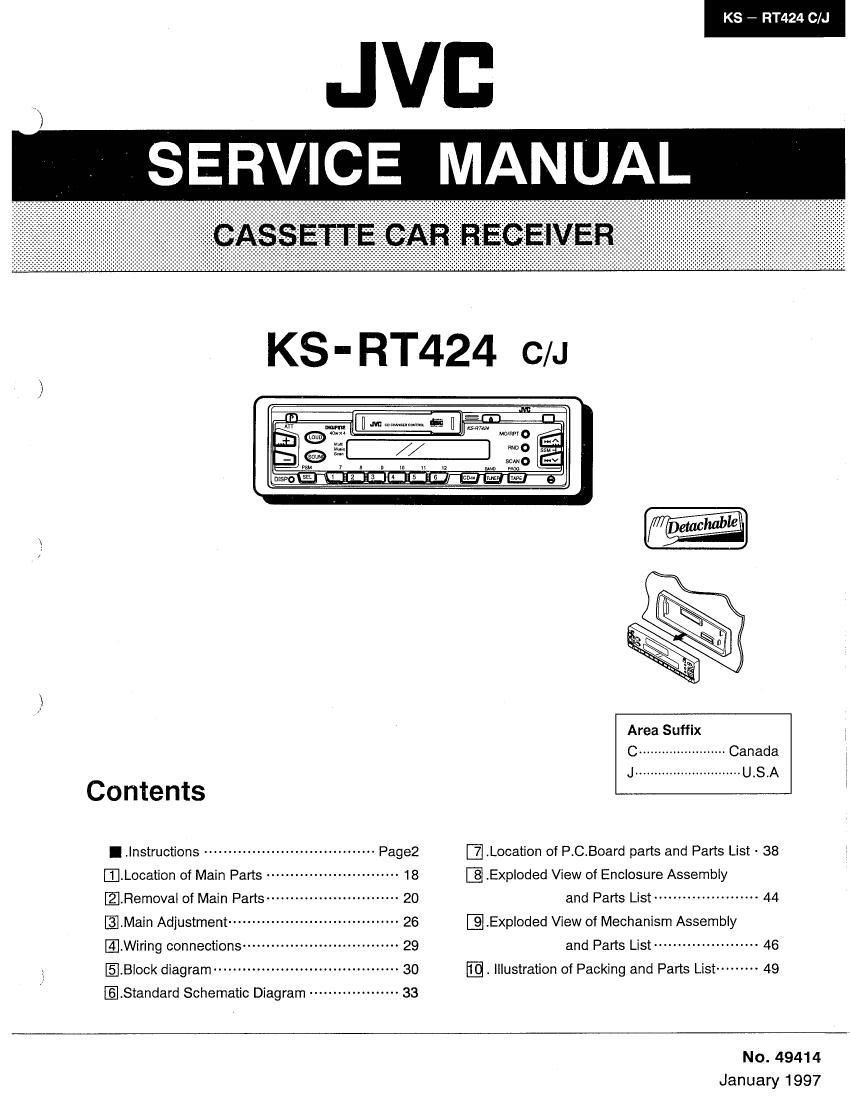
Jvc KSRT 424 Service Manual

This is the 56 pages manual for Jvc KSRT 424 Service Manual.
Read or download the pdf for free. If you want to contribute, please mail your pdfs to info@audioservicemanuals.com.

Page: 1 / 56
left right
Jvc KSRT 424 Service Manual

Extracted text from Jvc KSRT 424 Service Manual (Ocr-read)


Page 1

KS s RT424 C/J

JVB

, SERVICE MANUAL

KS - RT424 C/J

Area Suffix
c."
J,..

Canada

Contents

I ,Instructions ------------------------------------ Page2 -.Location of P.C.Board parts and Parts List - 38
-.Location of Main Parts ---------------------------- 18 [E .Exploded View of Enclosure Assembly

EllRemoval of Main Parts- ~ 20 and Parts List ---------------------- 44
IMain Adjustment ------------------------------------ 26 @Exploded View of Mechanism Assembly

@.Wiring connections ................................. 29 and Parts List ...................... 46
.Block diagram ....................................... 30 E . Illustration of Packing and Parts List ......... 4g
ELStandard Schematic Diagram ------------------- 33

No. 49414

January 1997

Page 21

I Mechanism section

0 Removing the head relay PCB

1. Desolder the lead wires of the loading motor at the 2
positions shown (red, black). (Fig. 2-8)

2, Desolder the lead wires of the head at the 3 positions
shown (red, yellow, black). (Fig. 2-8)

3. Remove the three screws (D securing the head relay
PCB. (Fig. 2-8)

4. Shift the interlocking section ® securing the head relay
PCB in the direction shown by the arrow A to remove the
PCB. (Fig. 2-8)

9 Removing the load arm assembly

1. Using tweezers, detach the Mylar washer ® securing the
load arm assembly and pull out the load arm assembly.
(Fig. 2- 9)

Note: When reassembling, be sure to use a new Mylar
washer.

2, Shift the load arm assembly counterclockwise. (Fig. 2- 9)

3. Remove the load arm assembly from the catch (K).

(Fig, 2- 9)

Q Removing the cassette holder and holder arm

assembly

1. Remove the head relay PCB.

2. Remove the load arm assembly.

3. Apply DC 6 V to the lead wire of the loading motor
assembly and turn the load gear assembly to the position
shown in Fig. 2-10.

4. Remove the screw ® securing the cassette holder and
holder arm assembly. (Fig, 2-10)

5. Shift the cassette holder and the holder arm assembly in
the direction shown by the arrow B and remove them from
the interlocking section © of the sub chassis assembly.
(Fig. 2-10)

9 Removing the sub chassis assembly
Remove the head relay PCB.
Remove the load arm assembly.
Remove the cassette holder and holder arm assembly.

PFJNT

Remove the two screws (3 and @ securing the sub
chassis assembly. (Fig. 2- 10)
Note: When removing the sub chassis assembly, the mode
gear may become detached. ln this case, set it back
to the original position.


Loard arm assembly

Cassette holder

Sub

KS - RT424 C/J

Head relay board

assembly

Loard gear assembly

Loarding motor assembly

Apply DC 6V

Fig.2-10

(No. 49414) 21

Page 54

KS - RT424 C/J

BLOCK NO. [I] MIII I

A R131? IAR'IS NO. PARTS NAME REMARKS QTY SUFFIX (SLR
73 1-0522-40088 CATCH SP6 1
7A 1-0522-40103 REEL DRIVER SP6 2
75 1-0522-40118 DASH SPG 1
76 1-0522-40163 HOLD SPG 1
77 1-0522-40143 HOLDER ARM SP6 1
79 1~0522-4017S TU ARM SP6 2
80 1-0522-40155 FR ARM SP6 1
83 1-0052-50225 BELT 1
87 1-0522-70028 REEL PWB 1
88 1-0522-70038 2CH HEAD F-7742-HG 1
89 1-0522-70048 HEAD WIREUU 1
9O 1-0522-70055 HEAD WIRE(B) 1
91 1-0522-70065 HEAD WIRE 1
92 1-0052-7082-05 SUB MOTOR WIRE RED 1
93 1-0052-7082-28 SUB MOTOR WIRE BLACK 1
94 1-0522-70105 LEAF SW MLS-2 1
9S 1-0522-70115 LEAF SW MLS-4 1
96 1~0522-7013S MOTOR WIRE RED 1
97 1-0522-70148 MOTOR WIRE BLACK 1
98 1-0522~7018S SUB MOTOR PPNl3EBlOC 1
99 1-0522-70223 HEAD PWBUV) 1
100 1-0522-70248 CONNECTOR 10F TKC-FlOX-Kl 1
102 X-0052-70403 PHOTO COUPLER 1
103 1-0036-7007-13 SLIDE SW SLD-32-7105 1
105 1-0056-70115 SW SW-llZ-S 1
107 1-0052-70135 JOINT WIRE (7P) 1
110 1*0522-50038 AZIMUTH SCREW 3
111 1-0052-50235 +MOTOR SCREW M2X2.5 2

i 112 1-0101-50065 +SCREW PLAIN M1.7X7 2
116 1-0522~50058 SPECIAL SCREW(2 2
117 2-1032-0022-C25 +MACHINE SCREW M2X2.2 2
119 1-0522-50068 SPECIAL SCREW(3 2
120 2-1332-0030-Cls +SCREW PLAIN#3S M2X3 6
121 2-1382-0050-C25 +PLAIN B-TYPEII3 MZXS 1
128 2*1812-0030-028 POLY WASHER(S) 1.2X3XO.25 6
129 2*1816-0032-D28 POLV WASHER(S) 1.6X3.2X0.25 7

130 2-1816-0032-525 PSW-S 1.6X3.2XO.5 1
131 2-1821-0032-015 PSW 2.1X3.2XO.25 2
132 2-18210040-D15 POLY WASHER 2.1X4XO.25 2
137 1-OOS3~SOOSS LMW-S 1.5X3.2XO.25 2
138 2-1711-5040-165 E RING 1.5 1

48 (No. 49414)