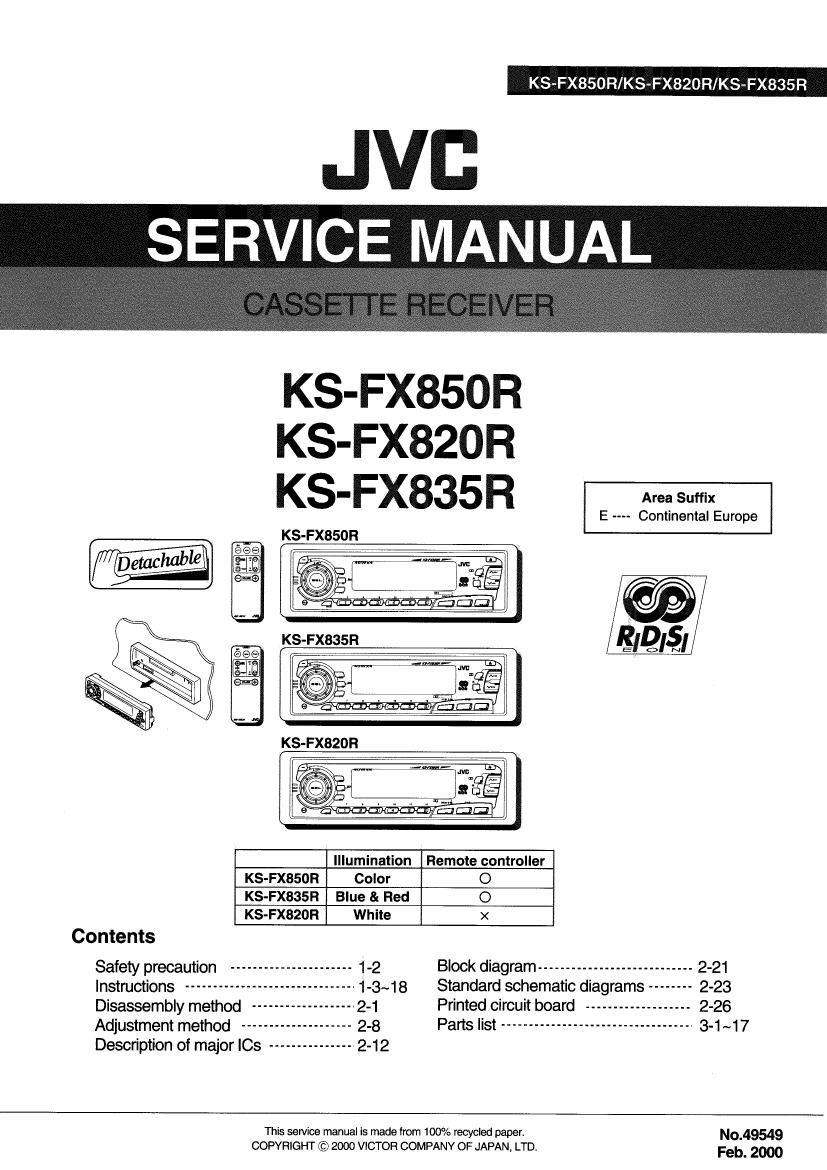
Jvc KSFX 820 R Service Manual

This is the 72 pages manual for Jvc KSFX 820 R Service Manual.
Read or download the pdf for free. If you want to contribute, please mail your pdfs to info@audioservicemanuals.com.

Page: 1 / 72
left right
Jvc KSFX 820 R Service Manual

Extracted text from Jvc KSFX 820 R Service Manual (Ocr-read)


Page 2

i

KS-FX850RIKS-FX820RIKS-FX835R i

1-2

Safety precaution

A CAUTION

Burrs formed during molding may be left over on some parts of the chassis. Therefore,
pay attention to such burrs in the case of preforming repair at this system.

Page 12

KS-FX850R/KS-FX820R/KS-FX835R
Q

EXTERNAL COMPONENT OPERATIONS H

Vou can connect the external component to the CD changer jack on the rear using the Line


% [ Selecting CD playback modes I lnputAdepterKs-usvtnoi supplied). 5
r
3 To play back track: at random (Random Play] a
5 Eech tune you press Mo min in (Monaural/Rendorrvnoiby) while playing E
m a CD, CD random play mode changes as lollows:
1; - "2
immoral) (film?)
cuneeied H-
Mode RND Indicator Play: at v-ndam ,
FlNDl Lights All tracks ol the current disc. lhen the veers ol the pwmmlow
next disc. and so on. . Htrtmmenltng the LinelflpulAdapmrKS-U57andthe rutmalcnmpoflwll, Nferm Ihe Immllalirrn/
. - , Conneumrl Manual (Separate volume).
Mm Flasres A" "ms M H mics '"sanea m m 3" ~ Before oyzrnll'ng the ultmnl component wing mejnllnuringproudun, 1214: external input
cairn-ll]. ls" Sci-sling [he external tampounl m use an page J0.)
To play back "mks repeatedly [Roped Play]
Each time you press FlPT (Repeat) while playing e CD, CD repeal play I
made changes as lollows Select the external component.
RPTI -* "2 I. Y T
(R I!!! lFl IZl .
L em... .31 \L t NE t N
\ 70- 'v A
M' R" '"i°"°' 'V 'md'y - ll "LINE IN" does not appear on the display. see page so
RFT1 nghts The current traor (or specllied neck). and select the Emmi input (LINE m")
RPTZ Flashes All treats oi the current disc (or specllled disc]. - Dlquavrd onlv when mm of Ike following mun-n n rein-mi
~ FM. AM ind mire
not. on One-Touch Opomlon:
Why/l viru we}: we, no poweruumman'zally mm an you .n. not haw to pray
or im-r In turn on the [Irrwtn
Turn on the connected component and start playing the source.
Adjust the volume.
as 37
De! DAB TUNER OPERATIONS 5%!
We recommend ihat you use DAB tuiditet Audlo Broadeesting) tuner Krustsoo wrth your
5, W To search . 1:
3 It you have anmhsl DAB tuner. consult your .lvc lN-CAH ENTERTAINMENT dealel. snsamms 0, Night" Start searching an ensemble. (L7
L7 - Heist also to the instructions supplied with your nee tuner lrequencies When an ensemble is received, searching stops. 3
m . s , . . .. , y . E
To search
ensembles oi loner
trequerlciss.
Select an service you want to listen to
[ Timmg into an ensemble and one of the set-Vices ]
A typical ensemdle has 6 or more programmes tsennoest bloadcast at the same time. Alter 1o mp navel-Ina baton an ensemble is received press the same button you heve pressed
tuning into an ensemble. you can select a servrce you want to listen to m Search; '
To change lhc display information whila Iuning into an
enumb
Normally senrice name is shown on the upper part at the display.
3 ll you want to check the ensemble name or its lreduency. press DISF
Each time you press the button, the tollowing iniormatron appears tor a while on the upper
part at the display.
1,2
I» Sarvloe hemp -> Ensemble name -> cnennul number » Frequency 1
BIlon you mm...
Press FM/AM/DAB brieliy it you are selecting TAPE, cu changer or LINE lN es the souroe To restore I. FM / AM "m...
1 press and hold FM/AM/DAB tor more than t second agalrl.
5 Select the DAB tuner. To lune in a particular enlamble without searching:
Each time you press and hold the button tor more than t 1 Press and hold FM/AM/DAE tor more then 1 second.
second, the DAB tuner and the FM/AM tuner ere altelnatsly 2 Plass FM/AM/DAB repeatedly to select the DAB band (DAEI, DAB2, or meat
selected 3 Fless and hold A»l or vl« lor more than t second.
3 H FWAM a Press Mi 0! v»« repeatedly until the ensemble you went is reached.
. it you hold down the bulton, the trequency keeps chenginp until you release the button.
'7 Select the DAB band (DABl. DABZ. or DABS).
Vou cen select any one el DAB1, DABZ. and DAB: to tune
into an ensemble,
D1 4» Dz D3
tune I) (DAB 2) (ms at
as 39

Page 33

KS-FX850 Fl/KS-FX820 R/KS- FX835 R

I UPD178018AGC-551 (IC701): Main system control CPU

Pin N0. Port Name l/O Descriptions
41 FF/REW | Output for input signal level switching for MS L : FF,REW H : PLAY
42 F/R O FWD,REV running direction switch signal input
43 DOLBY O Dolby on "H" output
44 MSIN | MS input
45 IZCCLK O IZC information clock output
46 I2CDAO 0 IZC information data output
47 IZCDAI | IZC information clock input
48 REEL 0 Switch for detecting tape end position
49 SUBMO1 l Sub motor clock direction input
50 SUBM02 0 Sub motor clock opposite detection drive output
51 MODE 0 Mechanism mode position detection input
52 TAPElN O Cassette in detection input H : cassette in L : cassette out
53 STANDBY | Standby position detection input H : eject side L : operation side
54 NC - Non connect
55 NC - Non connect
56 NC - Non connect
57 NC - Non connect
58 NC - Non connect
59 BEEP 0 Touch tone output
60 MUTE O Mute output, L: mute on
61 PCNT 0 Power ON /OFF switching output , H : power on
62 TELMUTE | Telephone mute signal detection input
53 DIMIN | Dimmer signal detection input L : dimmer
64 DlMOUT 0 Dimmer control output , Dimmer off L output
65 ENCt | Rotary volume signal 1 input Power save : L
66 EN02 | Rotary volume signal 2 input
67 ACCDET | Power save 1 Working togethe ACC Power save : L
68 POWER 0 Power save 2, Working together Back up by H input, stop mode
59 RDSSCK | Clock input for RDS
7o RDSDA | RDS data input
71 REMOCON | Remocom input
72 DETACH 1 Detach signal input H : Power save
73 J-BUSINT | Cut-in input for J-BUS signal
74 REGCPU - Regulator for CPU power supply, Connect the GND with0.1 11 E
75 GND - Ground
76 X2 - Connecting the crystal oscillator for system clock
77 X1 | Connecting the crystal oscillator for system clock
78 REGOSC - Regulator for oscillator circuit.Connect the GND with 0.1 11F.
79 VDD - Vdd
so RESET - Pull up

2-15