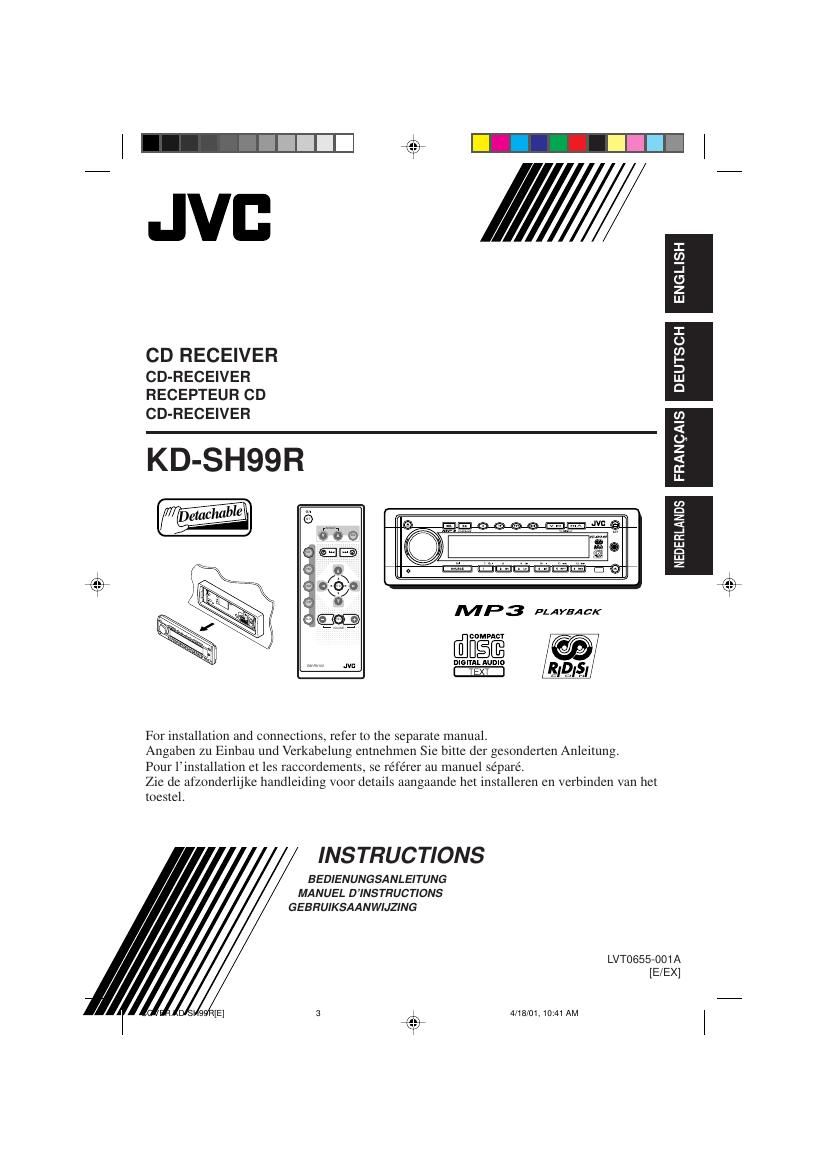
Jvc KDSH 99 R Owners Manual

This is the 216 pages manual for Jvc KDSH 99 R Owners Manual.
Read or download the pdf for free. If you want to contribute, please mail your pdfs to info@audioservicemanuals.com.

Page: 1 / 216
left right
Jvc KDSH 99 R Owners Manual

Extracted text from Jvc KDSH 99 R Owners Manual (Ocr-read)


Page 1

2 ENGLISH Caution: This product contains a laser component of higher laser class than Class 1. CLASS LASER1 PRODUCT CAUTION: Invisible laser radiation when open and interlock failed or defeated. AVOID DIRECT EXPOSURE TO BEAM. (e)ADVARSEL: Usynlig laser- stråling ved åbning, når sikkerhedsafbrydere er ude af funkti on. Undgåudsæt- telse for stråling. (d)VARNING: Osynlig laser- strålning när denna del är öppnad och spärren är urkopplad. Betrakta ej strålen. (s)VA RO : Avattaessa ja suojalukitus ohitettaessa olet alttiina näkymättö- mälle lasersäteilylle. Älä katso säteeseen. (f) BEFORE USE *For safety....¥ Do not raise the volume level too much, as this will block outside sounds, making driving dangerous. ¥ Stop the car before performing any complicated operations.* Temperature inside the car....If you have parked the car for a long time in hot or cold weather, wait until the temperature in the car becomes normal before operating the unit. Position And Reproduction Of Labels IMPORTANT FOR LASER PRODUCTS Precautions: 1. CLASS 1 LASER PRODUCT 2.CAUTION: Invisible laser radiation when open and interlock failed or defeated. Avoid direct exposure to beam. 3.CAUTION: Do not open the top cover. There are no user-serviceable parts inside. Leave all servicing to qualified service personnel. 4.CAUTION: This CD player uses invisible laser radiation and is equipped with safety switches to prevent radiation emission when unloading CDs. It is dangerous to defeat the safety switches. 5.CAUTION: Use of controls, adjustments or performance of procedures other than those specified herein may result in hazardous radiation exposure. Bottom Panel of the main unit Note: Your preset adjustments Ð such as preset channels or sound adjustments Ð will be erased.CAUTION: NEVER insert your finger in between the control panel and the unit, as it may get caught or hurt. (See page 35.) How to reset your unit Press the reset button on the front panel using a ball-point pen or similar tool. Note:For security reasons, a numbered ID card is provided with this unit, and the same ID number is imprinted on the unitÕs chassis. Keep the card in a safe place, as it will help the authorities to identify your unit if stolen. Name/Rating plate EN02-04.KD-SH99R[E]f4/16/01, 9:14 AM 2

Page 2

3 ENGLISH CONTENTS Thank you for purchasing a JVC product. Please read all instructions carefully before operation, to ensure your complete understanding and to obtain the best possible performance from the unit. How to reset your unit ............................... 2 LOCATION OF THE BUTTONS ............ 4 Control panel ........................................... 4 Remote controller .................................... 5 Preparing the remote controller ................ 6 BASIC OPERATIONS ...................... 7 RADIO BASIC OPERATIONS ............. 8 Listening to the radio ................................ 8 Storing stations in memory ....................... 9 Tuning into a preset station ...................... 10 RDS OPERATIONS ........................ 11 What you can do with RDS EON .............. 11 Other convenient RDS functions and adjustments ........................................... 14 CD OPERATIONS .......................... 17 Playing a CD ............................................ 17 Locating a track or particular portion on a CD ................................................. 18 Selecting CD playback modes .................. 18 Playing a CD Text .................................... 19 Prohibiting disc ejection ............................ 19 MP3 INTRODUCTION ..................... 20 What is MP3? .......................................... 20 How are MP3 files recorded and played back? ......................................... 20 MP3 OPERATIONS ........................ 22 Playing an MP3 disc ................................. 22 Locating a file or particular portion on an MP3 disc ..................................... 23 Selecting MP3 playback modes ............... 26 SOUND ADJUSTMENTS .................. 27 Adjusting the sound ................................. 27 Selecting preset sound modes ................. 28 Storing your own sound adjustments ....... 29 OTHER MAIN FUNCTIONS ............... 30 Setting the clock ...................................... 30 Changing the general settings (PSM) ...... 30 Assigning names to the sources .............. 34 Changing the control panel angle ............. 35 Detaching the control panel ...................... 36 EXTERNAL COMPONENT OPERATIONS .. 37 Playing external components ................... 37 CD CHANGER OPERATIONS ............. 39 Playing CDs ............................................. 39 Selecting CD playback modes .................. 40 DAB TUNER OPERATIONS ............... 41 Tuning into an ensemble and one of the services ................................................. 41 Storing DAB services in memory ............. 43 Tuning into a preset DAB service ............. 44 What you can do more with DAB .............. 44 ADDITIONAL INFORMATION ............. 45 TROUBLESHOOTING ...................... 46 MAINTENANCE ............................ 48 Handling discs ......................................... 48 SPECIFICATIONS .......................... 49 CAUTION on Volume SettingCDs produce very little noise compared with other sources. If the volume level is adjusted for the tuner, for example, the speakers may be damaged by the sudden increase in the output level. Therefore, lower the volume before playing a disc and adjust it as required during playback. About the demonstration mode (DEMO MODE)...When shipped from the factory, ÒDEMO MODEÓ is set to ÒDEMO ONÓ in this unit. The following demonstration, introducing the main features equipped with this unit, will appear on the display automatically if no sound comes in for 3 minutes. (See page 33.) ¥MP3: (Enables you to play MP3 discs.) ¥24bit DAC: (24 bit digital-analog converter: Gives you a high quality sound after D/A conversion.) ¥HS TUNER: (High-sensitivity Tuner: Enables a fine reception of stations.) ¥EQUALIZER: (Enables you to fine-adjust the sound to match your preference.) ¥SUB WOOFER: (Enables you to connect a subwoofer and to adjust its output level.) EN02-04.KD-SH99R[E]f4/16/01, 9:14 AM 3

Page 15

16 ENGLISH PTY codes NEWS: News AFFAIRS: Topical programmes expanding on current news or affairs INFO: Programmes which impart advice on a wide variety of topics SPORT: Sport events EDUCATE: Educational programmes DRAMA: Radio plays CULTURE: Programmes on national or regional culture SCIENCE: Programmes on natural science and technology VARIED: Other programmes like comedies or ceremonies POP M: Pop music ROCK M: Rock music EASY M: Easy-listening music LIGHT M: Light music CLASSICS: Classical music OTHER M: Other music WEATHER: Weather information FINANCE: Reports on commerce, trading, the Stock Market, etc. CHILDREN: Entertainment programmes for children SOCIAL: Programmes on social activities RELIGION: Programmes dealing with any aspect of belief or faith, or the nature of existence or ethics PHONE IN: Programmes where people can express their views either by phone or in a public forum TRAVEL: Programmes about travel destinations, package tours, and travel ideas and opportunities LEISURE: Programmes concerned with recreational activities such as gardening, cooking, fishing, etc. JAZZ: Jazz music COUNTRY: Country music NATION M: Current popular music from another nation or region, in that countryÕs language OLDIES: Classic pop music FOLK M: Folk music DOCUMENT: Programmes dealing with factual matters, presented in an investigative style EN11-16.KD-SH99R[E]f4/16/01, 9:18 AM 16

Page 17

18 ENGLISH Locating a track or particular portion on a CD To fast-forward or reverse the track To go to the next track or the previous tracks Press and hold ¢ while playing a disc, to fast-forward the track. Press and hold 4 while playing a disc, to reverse the track. Track number Elapsed playing time To go to a particular track directly Press the number button corresponding to the track number to star t its playback. ¥ To select a track number from 1 Ð 6: Press 1 (7) Ð 6 (12) briefly. ¥ To select a track number from 7 Ð 12: Press and hold 1 (7) Ð 6 (12) for more than 1 second. Press ¢ briefly while playing a disc, to go ahead to the beginning of the next track. Each time you press the button consecutively, the beginning of the next track is located and played back. Press 4 briefly while playing a disc, to go back to the beginning of the current track. Each time you press the button consecutively, the beginning of the previous tracks is located and played back. Selecting CD playback modes To play back tracks at random (Random Play) 1Press M/B (mode/band) while playing a disc. This unit enters the functions mode. 2Press RND (random) while still in the functions mode, so that the RND indicator lights up on the display. Then, each time you press RND, random play mode turns on and off alternately. When the random mode is turned on, the RND indicator lights up on the display and a track randomly selected starts playing. To play back the current track repeatedly (One Track Repeat Play) 1Press M/B (mode/band) while playing a disc. The unit enters the functions mode. 2Press RPT (repeat) while still in the functions mode, so that the RPT indicator lights up on the display. Then, each time you press RPT, One Track Repeat Play turns on and off alternately. ¥ When One Track Repeat Play is turned off, All Track Repeat Play is activated. EN17-19.KD-SH99R[E]f4/16/01, 9:19 AM 18

Page 18

19 ENGLISH To play back only intros (Intro scan) You can play back the first 15 seconds of each track sequentially. 1Press M/B (mode/band) while playing a disc. This unit enters the functions mode. 2Press INT (intro scan) while still in the functions mode, so that the ÒINTÓ appears on the display. Then, each time you press INT, intro scan play mode turns on and off alternately. Playing a CD Text In a CD Text, some information about the disc (its disc title, performer and track title) is recorded. You can show these disc information on the display. 1 Select text display mode while playing a CD Text. Each time you press the button, the display changes as follows: Notes:¥ The display shows up to 10 characters at one time and scrolls if there are more than 10 characters. See also ÒTo select the scroll mode Ð SCROLLÓ on page 32. ¥ When you press D (display) while playing a conventional CD, ÒNO NAMEÓ appears for the disc title/performer and the track title. Disc Title / Performer Track Title Current track no. and Elapsed playing time Track number of the currently playing track Prohibiting disc ejection You can prohibit disc ejection and can lock a disc in the loading slot. While pressing SEL (select), press and hold 0 for more than 2 seconds. ÒNO EJECTÓ flashes on the display for about 5 seconds, and the disc is locked and cannot be ejected. Note:If you press 0 while disc ejection is prohibited, the control panel moves down, but the disc cannot be ejected. To return the display panel to its previous position, press 0. To cancel the prohibition and unlock the disc, press and hold 0 for more than 2 seconds again, while pressing SEL. ÒEJECT OKÓ flashes on the display for about 5 seconds, and the disc is unlocked. 4 EN17-19.KD-SH99R[E]f4/16/01, 9:19 AM 19

Page 33

34 ENGLISH Assigning names to the sources You can assign names to CDs and the external components. After assigning a name, it will appear on the display when you select the source. Sources Maximum number of the characters CDs* up to 32 characters (up to 40 discs) External components up to 10 characters (LINE INPUT and AUX INPUT) * You cannot assign a name to a CD Text or an MP3 disc. 1 Select a source you want to assign a name to. Each time you press the button, the source changes as described on page 7. 2 Press and hold SEL (select) for more than 2 seconds while pressing D (display). 3 Select the character set you want while Ò Ó is flashing. Each time you press the button, the character set changes as follows: 4 Select a character. About the available characters, see page 45. 5 Move the cursor to the next (or previous) character position. 6 Repeat steps 3 to 5 until you finish inputting the name. 7 Finish the procedure while the last selected character is flashing. To erase the input characters Insert spaces using the same procedure described above. Notes:¥ When you try to assign a name to the 41st disc, ÒNAME FULLÓ appears on the display. (In this case, delete unwanted names before assignment.) ¥ When the CD changer is connected, you can assign names to discs in the CD changer. These names can also be shown on the display if you insert the discs in this unit. Capital letters ( ) Small letters ( ) Numbers and symbols ( ) When you select ÒCD PLAYÓ as the source EN30-36.KD-SH99R[E]f4/16/01, 9:21 AM 34

Page 91

38 FRAN-AIS 2 Mettez lÕappareil connectŽ sous tension et dŽmarrez la lecture de la source. ¥ Si vous avez connetez un lecteur de DVD ou un magnŽtoscope JVC, vous pouvez rŽaliser les opŽrations suivantes: Si vous avez connectŽ un lecteur de DVD: : Mise sous/hors tension de lÕappareil. 3: DŽmarrage de la lecture. Á: ¥ Avance rapide de la plage quand maintenue pressŽe. ¥ Saute au dŽbut dÕune des plages suivantes quand pressŽe brivement. 1: ¥ Retour rapide de la plage quand maintenue pressŽe. ¥ Saute au dŽbut de la plage actuelle quand pressŽe brivement. Saute au dŽbut dÕune des plages prŽcŽdentes quand pressŽe consŽcutivement. 7: Arrt de la lecture. Remarque:Quand vous appuyez sur les touches ci-dessus, lÕaffichage indique ÒDVDÓ et le mode de fonctionnement (tel que 3, 7). Si vous avez connectez un magnŽtoscope: : Mise sous/hors tension de lÕappareil. 3: DŽmarrage de la lecture. Á: Avance rapide de la bande quand maintenue pressŽe. 1: Rebobinage de la bande quand maintenue pressŽe. 7: Arrt de la lecture. Remarque:Quand vous appuyez sur les touches ci-dessus, lÕaffichage indique ÒVCRÓ et le mode de fonctionnement (tel que 3, 7). 3 Ajustez le volume. 4 Ajustez le son comme vous le souhaitez. (Voir la page 27.) Pour augmenter le volume. Pour diminuer le volume. FR37-38.KD-SH99R[E]f4/19/01, 10:23 AM 38