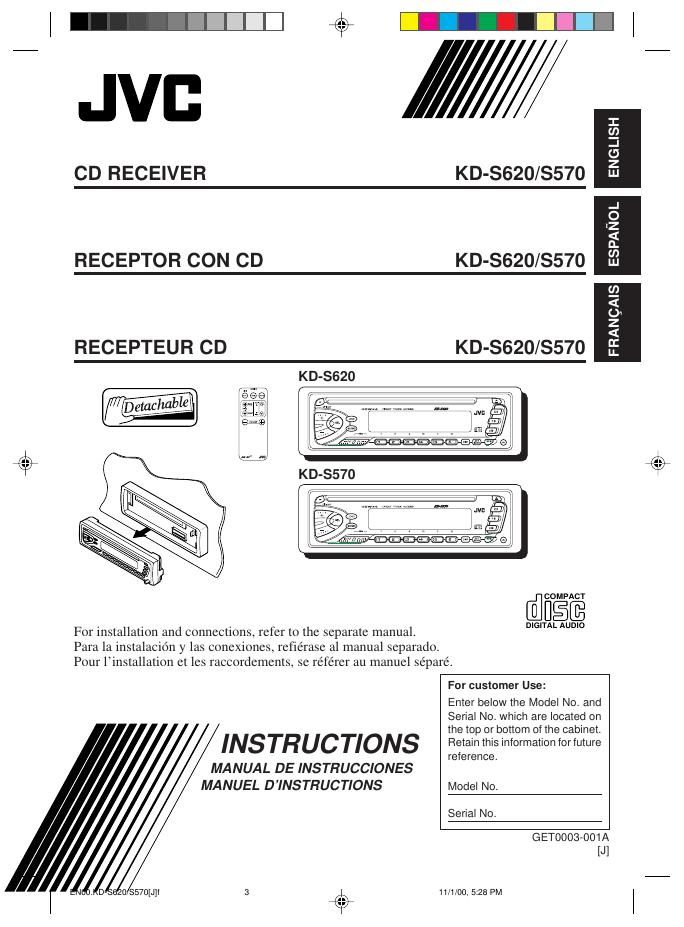
Jvc KDS 620 Owners Manual

This is the 93 pages manual for Jvc KDS 620 Owners Manual.
Read or download the pdf for free. If you want to contribute, please mail your pdfs to info@audioservicemanuals.com.

Page: 1 / 93
left right
Jvc KDS 620 Owners Manual

Extracted text from Jvc KDS 620 Owners Manual (Ocr-read)


Page 1

2 ENGLISH INFORMATION (For USA) This equipment has been tested and found to comply with the limits for a Class B digital device, pursuant to Part 15 of the FCC Rules. These limits are designed to provide reasonable protection against harmful interference in a residential installation. This equipment generates, uses, and can radiate radio frequency energy and, if not installed and used in accordance with the instructions, may cause harmful interference to radio communications. However, there is no guarantee that interference will not occur in a particular installation. If this equipment does cause harmful interference to radio or television reception, which can be determined by turning the equipment off and on, the user is encouraged to try to correct the interference by one or more of the following measures: Ð Reorient or relocate the receiving antenna. Ð Increase the separation between the equipment and receiver. Ð Connect the equipment into an outlet on a circuit different from that to which the receiver is connected. Ð Consult the dealer or an experienced radio/TV technician for help. BEFORE USE *For safety.... ¥ Do not raise the volume level too much, as this will block outside sounds, making driving dangerous. ¥ Stop the car before performing any complicated operations.*Temperature inside the car.... If you have parked the car for a long time in hot or cold weather, wait until the temperature in the car becomes normal before operating the unit. How to reset your unit Press and hold both the SEL (Select) and (Standby/On/ATT) buttons at the same time for several seconds. This will reset the built-in microcomputer. NOTES:Your preset adjustments Ñ such as preset channels or sound adjustments Ñ will also be erased. If a CD is in the unit, it will eject when you reset the unit. Pay attention not to drop the CD. (Standby/On/ATT) SEL (Select) IMPORTANT FOR LASER PRODUCTS Precautions: 1. CLASS 1 LASER PRODUCT 2.DANGER: Invisible laser radiation when open and interlock failed or defeated. Avoid direct exposure to beam. 3.CAUTION: Do not open the top cover. There are no user-serviceable parts inside. Leave all servicing to qualified service personnel. 4.CAUTION: This CD player uses invisible laser radiation, however, is equipped with safety switches to prevent radiation emission when unloading CDs. It is dangerous to defeat the safety switches. 5.CAUTION: Use of controls, adjustments or performance of procedures other than those specified herein may result in hazardous radiation exposure. EN02-04.KD-S620/S570[J]f11/1/00, 5:35 PM 2

Page 2

3 ENGLISH Thank you for purchasing a JVC product. Please read all instructions carefully before operation, to ensure your complete understanding and to obtain the best possible performance from the unit. CONTENTS How to reset your unit .......................................................................... 2 BASIC OPERATIONS .................................................... 4 RADIO OPERATIONS ................................................... 5 Listening to the radio ..................................................................... 5 Storing stations in memory ............................................................ 6 FM station automatic preset: SSM ............................................... 6 Manual preset .............................................................................. 7 Tuning into a preset station ........................................................... 8 Other convenient tuner functions ................................................. 9 Scanning broadcast stations ........................................................ 9 Selecting FM reception sound ...................................................... 9 CD OPERATIONS ....................................................... 10 Playing a CD ................................................................................. 10 Locating a track or a particular portion on a CD ..................... 11 Selecting CD playback modes ...................................................... 12 Other convenient CD functions ................................................... 12 Prohibiting CD ejection .............................................................. 12 SOUND ADJUSTMENTS ............................................. 13 Adjusting the sound ...................................................................... 13 Turning on/off the loudness function ............................................... 14 Using the Sound Control Memory .............................................. 15 Selecting and storing the sound modes ..................................... 15 Recalling the sound modes ........................................................ 16 Canceling Advanced SCM ........................................................... 17 Storing your own sound adjustments ......................................... 18 OTHER MAIN FUNCTIONS ......................................... 19 Setting the clock ............................................................................ 19 Selecting the level display ............................................................ 20 Detaching the control panel ......................................................... 21 REMOTE OPERATIONS (ONLY FOR KD-S620) ............. 22 Installing the battery .................................................................... 22 Using the remote controller ......................................................... 23 MAINTENANCE ......................................................... 24 Handling CDs ................................................................................ 24 TROUBLESHOOTING ................................................. 25 SPECIFICATIONS ....................................................... 26 EN02-04.KD-S620/S570[J]f11/1/00, 5:35 PM 3

Page 43

13 FRAN-AIS AJUSTEMENTS DU SON Ajustement du son Vous pouvez ajuster les sons aigus/graves et la balance des enceintes. 1 Choisissez l'ŽlŽment que vous souhaitez ajuster. Indication Pour: Plage BAS Ajuster les graves Ð06 (min.) Ñ +06 (max.) (Graves) TRE Ajuster les aigus Ð06 (min.) Ñ +06 (max.) (Aigus) FAD Ajuster l'Žquilibre entre les enceintes R06 Ñ F06 (Fader)* avant et arrire (arrire seulement) (avant seulement) BAL Ajuster l'Žquilibre entre les enceintes L06 Ñ R06 (Balance) gauche et droite (gauche seulement) (droite seulement) VOL Ajuster le volume 00 (min.) Ñ 50 (max.) (Volume) Remarque: *Si vous utilisez un systme ˆ deux enceintes, rŽglez le niveau de fader sur Ò00Ó. 2 Ajustez le niveau. Remarque: Normalement, les touches + et Ð fonctionnent comme touches de commande du volume. Alors, vous n'avez pas besoin de choisir ÒVOLÓ pour ajuster le niveau de volume. 21 Indicateur de courbe dÕŽgalisation La courbe dÕŽgalisation change quand vous ajustez les graves ou les aigus. FR13-18.KD-S620/570[J]f11/2/00, 6:30 PM 13

Page 67

6 ESPA-OL C-mo almacenar emisoras en la memoria Las emisoras podr-n almacenarse en la memoria mediante uno de los dos mŽtodos siguientes. ¥ Preajuste autom-tico de emisoras FM: SSM (Memoria secuencial de las emisoras m-s fuertes) ¥ Preajuste manual de ambas emisoras FM y AM Preajuste autom-tico de emisoras FM: SSM Pueden preajustarse 6 emisoras FM locales en cada banda FM (FM1, FM2 y FM3). 1 Seleccione el nœmero de la banda FM (FM1, FM2 o FM3) en que desea almacenar las emisoras FM. 2 Pulse y mantenga pulsado ambos botones durante m-s de 2 segundos. Las emisoras FM locales con las se-ales m-s intensas ser-n exploradas y almacenadas autom-ticamente en el nœmero de banda seleccionado (FM1, FM2 o FM3). Estas emisoras quedan preajustadas en los botones No. 1 (frecuencia m-s baja) a No.6 (frecuencia m-s alta). Cuando finalice el preajuste autom-tico, se sintonizar- autom-ticamente la emisora almacenada en el bot-n nœmero 1. F M FM1 FM2 FM3 1 2 Aparece y se mantiene visualizado ÒSSMÓ hasta finalizar el preajuste autom-tico. SP05-09.KD-S620/570[J]f3/25/05, 3:00 AM 6

Page 82

21 ESPA-OL C-mo instalar el panel de control 1 Inserte el lado izquierdo del panel de control en la ranura del portapanel. 2 Presione el lado derecho del panel de control para fijarlo al portapanel. C-mo desmontar el panel de control Antes de desmontar el panel de control, asegœrese de desconectar la alimentaci-n. 1 Desbloquee el panel de control. 2 Eleve y extraiga el panel de control de la unidad. 3 Ponga el panel de control desmontado en el estuche suministrado. Desmontaje del panel de control Podr- desmontar el panel de control cuando salga de su autom-vil. Al desmontar o instalar el panel de control, preste atenci-n para no da-ar los conectores provistos al dorso del panel de control y en el portapanel. Nota sobre la limpieza de los conectores: Si acostumbra a desmontar frecuentemente el panel de control, se podr-n deteriorar los conectores. Para reducir al mnimo esta posibilidad, limpie peri-dicamente los conectores con un palillo de algod-n o con un lienzo humedecido con alcohol teniendo cuidado de no da-ar los conectores. Conectores SP19-21.KD-S620/570[J]f11/1/00, 6:45 PM 21