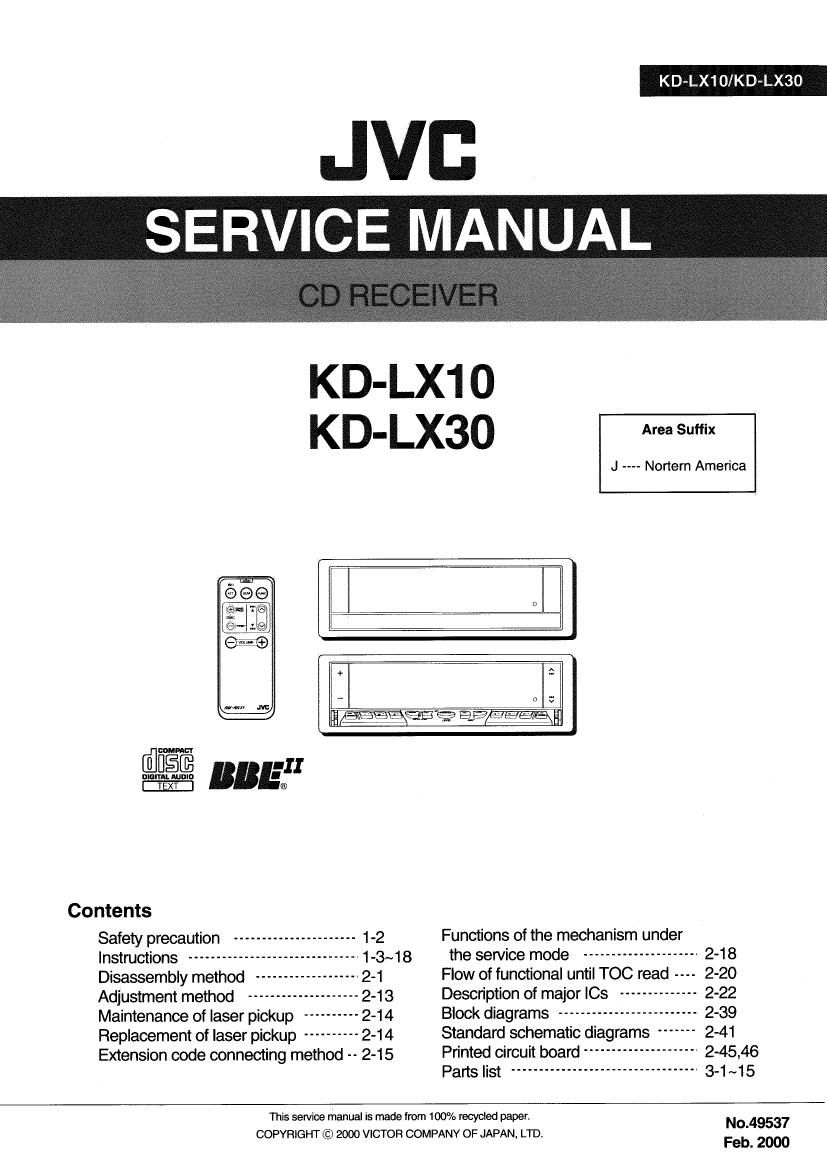
Jvc KDLX 10 Service Manual

This is the 94 pages manual for Jvc KDLX 10 Service Manual.
Read or download the pdf for free. If you want to contribute, please mail your pdfs to info@audioservicemanuals.com.

Page: 1 / 94
left right
Jvc KDLX 10 Service Manual

Extracted text from Jvc KDLX 10 Service Manual (Ocr-read)


Page 1

KD~1LX1OIKD ~LX30

JVI:
SERV'CE MANUAL.

KD-LX1 O
KD- Lx3o Area Suffix

J ---- Nortern America


we ~99? 9,9HEIHEA - V?
0 [E III
nun-unit: BB l®
Contents
Safety precaution ---------------------- 1-2 Functions of the mechanism under
Instructions ---------------------- 1-3~18 the service mode --------------------- 2-18
Disassembly method -------------- 2-1 Flow of functional until TOC read 2-20
Adjustment method -------------- 2-13 Description of major ICs -------------- 2-22
Maintenance of laser pickup ---------- 2-14 Block diagrams ------------------------- 2-39
Replacement of laser pickup ---------- 2-14 Standard schematic diagrams ------- 2-41
Extension code connecting method -- 2-15 Printed circuit board --------------------- 2-45,46
Parts list ---------------------------------- 3-1 ~15
This service manual is made from 100% recycled paper. No.49537

COPYFllGHT © 2000 VICTOR COMPANY OF JAPAN, LTD.
Feb. 2000

Page 2

KD-LX10/KD-LX30

Safety precaution

A CAUTION Burrs formed during molding may be left over on some parts of the chassis. Therefore,
pay attention to such burrs in the case of preforming repair of this system.

A CAUTION Please use enough caution not to see the beam directly or touch it in case of an
adjustment or operation check.

1-2

Page 5

KD-LX10/KD-LX30

Manual press!

You can press! up to 6 stations ln each band (FMI FMZ, FMS and mi manually [ Tuning 0 a Preset mm ]

Von can easlly tune mlo a preset slallon
Rammberthal you mus! slave slalmns mt. ll you nave not slow: them yet. see pages 8
and 9

EXAMPLE: Slorlng an FM slallon ol 88.3 MHz lnlo lne preset numbsrl Mlhe FM1 band

I
g
.1
o
if;

3 Mn "lZl 2

Select the bandi
ll l Press SOURCE (am Ia selectthe tunaras the sauna 1 m
lzl Press EAND lo salecl ma FM1 band.

Tune into a slatlon cl 88.3 MHz
See page 6 to lune lnlp a station.

2
l H 33.3 MHz EEQEEE

3 Select the number (1 , 6) for the preset station you want.
Press and hold the number button (in this example, 1)
for more than 2 seconds.

P1 §§_. 3 MHz
F I V' 3; Whon lllillg Ill unll In an urea other In North 0' South Amrica:

FM bond number and'MEMO' You need lo change the AMlFM chinnol lnlervels See To change the AM/FM channel
appearallernnlaly lor a vmlle mamas" on page 2,

End 25

Repeat the above procedure to store other stations into other
preset numbers

Nulu:
. .4 pmwml, mm mm u mm] writ-u a [low :mlmn n mm: m rim mum Wm mmlm
- Pmmmumuwmm wlwurmmnwuppll lulhemclrllmlmwil illli'rmp/ml(firrt'ulqurll'
mm lmln-nrnyunmnnm l/Ihlrvmllrs pmmlhmmnmn gm 9 10

CD OPERATIONS

[ Playing a CD [ Playing a CD Text I

In a CD run, some lnlormallon aboul lne disc (lls dim Inla penormar and mat line) is recorded,
You can show these disc Informant)" an the display

Open the loading slot.
The dliplay panel moves down, and the loadlng SIM appears

Select text display mode whlle playing a CD Text.

2 am time you press lne button the display changes as renews:
v. . .
Insert a dlsc Into lhe loadlng slot m 1", , pm... 4, hack Tn
rne unll draws a on ma dliplay panel moves up. and on play starts
Curmm track no,
automatically.
it and Elapsed playlng tlmn
fatal wacx number Tnlal playing time at Elapsm
of [he inserhd dlsc the lnsmod UIIC Currant Iran Dlin/IV Mme MOI.
{-5 ,-l- r--fl ,-rfi t m uplm trim w, m 12 mm M m we um and ti roll: 1/ the 'un' man man 12 llmrm rum.
__ 1-,. CD PLFW a: 18Tr 47, 53 a, 31 7-,. 68 63 5mm 7iucloz1llvenmllmud» tlnpugl>17
' Who" lull [an-:4 DISI will/c luring u mm'rlllll'mml ('11 N17 NAML 'u/Ipn'uhr In! .lw 11m lille/
"0...: Imam-r and III: mick mlc
- Wm a L'Du m mp laadinleol term); 1 n m mmmc by pmumg sat/kw: mm mm
(pp/«y
- Wlltwallllxlmrncdulmdcdown 'UIStE/b'll 'uppmmmllhrdnptqvmlllmcl Immnmaumllt
eletll

~ Wm. mu play u (1) lm ll.» Alur mm ml/mama upper .m m ll/lp/ay 1m mt» mun nu. l
may/upmpluylng um nppew on the mm, Say no le'imz a (D Tm (page 12/ um] ' lb
Aehl! lllc mull mm '(pnxe 27:

[m ('1) Tm lllrlmku mwh I n lnlnrmurlan mlm

ytnu'llwlgr mt» mm My (mum rm-m,» (WA/Iron! m Mg m r n;


To slop play and lint tho CD

Plus; OFF/A brlelly.

CD play stops the alsplay panel mwes down men the an automatically elects lmm Illa luadlng
slot

To mm up an. dllplly pan-l. pmssAmprm v f l-l

CAUTION: NEVER lnsarl yourllnger between lhe display panel I": (/1
and the UM. a: ll mayget Daughl m the unit, 1?

Nut-z
I/Ihc tjtl ml 4m n m)! mow/m bum I < mom, the an. n (ltllllnlulla'ulll' nunmdugum mm m
mum lllll m ,mum l'lfrwn mm «man. u ill "mum urn Ilnw}

Page 6

KD-LX10/KD-LX30

[Locating a track or a particular portion on a CD

Numberbuitons
4 tie) to s (12)

Number buttons
rm to 319)

To fast-forward or reverse lhe track

K Press and hold A »<. While playing a CD, lo laslrfolward the track.

Press and hold H4 v . while playing a cl]. to reverse the track

To go to Ilia next oraclu or in. previous tracks

Press A »i ortelly, whrle oleying a CD. to go ahead to the beginning or
the next lrack Each tlmeyou press the button oonseoutwely. thebogtnnlng
ortnn nul tracks 15 located and played back.

Press r« v brtetly, while playing a CD. to go back to the beginning at
the current track. ann time you press the button consecutively. the
haglnnlng or the previous track: is located and played back,

To go to a particular track directly

@EEgEl-E

Press the number bullan oorresponolng to the track number to start its
playbaok.
~ To select a track numbertrom t .6
Press 1 m » 5112) briefly
- To select a track number tram 7 712
Press and hold 1 t7) - 6112Hor more than t second

9

10 play back only intros (lmro Scan)

You can play back the first 15 seoonds or each track sequentially,

1 Press MODE while playrno a CD.
'MODE appears on the lowerpert olthe display. and the number buttons
can work as dtlierent tunotion buttons

2 Press lNT (intro). while 'MODE is elrll on the display
Each time you press the button, CD intro scan mode turns on and on
alternately
thn the intro scan mode is turned on. INTRO" appears on the display
tor 5 seconds and lha liack number llashee

~ rradr number or the curlonuy playing track

,_ qfiTr INTREJ" 4

MEIllE"

[Prohibiting CD ejection J

om;

SOURCE (ATT)
You can prompt CD Election and can look a cu in the loading slot.

While pressing SOURCE tATT), press 21nd hold OFF/2 tor more thenz secondswo EJECT
rlashes on lhe display lot about 5 seconds. and the an is looked and cannot be elecled

l HTJ EJECT o

"a: l. [A7 333

Ir run your nus/e wlrl/c(De/ul Htm rr ,rmrulnrt .mt» mnrmlpurul nnm Mom: bur [lit (1» umml
Ire up. roll r' N!) mu ' *uppoun on l/wdupltll /
rn mtri'l tip iht 1pr ,rmt pn-n A »i try i« v,

Yo cancel the orolrlb ion and unlock the CD. press and hold OFF]; for more than 2
seconds again. while pressing SOURCE tATT) EJECT oK' flashes on the display tor about
5 seconds. and the CD is unlocked.

ENGLlsH

13

x
2
A
0
I;

ENGLISH

e

[ Selecting CD playback modes ]

MODE INl Rr-r Run

To play back trucks or random (Random Play)
Von can play back all [mats on the CD a! random

1 Press MODE while playing a CD
'MODE appears on tho lower part otthe display. and the number buttons
can work as dittereht tunction buttons

2 Press RND tRanoom). while MOUE" is still on the display, so that the
RND lndlcalor lighle up on the display
Each time you press the button. on random play mode turns on and oil
alternately.
When the random mode is turned on. the RND lndicaloi lights up on the
display and a track randomly selected starts playing

fiBTl RHNDDN r)
_-_"' 'HEI HE" -

@

To play back tracks rcpscledly [Repeat Play)

Vou can play back lhl current track repeatedly

1 Press MODE while playing a CD
MODE appears on the lower part or the orsplay and the number buttons
can work as dinersnt lundton buttons.

2 Press RPT (Repeal). white "MODE is still on the display. so that the RPY
indicator lights up on the display
Each time you press the button. CD repeat play mode turns on and ulf
alternately
When the repeat mode is turned on. tho RPT indicator lights up on the
dis is .

p y rraok number ol the currently playing truck

WW EEPEHT a l
MIME" ' l

6 SOUND ADJUSTMENTS
(Adjusting the sound J

You oan aaiust the sound characteristics to your preference

Select the item you want to ad lust.
Each time you press lha bullen, the adtuetable lleme change as (allows

ans __. TRE _.FADER
[T to... "my
VOLUME <- WOOFER <- BALANCE

Indicallou To do: Rang-

EAS Autusl the bass. -06 (min i ,_ roe (mt-1x.)

TRE Adyusttttetreble rostmin )_sao (max)

FADER' Adluii the lront and rear speaker Ros (Rear only] .- FDG (Front only)
balance.

BALANCE Aolust the tort and right speaker L06 [Len only) - Ros (quhl only)
balance '

WOOFER Adjust the suhwooteroutput level. Domini -os (mam

VOLUME Adtust the volume. 001mm)750(max)

Notu:
' lfitmmt'luluqutntheyttlbcuultwl,tt'lt/tu/udt'r/tlellu 017'

Adjust the level.

Equaltzalmn pattern changes as you zdnlsl the bus: or treble

Nah:
Ntrrrrrum r / lmlmu mm to tlls voilmll'mmml xi) itm or, not
rim to Jult't/ . VOLUMI: to minor rlrtr Ittlmtlt' low!

Page 21

KD-LX10/KD-LX3O

I Removing the front panel assembly
(See Fig.6,8 and 9)

~ Prior to performing the following procedure, remove
the top chassis assembly.

1. Disconnect the flexible harness from connector
CN701 on the main board assembly.

2. Remove the four screws N attaching the front panel
assembly on both sides of the body. Remove the
front panel toward the front.

CN702 Front panel assembly
Fig.6-1 (KD-LXSO)

CN503

Joint a

Front panel assembly
Fig.6-2 (KD-LX10)

Front panel assembly

Front panel assembly

Fig.9

I Removing the Front Board (See Fig.10)

- Prior to performing the following procedure, remove
the top chassis assembly and the front panel
assembly.

1. Remove the four screws 0 attaching the front board
on the back of the front panel assembly and release
the eight joints b.

Fig.10

2-3