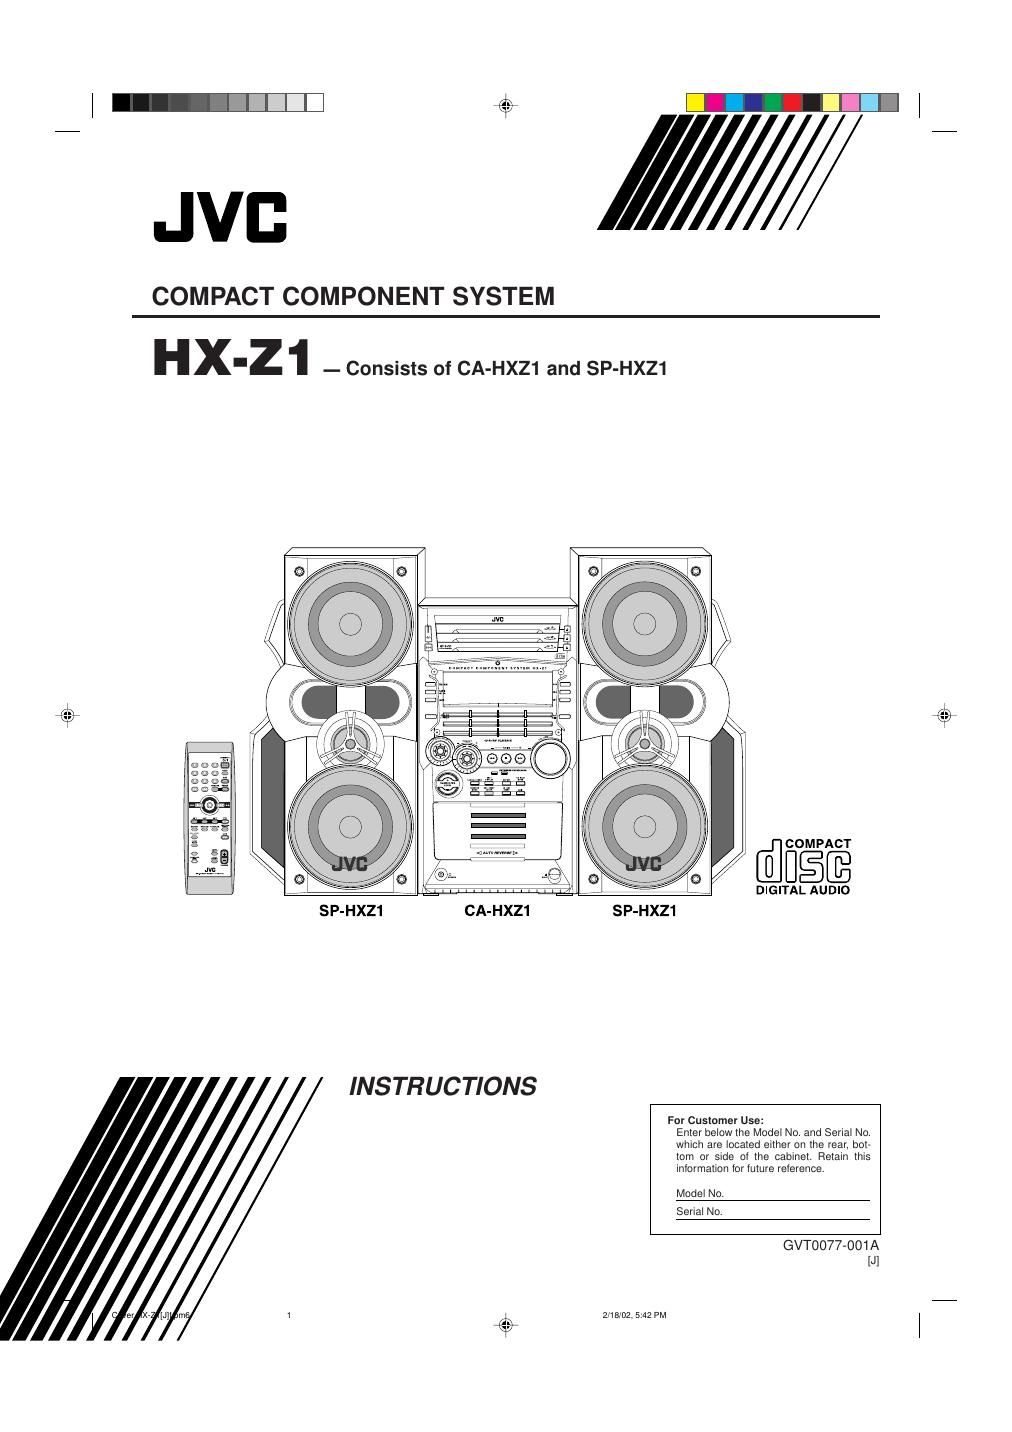
Jvc HXZ 1 Owners Manual

This is the 68 pages manual for Jvc HXZ 1 Owners Manual.
Read or download the pdf for free. If you want to contribute, please mail your pdfs to info@audioservicemanuals.com.

Page: 1 / 68
left right
Jvc HXZ 1 Owners Manual

Extracted text from Jvc HXZ 1 Owners Manual (Ocr-read)


Page 1

Ð G-1 Ð Warnings, Cautions and Others Mises en garde, prŽcautions et indications diverses CAUTION: TO REDUCE THE RISK OF ELECTRIC SHOCK, DO NOT REMOVE COVER (OR BACK). NO USER SERVICEABLE PARTS INSIDE. REFER SERVICING TO QUALIFIED SERVICE PERSONNEL. RISK OF ELECTRIC SHOCK DO NOT OPEN The lightning flash with arrowhead symbol, within an equilateral triangle is intended to alert the user to the presence of uninsulated "dangerous voltage" within the product's enclosure that may be of sufficient magnitude to constitute a risk of electric shock to persons. The exclamation point within an equilateral triangle is intended to alert the user to the presence of important operating and maintenance (servicing) instructions in the literature accompanying the appliance. CAUTION For U.S.A.This equipment has been tested and found to comply with the limits for a Class B digital device, pursuant to part 15 of the FCC Rules. These limits are designed to provide reasonable protection against harmful interference in a residential installation. This equipment generates, uses and can radiate radio frequency energy and, if not installed and used in accordance with the instructions, may cause harmful interference to radio communications. However, there is no guarantee that interference will not occur in a particular installation. If this equipment does cause harmful interference to radio or television reception, which can be determined by turning the equipment off and on, the user is encouraged to try to correct the interference by one or more of the following measures: Reorient or relocate the receiving antenna. Increase the separation between the equipment and receiver. Connect the equipment into an outlet on a circuit different from that to which the receiver is connected. Consult the dealer or an experienced radio/TV technician for help. WARNING: TO REDUCE THE RISK OF FIRE OR ELECTRIC SHOCK, DO NOT EXPOSE THIS APPLIANCE TO RAIN OR MOISTURE. CAUTION To reduce the risk of electrical shocks, fire, etc.: 1. Do not remove screws, covers or cabinet. 2. Do not expose this appliance to rain or moisture. ATTENTION Afin dÕŽviter tout risque dÕŽlectrocution, dÕincendie, etc.: 1. Ne pas enlever les vis ni les panneaux et ne pas ouvrir le coffret de lÕappareil. 2. Ne pas exposer lÕappareil ˆ la pluie ni ˆ lÕhumiditŽ. CautionÐÐ (standby/on) button! Disconnect the mains plug to shut the power off completely. The (standby/on) button in any position does not disconnect the mains line. The power can be remote controlled. AttentionÐÐCommutateur (attente/sous tension)! DŽconnecter la fiche de secteur pour couper compltement le courant. Le commutateur (attente/sous tension) ne coupe jamais compltement la ligne de secteur, quelle que soit sa position. Le courant peut tre tŽlŽcommandŽ. Safety.HX-Z1[J]f.pm62/18/02, 5:45 PM 1

Page 2

Ð G-2 Ð For Canada/pour le Canada CAUTION: TO PREVENT ELECTRIC SHOCK, MATCH WIDE BLADE OF PLUG TO WIDE SLOT, FULLY INSERT. ATTENTION: POUR EVITER LES CHOCS ELECTRIQUES, INTRODUIRE LA LAME LA PLUS LARGE DE LA FICHE DANS LA BORNE CORRESPONDANTE DE LA PRISE ET POUSSER JUSQUAU FOND. For Canada/pour le Canada THIS DIGITAL APPARATUS DOES NOT EXCEED THE CLASS B LIMITS FOR RADIO NOISE EMISSIONS FROM DIGITAL APPARATUS AS SET OUT IN THE INTERFERENCE-CAUSING EQUIPMENT STANDARD ENTITLED ÒDIGITAL APPARATUS,Ó ICES-003 OF THE DEPARTMENT OF COMMUNICATIONS. CET APPAREIL NUMERIQUE RESPECTE LES LIMITES DE BRUITS RADIOELECTRIQUES APPLICABLES AUX APPAREILS NUMIRIQUES DE CLASSE B PRESCRITES DANS LA NORME SUR LE MATERIEL BROUILLEUR: ÒAPPAREILS NUMERIQUESÓ, NMB-003 EDICTEE PAR LE MINISTRE DES COMMUNICATIONS. 1. CLASS 1 LASER PRODUCT 2.DANGER: Invisible laser radiation when open and interlock failed or defeated. Avoid direct exposure to beam. 3.CAUTION: Do not open the top cover. There are no user service- able parts inside the Unit; leave all servicing to qualified service personnel. 1. PRODUIT LASER CLASSE 1 2.ATTENTION: Radiation laser invisible quand lÕappareil est ouvert ou que le verrouillage est en panne ou dŽsactivŽ. Eviter une exposition directe au rayon. 3.ATTENTION: Ne pas ouvrir le couvercle du dessus. Il nÕy a aucune pice utilisable ˆ lÕintŽrieur. Laisser ˆ un personnel qualifiŽ le soin de rŽparer votre appareil. Safety.HX-Z1[J]f.pm62/18/02, 5:45 PM 2

Page 13

Ð 11 Ð Surround modes* DANCE: Increases resonance and bass. HALL: Adds depth and brilliance to the sound. STADIUM: Adds clarity and spreads the sound, like in an outdoor stadium. SEA (Sound Effect Amplifier) modes ROCK: Boosts low and high frequency. Good for acoustic music. POP: Good for vocal music. CLASSIC: Good for classical music. User Modes USER 1/2/3: Your individual mode stored in memory. See ÒCreating Your Own Sound ModeÑUser ModeÓ below. OFF:The sound mode is canceled. * Surround elements are added to the SEA elements to create a being-there feeling in your room. Creating Your Own Sound ModeÑUser Mode You can change SEA pattern to suit your preference. The SEA pattern can be adjusted into 5 frequency rangeÑLOW1, LOW2, MID, HIGH1, and HIGH2. These changed settings can be stored in the USER 1, USER 2, and USER 3 modes. ¥ There is a time limit in doing the following steps. If the setting is canceled before you finish, start from step 1 again. On the unit ONL Y: 1 Select one of the preset sound modes. ¥If you want to add the surround elements in your SEA pattern, select one of the surround modes (DANCE, HALL, or STADIUM) before starting the procedure below. (See ÒSelecting the Sound ModesÓ on page 10.) 2 Press SET/DISPLAY while the selected sound mode is still shown on the display. 3 Adjust the SEA pattern. 1)Tur n 4 / ¢ to select the frequency range (LOW1, LOW2, MID, HIGH1, and HIGH2). 2)Press 1 or Á to adjust the level (Ð3 to +3) of the selected frequency range. 3)Repeat steps 1) and 2) to adjust the level of the other frequency ranges. 4 Press SET/DISPLAY again. 5 Tu r n 4 / ¢ to select one of the user modes (USER 1, USER 2, and USER 3) which you want to store the SEA pattern. 6 Press SET/DISPLAY again. The SEA pattern you have created are stored into the user mode selected in the above step. To use your own sound mode Select USER 1, USER 2, or USER 3 mode when using the sound modes. See ÒSelecting the Sound ModesÓ on page 10. When you unplug the AC power cord or if a power failure occurs The setting will be erased in a few days. If this happens, set the user modes again. Turning On or Off the Key-touch Tone If you do not want the key-touch tone to beep each time you press a button, you can deactivate it. On the r emote contr ol ONL Y: Press BEEP ON/OFF. ¥ Each time you press the button, the key-touch tone turns on and off alternately. SET / DISPLAY PRESET SET / DISPLAY PRESET BEEP ON/OFF SET / DISPLAY Current level appears. EN09-12.HX-Z1[J]f.pm62/18/02, 5:48 PM 11

Page 15

Ð 13 Ð Playing Back CDs (CD/CD-R/CD-RW) This unit has been designed to playback the following CDs: ¥ CD (Audio CD) ¥ CD-R (CD-Recordable) ¥ CD-RW (CD-ReWritable) Continued use of irregular shape CDs (heart-shape, octagonal, etc.) can damage the unit. When playing a CD-R or CD-RW User-edited CD-Rs (CD-Recordable) and CD-RWs (CD-ReWritable) can be played back only if they are already Òfinalized.Ó ¥ You can play back your original CD-Rs or CD-RWs recorded in music CD format. (However, they may not be played back depending on their characteristics or recording conditions.) ¥ Before playing back CD-Rs or CD-RWs, read their instructions or cautions carefully. ¥ Some CD-Rs or CD-RWs may not be played back on this unit because of their disc characteristics, damage or stain on them, or the playerÕs lens is dirty. ¥ CD-RWs may require a longer readout time. This is caused by the fact that the reflectance of CD-RWs is lower than for regular CDs. Loading CDs On the unit ONL Y: 1 Press 0 for the disc tray (CD1, CD2, and CD3) you want to load a CD onto. The unit automatically turns on and the disc tray comes out. 2 Place a disc correctly on the circle of the disc tray, with its label side up. ¥ When using a CD single (8 cm), place it on the inner circle of the disc tray. 3 Press the same 0 you have pressed in step 1. The disc tray closes. CORRECT INCORRECT 4 Repeat steps 1 to 3 to place other CDs. When loading more than one CD continuously When you press 0 for the next tray you want to place another CD onto, the first disc tray automatically closes and then the next tray comes out. About the CD ready lamps Each CD ready lamp corresponds to the disc tray of the same number. ¥ When and why they light up? Ð When you turn on the unit for the first time after plugging into a wall outlet, all CD ready lamps (CD1 READY, CD2 READY, and CD3 READY) lights up. From the next time on, CD ready lamp(s) light(s) up according to the previous condition. Ð Each time you press the CD eject buttonsÑ0 (CD1, CD2, and CD3), the corresponding CD ready lamp lights up. ¥ When and why they go off? Only when the unit detects there is no CD loaded on the tray, the corresponding CD ready lamp goes off. (ÒNO DISC 1,Ó ÒNO DISC 2,Ó or ÒNO DISC 3Ó appears on the display.) ¥ When and why they flash? The corresponding CD ready lamp flashes during playback and pause. EN13-18.HX-Z1[J]f.pm62/18/02, 5:49 PM 13

Page 17

Ð 15 Ð Programming the Playing Order of the Tracks ÑProgram Play You can arrange the playing order of the tracks before you start playing. You can program up to 32 tracks. ¥ To use Repeat Play (see page 17) for Program Play, press REPEAT after starting Program Play. Only REPEAT 1 and REPEAT ALL can be selected for Program Play. ¥ There is a time limit in doing the following steps. If the setting is canceled before you finish, start from step 2 again. 1 Load CDs. ¥ If the current playing source is not the CD player, press CD 3´8, then 7 before going to the next step. 2 Activating the Program Play mode. On the unit: Press CD PLAY MODE repeatedly until ÒCD PROGRAMÓ appears on the display. ¥ Each time you press the button, the play mode changes as follows: On the r emote contr ol: Press PROGRAM so that ÒCD PROGRAMÓ appears on the display. ¥ If a program has been stored in memory, the program is called up. ¥ The PRGM (program) indicator also lights up on the display. 3 Press one of the disc number (CD1, CD2, and CD3) buttons to select the disc you want to play. Track number Disc number Program step number 4 Select a track from the selected CD in the above step. On the unit: Tu r n 4 / ¢ to select the track number and press SET/DISPLAY. On the r emote contr ol: Press the number buttons. ¥ For how to use the number buttons, see ÒTo go to another track directly using the number buttonsÓ on page 14. 5 Program other tracks you want. ¥ To program tracks from the same disc, repeat step 4. ¥ To program tracks from a different disc, repeat steps 3 and 4. 6 Press CD 3´8. The tracks are played in the order you have programed. To stop playing, press 7. To exit from Program Play mode, press CD PLAY MODE repeatedly (or PROGRAM on the remote control) until the PRGM (program) indicator goes off. The program you have made is stored in memory. ¥ If you try to program a 33rd track ÒCD FULLÓ will appears on the display. ¥ If your entry is ignored You have tried to program a track from an empty tray, or a track number that does not exist on the CD (for example, selecting track 14 on a CD that only has 12 tracks). Such entries are ignored. CD PLAY MODE SET / DISPLAY PRESET 1 4 7 10 2 5 83 6 9 10 CD3 CD2 CD1 PROGRAM CD CD PROGRAM Total track number and total playing time (Continuous Play)CD RANDOM PRGM PRGM EN13-18.HX-Z1[J]f.pm62/18/02, 5:49 PM 15

Page 65

Ð 28 Ð English Specifications Amplifier sectionÑCA-HXZ1 Output Power SUBWOOFERS: 130 W per channel, min. RMS, driven into 6 W at 63 Hz with no more than 10% total harmonic distortion. MAIN SPEAKERS: 55 W per channel, min. RMS, driven into 6 W at 1 kHz with no more than 10% total harmonic distortion. Audio input sensitivity/Impedance (Measured at 1 kHz, with tape recording signal 300 mV) AUX: 390 mV/50 kW Digital output: CD OPTICAL DIGITAL OUTPUT Signal wave length: 660 nm Output level: Ð15 dBm to Ð12 dBm Speakers/Impedance: SUBWOOFERS: 6 W Ð 16 W MAIN SPEAKERS: 6 W Ð 16 W Tuner FM tuning range: 87.5 MHz Ð 108.0 MHz AM tuning range: 530 kHz Ð 1 710 kHz CD player CD capacity: 3 CDs Dynamic range: 85 dB Signal-to-noise ratio: 90 dB Wow and flutter: Immeasurable Cassette deck Frequency response Normal (type I): 50 Hz Ð 14 000 Hz Wow and flutter: 0.15% (WRMS) General Power requirement: AC 120 V , 60 Hz Power consumption: 165 W/210 VA (at operation) 24 W (on standby with Ecology Mode off) 1.3 W (on standby with Ecology Mode on) Dimensions (approx.): 205 mm x 370 mm x 370 mm (W/H/D) (8 1/8 in. x 14 5/8 in. x 14 5/8 in.) Mass (approx.): 10.0 kg (22.1 lbs) Supplied accessories See page 6. Speaker sectionÑSP-HXZ1 Type: 3-Way 4-Speaker Bass-Reflex Type Twin Hyper Power-Drive Subwoofers and Front Twin Woofer Speaker units: Subwoofer: 16 cm (6 5/16 in.) cone x1 Woofer: 10 cm (3 15/16 in.) cone x2 Tweeter: 5 cm (2 in.) cone x1 Power handling capacity: Subwoofer: 130 W Main speaker: 55 W Impedance: Subwoofer: 6 W Main speaker: 6 W Frequency range: Subwoofer: 30 Hz Ð 120 Hz Main speaker: 75 Hz Ð 32 000 Hz Sound pressure level: Subwoofer: 78 dB/W¥m Main speaker: 86 dB/W¥m Dimensions (approx.): 217 mm x 432 mm x 365 mm (W/H/D) (8 9/16 in. x 17 1/16 in. x 14 3/8 in.) Mass (approx.): 7.6 kg (16.8 lbs) each Design and specifications are subject to change without notice. EN26-28.HX-Z1[C]f.pm62/18/02, 5:16 PM 28