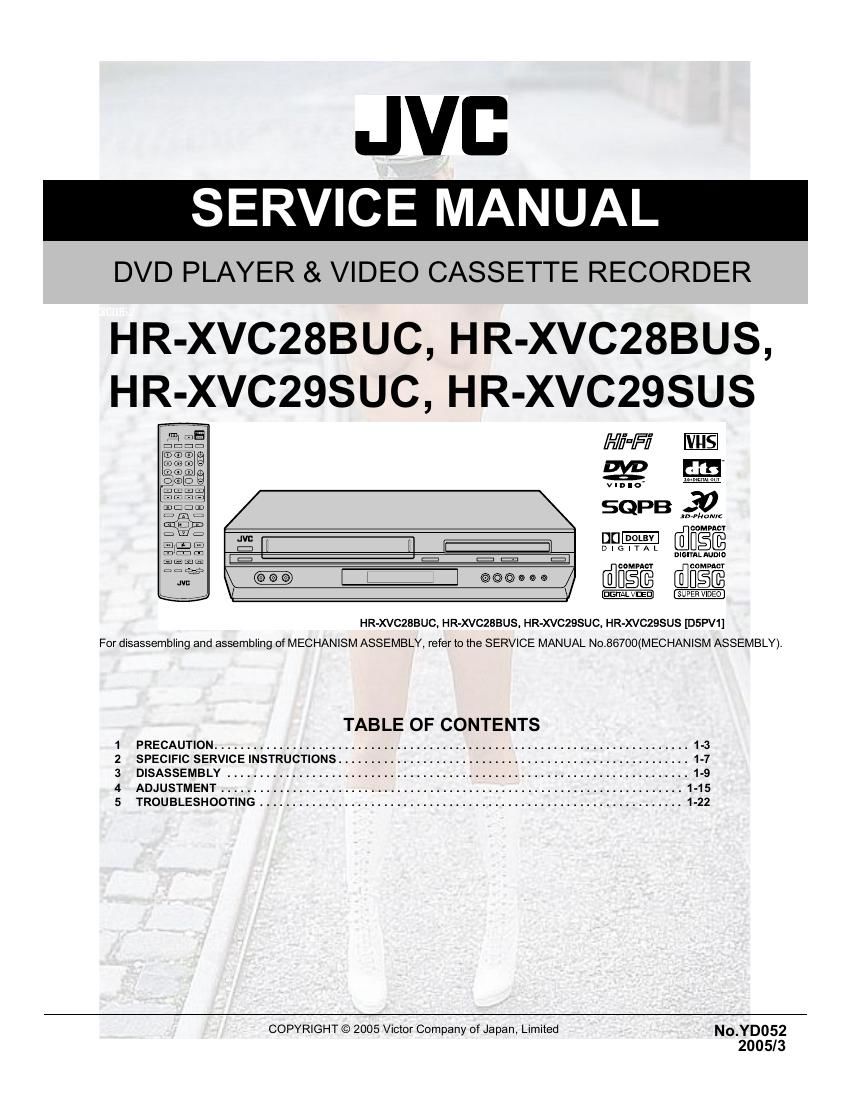
Jvc HRXVC 29 SU Service Manual

This is the 149 pages manual for Jvc HRXVC 29 SU Service Manual.
Read or download the pdf for free. If you want to contribute, please mail your pdfs to info@audioservicemanuals.com.

Page: 1 / 149
left right
Jvc HRXVC 29 SU Service Manual

Extracted text from Jvc HRXVC 29 SU Service Manual (Ocr-read)


Page 2

SPECIFICATION

GENERAL
Power requirement AC 120 V, 60 Hz
Power consumption
Power on 25 W
Power off 2.0 W
Temperature
Operating 5"C to 40°C (41°F to 104°F)
Storage -20°C to 60°C (-4°F to140°F)
Operating position Horizontal only
Dimensions (W x H x D) 435 mm x 93 mm x 272 mm
Weight 4.1 kg (9.1lbs)
Format VHS NTSC standard
Maximum recording time
(SP) 210 min. with T-210 video cassette
(EP) 630 min. with T-210 video cassette
VIDEO/AUDIO (VCR deck)
Signal system NTSC color signal and EIA monochrome signal, 525 lines/60 fields
Recording system DA4 (Double Azimuth) head helical scan system
Signal-to-noise ratio 45 dB
Horizontal resolution 230 lines
Frequency range 70 Hz to 10,000 Hz (Normal audio) 20 Hz to 20,000 Hz (Hi-Fi audio)
Input/Output RCA connectors: [N x 1, OUT X1
VIDEO/AUDIO (DVD deck)
Signal system NTSC
Applicable disc DVD (12 cm, 8 cm), CD (12 cm, 8 cm)
Audio characteristics DVD:4 Hz < 22 KHZ
Frequency response CD:4 Hz - 20 KHz
S/N Ratio 90 dB
Harmonic distortion 0.1%
Wow and flutter Below Measurable Level
Dynamic range 90 dB
Output
Component-Y (RCA) 1.0 Vp-p/75 Q
Component-PB/PR (RCA) 0.7 Vp-p/75 9
Audio (RCA) 2 Vrms, 1 K0
Digital Audio (COAXIAL) 0.5 Vp-p/75 o
TUNER
Tuning system Frequency synthesized tuner
Channel coverage VHF: Channels 2 - 13, UHF: Channels 14 - 69, CATV: 113 Channels
RF output Channel 3 or 4 (switchable; preset to Channel 3 when shipped) 75 £1, unbalanced
TIMER
Clock reference Quartz
Program capacity 1-year programmable timer/8 programs
ACCESSORIES
Provided accessories RF cable, Infrared remote control unit, "AA" battery x2

- Specifications shown are for SP mode unless otherwise specified.

- E.& O.E. Design and specifications subject to change without notice.

- Manufactured under license from Dolby Laboratories. "Dolby" and the double-D symbol are trademarks of Dolby Laboratories.
- "DTS" and "DTS 2.0 + Digital Out" are trademarks of Digital Theater Systems, Inc.

1-2 (No.YD052)

Page 36

8m

DISC INFORMATION (cont)

File Structure of Discs

DVD VIDEO

Typically, DVD VIDEO discs are made up of larger units called
titles. Each title has a number (title number) that can be used to
select desired titles. Titles are further divided into units called
chapters. Each chapter has a number (chapter number) that
can also be used to select desired chapters. Note that some discs
are not divided into titles and chapters.

Title 1 Title 2

Chapter 1 Chapter 2 I Chapter 3 Chapter 1
l l I

Audio CD/Video CD

Typically, Audio CD discs are divided into separate tracks each
containing one song. Each track is assigned a number. For
example, the third track is Track 3. The same is true for Wdeo
CD discs.

Chapter 2

I Track 1 I Track 2 I Track 3 I Track 4 I

| | | | |
NOTE:

Video CD discs that support Playback Control (PBC)

The still image or motion image which follows a menu screen is
called a scene. Each scene has a scene number.

For more details, refer to Locating a Desired Scene Using the
Menu of the Wdeo CD with Playback Control (PBC) Function
(it? pg. 41).

Placing a Disc

l Open the disc tray. A OPEN/CLOSE

Press A OPEN/CLOSE on -\

the DVD deck to open the

disc tray. :

o The units power comes on EL
automatically 2 '2' 2

0 Do not block the disc tray with :I O©© 0 0 0
your hand while it is opening
or closing as this may result in
hardware failure.

0 Do not place unplayable discs or any object other than a disc
in the disc tray.

0 Do not press down strongly on the disc tray or place any heavy
objects on it.

2 Place the disc.

Place the disc in the disc tray

with the label side facing up.

0 Since disc size changes depending
on the disc to be played back, be
sure to correctly align the disc with
the grooves for its size. If the disc is
not in its groove, it may be
scratched or otherwise damaged.

0 To insert an 8 cm disc, place it according to the inner groove.

3 Press A OPEN/CLOSE an the DVD deck to close

the disc tray.

0 Pressing > PLAY also closes the disc tray.

0 Playback begins automatically if an auto-playback DVD disc is
loaded. Although the VHS deck is selected, the DVD deck is
selected automatically (except when the VHS deck is in the
timer mode or the Automatic Satellite Programme Recording
mode.)

Care and Handling of Discs

How to handle discs
When handling a disc, do
not touch the surface of the
disc. Since discs are made
of plastic, they are easily
damaged. If a disc gets dirty,
dusty, scratched or warped,
the images and sound will
not be picked up correctly,
and such a disc may cause the unit to malfunction.

Label side
Do not damage the label side, stick paper to or use any adhesive
on its surface.

Storage

Make sure that discs are kept in their cases. if discs are piled on
top of one another without their protective cases, they can be
damaged. Do not put discs in a location where they may be
exposed to direct sunlight, or in a place where the humidity or
temperature is high. Avoid leaving discs in your car!

Maintenance of discs

If there are fingerprints or other dirt
adhering to a disc, wipe with a soft dry
cloth, moving from the center outwards.
If a disc is difficult to clean, wipe with a
cloth moistened with water. Never use
record cleaners, petrol, alcohol or any
anti-static agents.

Page 81

EN 53

Edit To Dr From
Another Video
Recorder


Player Your unit

Audio/video cable

Audio/video
cable

AV mode

TV receiver

AV mode
Another recorder
l_l l_l
Recorder
m Recorder Your unit
t
Audio/video cable a
: Audio/video
cable

Another recorder

Player

You can use your unit as the source player or as the
recording deck.

Slide the TVNCR/DVD switch on the Remote to the
right.

n Make connections.

[l When using your unit as the source player

connect its AU DlONlDEO OUTPUT connectors to the
audio/video input connectors on another recorder.

Hi When using your unit as the recording deck
connect its AUDIONIDEO input connectors to the
audio/video output connectors on another recorder.

Select the VCR deck.

On the unit
Press VCR/DVD repeatedly so that the VHS indicator
lights up on the front display panel.

On the Remote
Press VCR so that the VHS indicator lights up on the front
display panel.

Set the input mode of recording deck.
With this video unit, press AUX (number key 0) and/or
CH +/- to select F-1.

0 When using another recorder as the recording deck, refer to its
instruction manual.

Set the edit mode.

See PlCFURE CONTROL" on page 59.

Engage the Record Pause mode of the
recording deck.

Locate the point where you start recording, then engage
the Record Pause mode.

a Start the source player.

Engage the Play mode of the source player.

Start the recording deck.

Engage the Record mode of the recording deck,

NOTES:

0 All necessary cables can be obtained from your dealer.

0 When you select EDIT to dub tapes in step I, be sure to select
NORM after you finish dubbing the tapes.

0 When you use this unit as the source player for editing, be sure to set
5U PERIMPOSE to OFF before starting. (ill? pg. 59)

Page 98

701m

QUESTIONS AND ANSWERS

PLAYBACII

Q. What happens if the end of the tape is reached
during playback or search?

A. The tape is automatically rewound to the
beginning.

Q. During search, slow, still and frame-by-frame
playback, I cant hear any audio. What's the
problem?

A. This is normal.

Q. Can the unit indefinitely remain in the still
mode?

A. No. It stops automatically after 5 minutes to
protect the heads.

Q. When returning from search to normal
playback, the picture is disturbed. Should I be
concerned about this?

A. No, it is normal.

Q. Noise bar appear during search. Whats the
problem?
A. This is normal.

Q. Sometimes, during Index Search, the unit cant
find the program I want to see. Why not?
A. There may be index codes too close together.

RECORDING

Q. When I pause and then resume a recording, the
end of the recording before the pause is
overlapped by the beginning of the
continuation of recording. Why does this
happen?

A. This is normal. It reduces distortion at the pause
and resume points.

Q. Can the unit indefinitely remain in the Record-
Pause mode?

A. No. The unit goes to its Stop mode
automatically after 5 minutes to protect the
heads.

Q. What happens if the tape runs out during
recording?

A. The unit stops recording, and O and l> on
the front display panel wont stop blinking.

TIMER RECORDING

Q. Q and 6) remain lit on the front display
panel. Is there a problem?

A. No. This is a normal condition for a timer
recording in progress.

Q. Can I program the timer while Im watching a
tape or a TV broadcast?

A. You wont see the picture as it is replaced by the
on-screen menu, but the audio from the
program or tape youre viewing can be heard.

Page 133

VHS mechanism assembly and parts list

Block No. MZMM

,0

9 /
LOADING MOTOR
BOARD ASSV (55>

" i
L/ J
PMDOWA-C L7
Classification Part No. Symbol indrawing
Grease KYODO-SH-JB AA
Oil COSMO-HV56 BB

NOTE:The section marked in AA and BB
indicate lubrication and greasing aveas.

(No.YDOSZ)3-5