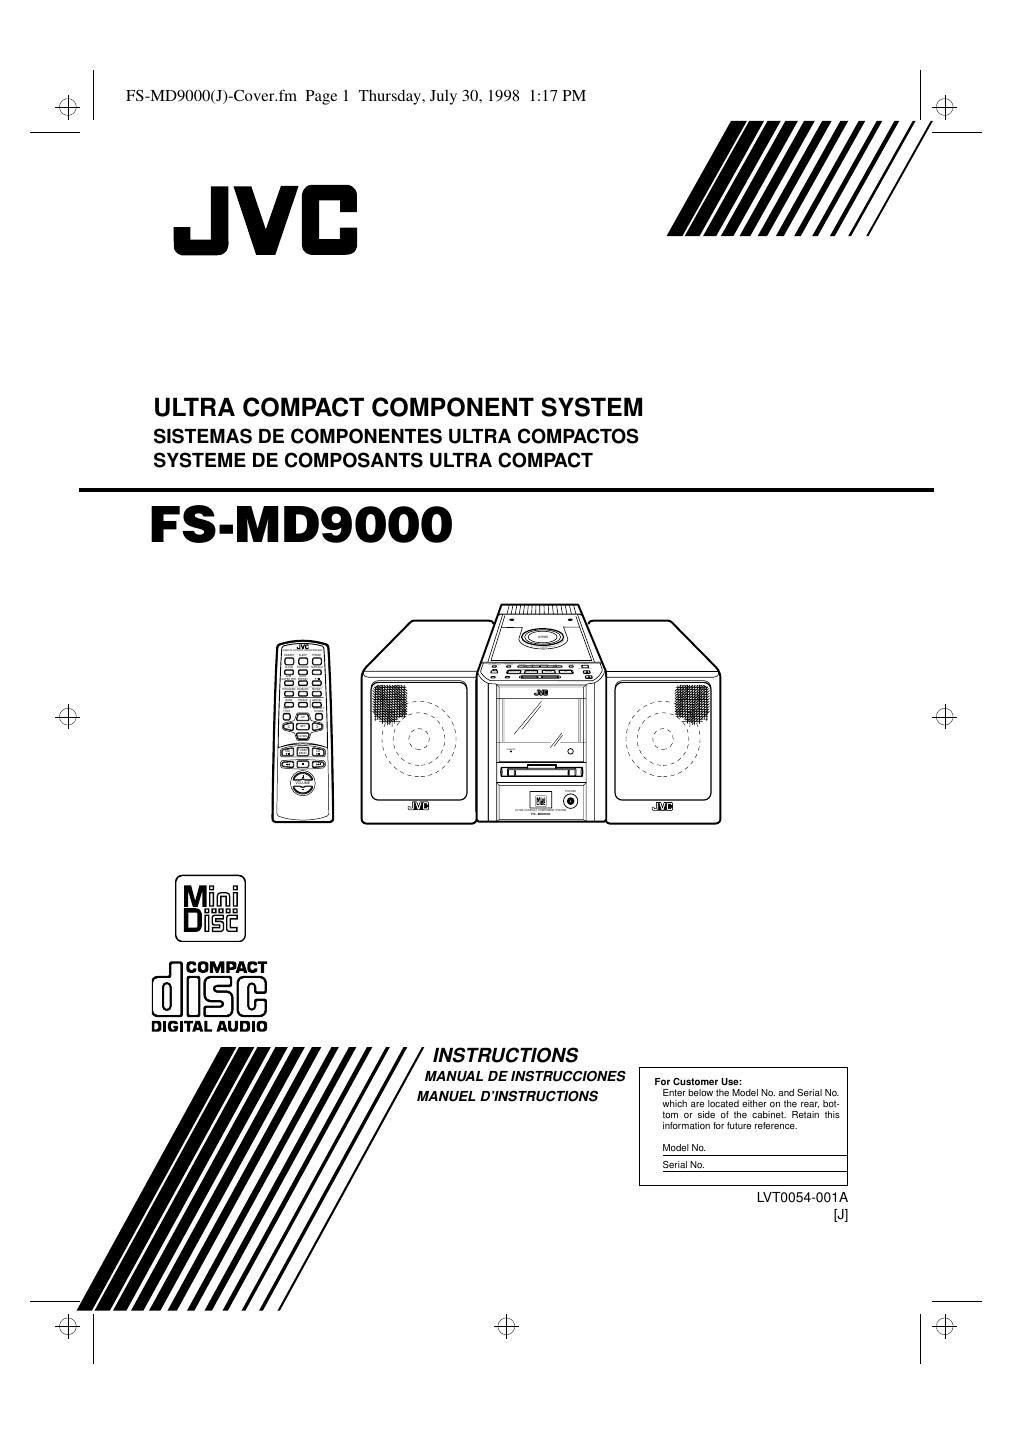
Jvc FSMD 9000 Service Manual

This is the 30 pages manual for Jvc FSMD 9000 Service Manual.
Read or download the pdf for free. If you want to contribute, please mail your pdfs to info@audioservicemanuals.com.

Page: 1 / 30
left right
Jvc FSMD 9000 Service Manual

Extracted text from Jvc FSMD 9000 Service Manual (Ocr-read)


Page 1

G-1 Warnings, Cautions and Others / Mises en garde, précautions et indications diverses (For U.S.A) The lightning flash with arrowhead symbol, within an equilateral triangle is intended to alert the user to the presence of uninsulated dangerous voltage within the products enclosure that may be of sufficient magni- tude to constitute a risk of electric shock to persons. The exclamation point within an equilateral triangle is intended to alert the user to the presence of important operating and mainte- nance (servicing) instructions in the literature accompanying the appliance. CAUTIONRISK OF ELECTRIC SHOCK CAUTION: TO REDUCE THE RISK OF ELECTRIC SHOCK DO NOT REMOVE COVER (OR BACK) NO USER SERVICEABLE PARTS INSIDE REFER SERVICING TO QUALIFIED SERVICE PERSONNEL. WARNING: TO REDUCE THE RISK OF FIRE OR ELECTRIC SHOCK, DO NOT EXPOSE THIS APPLIANCE TO RAIN OR MOISTURE. INFORMATION This equipment has been tested and found to com- ply with the limits for a Class B digital device, pursu- ant to Part 15 of the FCC Rules. These limits are designed to provide reasonable protection against harmful interference in a residential installation. This equipment generates, uses, and can radiate radio frequency energy and, if not installed and used in accordance with the instructions, may cause harmful interference to radio communications. However, there is no guarantee that interference will not occur in a particular installation. If this equipment does cause harmful interference to radio or television reception, which can be determined by turning the equipment off and on, the user is encouraged to try to correct the interference by one or more of the fol- lowing measures:-“ Reorient or relocate the receiving antenna. -“ Increase the separation between the equipment and receiver. -“ Connect the equipment into an outlet on a circuit different from that to which the receiver is con- nected. -“ Consult the dealer or an experienced radio/TV technician for help. FS-MD9000(J)-Warning.fm Page 1 Thursday, July 30, 1998 1:23 PM

Page 2

G-2 1. CLASS 1 LASER PRODUCT 2.DANGER: Invisible laser radiation when open and interlock failed or defeated. Avoid direct exposure to beam. 3.CAUTION: Do not open the top cover. There are no user serviceable parts inside the unit; leave all ser- vicing to qualitied service personnel.1. PRODUIT LASER CLASSE 1 2.ATTENTION: Radiation laser invisible quand lappareil est ouvert ou que le verrouillage est en panne ou désactivé. Eviter une exposition directe au rayon. 3.ATTENTION: Ne pas ouvrir le couvercle du dessus. Ilny a aucune pièce utilisable à lintérier. Laisser à un personnel qualifié le soin de réparer votre appar- eil. CAUTION To reduce the risk of electrical shocks, fire, etc.: 1. Do not remove screws, covers or cabinet. 2. Do not expose this appliance to rain or moisture. ATTENTION Afin dèviter tout risque délectrocution, dlncendie. etc.: 1. Ne pas enlever les vis ni les panneaux et ne pas ouvrir le coffret de lappareil. 2. Ne pas exposer lappareil à la pluie ni à lhumidité. Caution - POWER switch! Disconnect the mains plug to shut the power off com- pletely. The POWER switch in any position does not disconnect the mains line. The power can be remote controlled.Attention - Commutateur POWER! Déconnecter la fiche de secteur poru couper complète- ment le courant. Le commutateur POWER ne coupe jamais complètement la ligne de secteur, quelle que soit sa position. Le courant peut être télécommandé. For Canada/pour le Canada CAUTION: TO PREVENT ELECTRIC SHOCK, MATCH WIDE BLADE OF PLUG TO WIDE SLOT, FULLY INSERT. PRECAUTION: POUR EVITER LES CHOCS ELEC- TRIQUES, INTRODUIRE LA LAME LA PLUS LARGE DE LA FICHE DANS LA BORNE CORRESPONDANTE DE LA PRISE ET POUSSER JUSQUAU FOND. FS-MD9000(J)-Warning.fm Page 2 Thursday, July 30, 1998 1:23 PM

Page 16

14 English n4. Play the record source selected in step 2. n5. Press the MD 38 button to start recording. The MD indicator blinks slowly and the selected source is re- corded on the MD. n6. Press the 7 button to stop recording. The MD indicator stays lit and "UTOCwriting" appears on the display, indicating that the recording is successfully completed. Then, the MD stops. - If the MD becomes full before pressing the 7 button, the recording will be terminated after indicating UTOCwriting. Checking the Remaining Time of the MD - You can see the recordable remaining time of the MD in Stop or Re- cording mode. Press the DISPLAY/CHARA button on the Remote Control, the remaining time appears on the display. Track marking - - Whenever playback advances from one track to another during digital recording, the track number at the MD side is automati- cally incremented by 1. - Whenever no sound at the playback side continues for 3 or more seconds during analog recording, the track number at the MD side is automatically incremented by 1. - The track number at the MD side is automatically incremented by 1 by pressing the SET button on the remote control at the desirable location during analog recording. (tuner or the equip- ment connected to the AUX-1.).Everything on the CD goes onto the MD in the order it is on the CD, or according to the order you have set in the program. (See page 10 for programming the CD tracks.) n1. Insert an MD with its label side up. n2. Insert a CD. (See page 9.) n3. Press the CD 38 button and then press the 7 button to stop the CD. n4. Press the CD SYNCHRO REC button on the Unit. Digital recording from the CD to the MD starts. - The track number for the MD increases synchronous with the track on the CD. - After the CD Player has played the entire CD or all the pro- grammed tracks, "UTOCwriting" appears on the display, indi- cating that the recording is successfully completed. Then, the MD and the CD stops. - When the MD becomes full before the CD Player finishes play- back, the MD stops after indicating "UTOCwriting". One Track Recording - n1. Insert an MD with its label side up. n2. Play the track on the CD you wish to record. n3. Press the CD SYNCHRO REC button on the Unit. The CD Player returns to the beginning of that track and the track is recorded on the MD. After recording, the CD Player and MD Player automatically stop. nn Using the MD Player (Editing) In addition to its recording and play functions, the MD Player comes with editing functions. You can divide, join, move, or erase the recorded tracks in the MD as required. Also, you can give a disc title to the MD and track titles to the tracks in the MD. Dividing tracks (DIVIDE function) This involves adding a track mark (see Note) at some point during the track which is to be made into the start of an additional track so that the original track is divided into two tracks. Joining tracks (JOIN function) This involves erasing a track mark and turning two adjoining tracks into one track. Moving tracks (MOVE function) Tracks can be moved around so that they are in the desired se- quence. Erasing tracks (ERASE function) This enables unnecessary tracks. Narration, etc. to be erased speed- ily. The erased parts do not remain as silences but are closed up by the subsequent tracks. MD (Source playback) (Track is increased by 1.)or REC PAUSE CD Synchro Recording DIVIDE Track No. Track A Track B Track C Track D Track A Track B Track C Track D Track A Track B Track C Track D JOIN Track C Track D Track A + Track B.Track No. Track A Track B Track C Track DTrack No. MOVE Track A Track C Track D Track B Track No. Track A Track B. Track C Track D Erasing Track B Track A Track C Track D New tracks can be recorded. FS-MD9000(J)-e.fm Page 14 Thursday, July 30, 1998 1:19 PM

Page 21

19 English nn Using External Equipments > < VOLUME CD TUNER BAND MD DOWNSETUP TREBLE CANCEL BASSRANDOM REPEAT PROGRAMAUTO PRESET DISPLAY /CHARA EDIT /TITLEAHB. SUPER PROFM MODE TAPE/AUX CLOCKSLEEP DIMMER REMOTE CONTROL RM-RXFSMD9000 POWER PRESET TUNING AHB. SUPER PRO TAPE /AUX VOLUME TUNER BANDCD MDCD MD OPEN/CLOSETIMER/ SNOOZE CLOCK UP MULTI CONTROL DOWN ULTRACOMPACTCOMPONENTSYSTEM FS-MD9000 REC PAUSE CD SYNCHRO REC UP DOWN EJECT POWER TAPE/AUX TAPE/AUX You can listen to external equipment. n First make sure that the external equipment is properly connect- ed to the System. (See page 4). n1. Set the VOLUME control to the minimum position. n2. Press the TAPE/AUX button. The display changes with each press of the button, as shown be- low. When the AUX 1 ANALOG IN is selected: You can use the external equipment connected to the LINE IN (AUX1) terminals of the System, such as cassette deck, turnta- ble, etc. - To listen to the external equipment, start playing the exter- nal equipment. When the "AUX 2 DIGITAL IN" is selected: You can use the external equipment connected to the OPTICAL DIGITAL IN (AUX2) terminal of the System, such as CD play- er, etc. - To listen to the external equipment, start playing the exter- nal equipment. n3. Adjust the VOLUME control to the desired listening level. n4. Apply sound effects, if you wish. n Press the AHB Super PRO button to reinforce the bass sound. n Press the BASS/TREBLE button to control the tone. (See "Tone Control" on page 7.) Note:For operation of the external equipment, refer to its Instruc- tions.You can record the System's source to external equipment which is connected to the LINE OUT terminals of the System, such as cas- sette deck, etc. n First make sure that the external equipment is properly connect- ed to the System. (See page 4). n1. Play the System's CD Player, MD Player, or tune into a station. n The recording level is not affected by the VOLUME level set by the System. Also it is not affected by the sound effects. Note:For operation of the external equipment, refer to its Instruc- tions. Listening to External Equipment Recording to External Equipment FS-MD9000(J)-e.fm Page 19 Thursday, July 30, 1998 1:19 PM