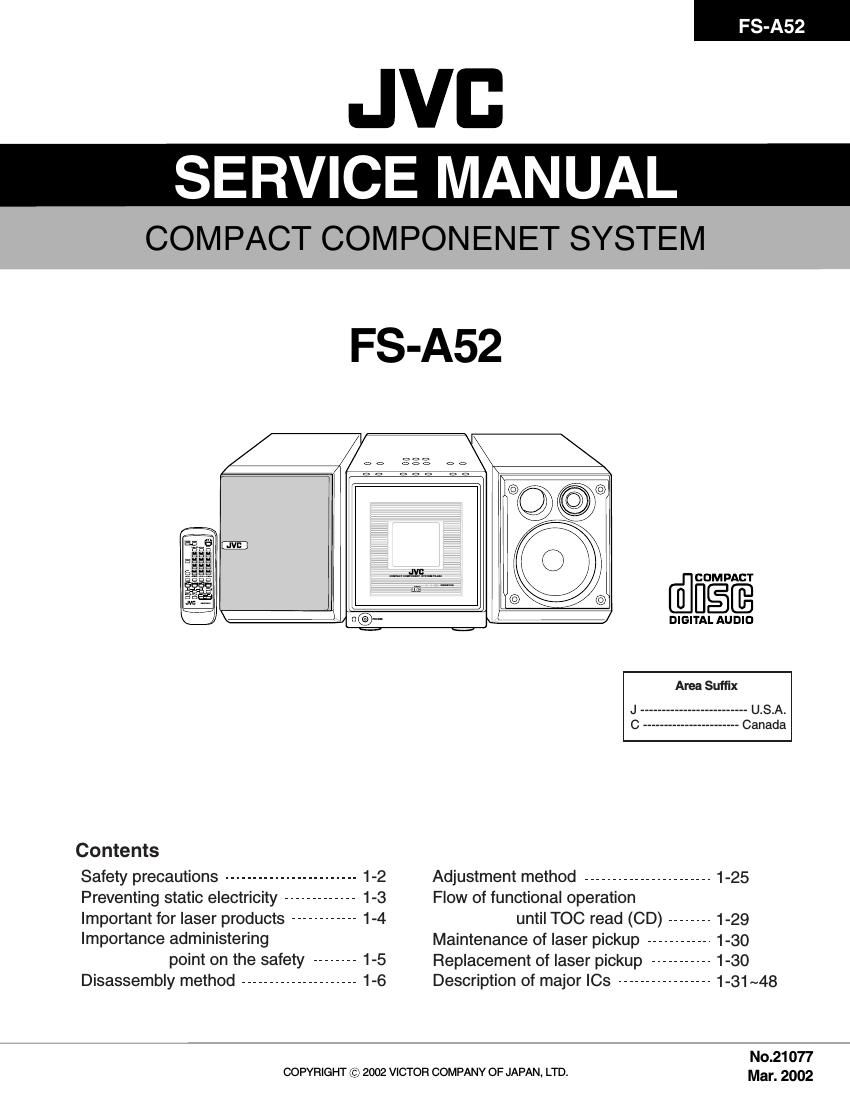
Jvc FSA 52 Service Manual

This is the 82 pages manual for Jvc FSA 52 Service Manual.
Read or download the pdf for free. If you want to contribute, please mail your pdfs to info@audioservicemanuals.com.

Page: 1 / 82
left right
Jvc FSA 52 Service Manual

Extracted text from Jvc FSA 52 Service Manual (Ocr-read)


Page 1

1-2 FS-A52 1. This design of this product contains special hardware and many circuits and components specially for safety purposes. For continued protection, no changes should be made to the original design unless authorized in writing by the manufacturer. Replacement parts must be identical to those used in the original circuits. Services should be performed by qualified personnel only. 2. Alterations of the design or circuitry of the product should not be made. Any design alterations of the product should not be made. Any design alterations or additions will void the manufacturer`s warranty and will further relieve the manufacture of responsibility for personal injury or property damage resulting therefrom. 3. Many electrical and mechanical parts in the products have special safety-related characteristics. These characteristics are often not evident from visual inspection nor can the protection afforded by them necessarily be obtained by using replacement components rated for higher voltage, wattage, etc. Replacement parts which have these special safety characteristics are identified in the Parts List of Service Manual. Electrical components having such features are identified by shading on the schematics and by ( ) on the Parts List in the Service Manual. The use of a substitute replacement which does not have the same safety characteristics as the recommended replacement parts shown in the Parts List of Service Manual may create shock, fire, or other hazards. 4. The leads in the products are routed and dressed with ties, clamps, tubings, barriers and the like to be separated from live parts, high temperature parts, moving parts and/or sharp edges for the prevention of electric shock and fire hazard. When service is required, the original lead routing and dress should be observed, and it should be confirmed that they have been returned to normal, after re-assembling. 5. Leakage currnet check (Electrical shock hazard testing) After re-assembling the product, always perform an isolation check on the exposed metal parts of the product (antenna terminals, knobs, metal cabinet, screw heads, headphone jack, control shafts, etc.) to be sure the product is safe to operate without danger of electrical shock. Do not use a line isolation transformer during this check. Plug the AC line cord directly into the AC outlet. Using a "Leakage Current Tester", measure the leakage current from each exposed metal parts of the cabinet, particularly any exposed metal part having a return path to the chassis, to a known good earth ground. Any leakage current must not exceed 0.5mA AC (r.m.s.). Alternate check method Plug the AC line cord directly into the AC outlet. Use an AC voltmeter having, 1,000 ohms per volt or more sensitivity in the following manner. Connect a 1,500 10W resistor paralleled by a 0.15 F AC-type capacitor between an exposed metal part and a known good earth ground. Measure the AC voltage across the resistor with the AC voltmeter. Move the resistor connection to each exposed metal part, particularly any exposed metal part having a return path to the chassis, and meausre the AC voltage across the resistor. Now, reverse the plug in the AC outlet and repeat each measurement. Voltage measured any must not exceed 0.75 V AC (r.m.s.). This corresponds to 0.5 mA AC (r.m.s.). 1. This equipment has been designed and manufactured to meet international safety standards. 2. It is the legal responsibility of the repairer to ensure that these safety standards are maintained. 3. Repairs must be made in accordance with the relevant safety standards. 4. It is essential that safety critical components are replaced by approved parts. 5. If mains voltage selector is provided, check setting for local voltage. Good earth groundPlace this probe on each exposed metal part. AC VOLTMETER (Having 1000 ohms/volts, or more sensitivity) 1500 10W 0.15 F AC TYPE ! Burrs formed during molding may be left over on some parts of the chassis. Therefore, pay attention to such burrs in the case of preforming repair of this system. In regard with component parts appearing on the silk-screen printed side (parts side) of the PWB diagrams, the parts that are printed over with black such as the resistor ( ), diode ( ) and ICP ( ) or identified by the " " mark nearby are critical for safety. (This regulation does not correspond to J and C version.)

Page 2

1-3 FS-A52 Preventing static electricity 1.Grounding to prevent damage by static electricity Electrostatic discharge (ESD), which occurs when static electricity stored in the body, fabric, etc. is discharged, can destroy the laser diode in the traverse unit (optical pickup). Take care to prevent this when performing repairs. 2.About the earth processing for the destruction prevention by static electricity Static electricity in the work area can destroy the optical pickup (laser diode) in devices such as CD players. Be careful to use proper grounding in the area where repairs are being performed. 2-1 Ground the workbench Ground the workbench by laying conductive material (such as a conductive sheet) or an iron plate over it before placing the traverse unit (optical pickup) on it. 2-2 Ground yourself Use an anti-static wrist strap to release any static electricity built up in your body. 3. Handling the optical pickup 1. In order to maintain quality during transport and before installation, both sides of the laser diode on the replacement optical pickup are shorted. After replacement, return the shorted parts to their original condition. (Refer to the text.) 2. Do not use a tester to check the condition of the laser diode in the optical pickup. The tester's internal power source can easily destroy the laser diode. 4.Handling the traverse unit (optical pickup) 1. Do not subject the traverse unit (optical pickup) to strong shocks, as it is a sensitive, complex unit. 2. Cut off the shorted part of the flexible cable using nippers, etc. after replacing the optical pickup. For specific details, refer to the replacement procedure in the text. Remove the anti-static pin when replacing the traverse unit. Be careful not to take too long a time when attaching it to the connector. 3. Handle the flexible cable carefully as it may break when subjected to strong force. 4. It is not possible to adjust the semi-fixed resistor that adjusts the laser power. Do not turn it Attention when traverse unit is decomposed 1.Solder is put up before the card wire is removed from connector on the CD substrate as shown in Figure. (When the wire is removed without putting up solder, the CD pick-up assembly might destroy.) 2.Please remove solder after connecting the card wire with when you install picking up in the substrate.*Please refer to "Disassembly method" in the text for pick-up and how to detach the substrate. (caption) Anti-static wrist strap Conductive material (conductive sheet) or iron plate CN601 on mechanism boardShorting round Shorting round Flexible wire

Page 23

1-24 FS-A52 Prior to performing the following procedure, remove the side bracket (L), (R), cassette hanger assembly / cassette holder. Remove the spring on the lower side of the head assembly. Remove the two screws D and remove the head assembly upward. Remove the screw E attaching the head board. Unsolder the flexible wire extending from the head assembly if necessary. 1. 2. 3. Removing the head assembly / head board (See Fig.9 and 10) Prior to performing the following procedure, remove the side bracket (L), (R), cassette hanger assembly / cassette holder. Remove the belt and sub belt on the bottom of the body. Remove the polywasher from the flywheel (F) and (R) on top of the body. Pull out the flywheel (F) and (R). 1. 2. 3. Removing the flywheel assembly (F) and (R) (See Fig.11 and 12) Fig.9 Fig.10 Fig.11 Head assembly D D Fig.12 E Head assembly Head board Soldering Belt Sub belt Flywheel assembly (R)Flywheel assembly (F) Polywasher Polywasher

Page 64

FS-A52 3-15 Item Parts number Parts name Ar ea Electrical parts list (Front board) Remarks Block No. 02 A Item Parts number Parts name Ar ea Remarks A R2752 NRSA63J-221X MG RESISTOR R2852 NRSA63J-100X MG RESISTOR R2853 NRSA63J-222X MG RESISTORR2854 NRSA63J-222X MG RESISTOR R2855 NRSA63J-100X MG RESISTOR R2856 QRE141J-9R1Y C RESISTOR 9.1 5% 1/4W R2860 NRSA63J-100X MG RESISTOR R2861 NRSA63J-222X MG RESISTOR R2862 NRSA63J-222X MG RESISTORR2863 NRSA63J-103X MG RESISTOR R2864 NRSA63J-103X MG RESISTOR R2865 NRSA63J-103X MG RESISTOR R2866 NRSA63J-103X MG RESISTOR R2867 NRSA63J-100X MG RESISTOR R2901 NRSA63J-103X MG RESISTOR R3101 NRSA63J-220X MG RESISTOR R3102 NRSA63J-182X MG RESISTOR R3103 NRSA63J-242X MG RESISTOR R3105 NRSA63J-104X MG RESISTOR R3106 NRSA63J-332X MG RESISTOR R3107 NRSA63J-123X MG RESISTOR R3108 NRSA63J-562X MG RESISTOR R3109 NRSA63J-102X MG RESISTOR R3110 NRSA63J-272X MG RESISTORR3111 NRSA63J-363X MG RESISTOR R3112 NRSA63J-222X MG RESISTOR R3116 NRSA63J-102X MG RESISTORR3121 NRSA63J-223X MG RESISTOR R3201 NRSA63J-220X MG RESISTOR R3202 NRSA63J-182X MG RESISTORR3203 NRSA63J-242X MG RESISTOR R3205 NRSA63J-104X MG RESISTOR R3206 NRSA63J-332X MG RESISTORR3207 NRSA63J-123X MG RESISTOR R3208 NRSA63J-562X MG RESISTOR R3209 NRSA63J-102X MG RESISTOR R3210 NRSA63J-272X MG RESISTOR R3211 NRSA63J-363X MG RESISTOR R3212 NRSA63J-222X MG RESISTOR R3216 NRSA63J-102X MG RESISTOR R3221 NRSA63J-223X MG RESISTOR R3301 NRS181J-221X MG RESISTOR VCC R3303 NRSA63J-393X MG RESISTOR R3304 NRS181J-101X MG RESISTOR VCC R3305 NRSA63J-222X MG RESISTOR R3310QRJ146J-4R7X UNF C RESISTOR 4.7 5% 1/4W R3313 NRSA63J-2R2X MG RESISTOR R3314 NRSA63J-153X MG RESISTORR3315 NRSA63J-101X MG RESISTOR DUMP R3327 NRSA63J-474X MG RESISTOR BIAS T.P R3335 NRSA63J-152X MG RESISTOR BIAS SW R3336 NRSA63J-472X MG RESISTOR R3337 NRSA63J-332X MG RESISTOR R3338 NRSA63J-392X MG RESISTORR3339 NRSA63J-222X MG RESISTOR R3340 NRS181J-0R0X MG RESISTOR VDD R3341 NRSA63J-123X MG RESISTOR R3342 NRSA63J-203X MG RESISTOR R3343 NRSA63J-183X MG RESISTOR R3353 QRZ9005-100X F RESISTOR A +B R3371 NRSA63J-103X MG RESISTOR R3372 NRSA63J-102X MG RESISTOR R3375 NRSA02J-151X MG RESISTOR 1/8W R3376 NRSA02J-683X MG RESISTOR SP709 LV30064-092A SPACER VR331 QVP0077-203Z SEMI V RESISTOR BIAS ADJ VR337 QVP0077-103Z SEMI V RESISTOR TAPE SPEED ADJ W 708 QJQ009-032601 SHI CR B-B WIRE DIGITAL OUTPUT W 709 QUB230-22HPHP SIN TWIST WIREX2701 QAX0283-001Z C RESONATOR MAIN CLOCK X2702 QAX0401-001 CRYSTAL SUB CLOCK