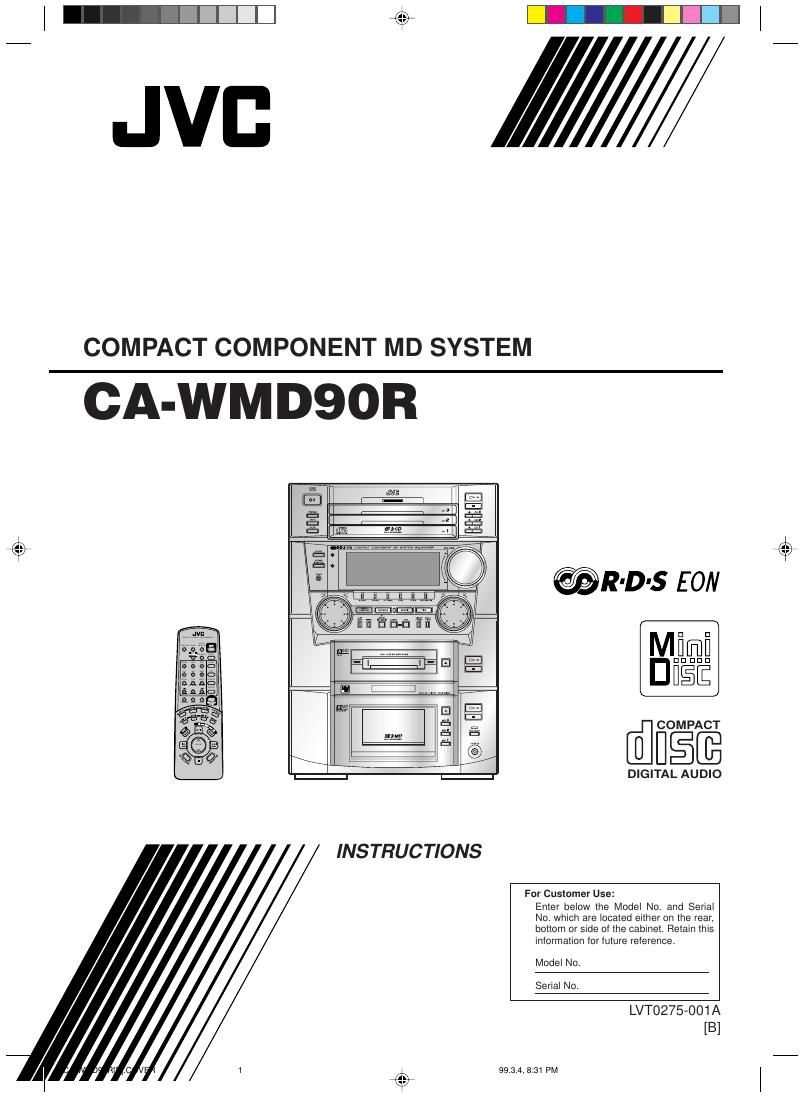
Jvc CAWMD 90 R Owners Manual

This is the 62 pages manual for Jvc CAWMD 90 R Owners Manual.
Read or download the pdf for free. If you want to contribute, please mail your pdfs to info@audioservicemanuals.com.

Page: 1 / 62
left right
Jvc CAWMD 90 R Owners Manual

Extracted text from Jvc CAWMD 90 R Owners Manual (Ocr-read)


Page 1

Warnings, Cautions and Others IMPORTANT for the U.K. DO NOT cut off the mains plug from this equipment. If the plug fitted is not suitable for the power points in your home or the cable is too short to reach a power point, then obtain an appropriate safety approved extension lead or consult your dealer. BE SURE to replace the fuse only with an identical approved type, as originally fitted. If nontheless the mains plug is cut off ensure to remove the fuse and dispose of the plug immediately, to avoid a possible shock hazard by inadvertent connection to the mains supply. If this product is not supplied fitted with a mains plug then follow the instructions given below: IMPORTANT: DO NOT make any connection to the terminal which is marked with the letter E or by the safety earth symbol or coloured green or green-and-yellow. The wires in the mains lead on this product are coloured in accordance with the following code: Blue : Neutral Brown : Live As these colours may not correspond with the coloured markings identifying the terminals in your plug proceed as follows: The wire which is coloured blue must be connected to the terminal which is marked with the letter N or coloured black. The wire which is coloured brown must be connected to the terminal which is marked with the letter L or coloured red. IF IN DOUBT - CONSULT A COMPETENT ELECTRICIAN. CAUTION To reduce the risk of electrical shocks, fire, etc.: 1. Do not remove screws, covers or cabinet. 2. Do not expose this appliance to rain or moisture. Caution ÐÐ switch! Disconnect the mains plug to shut the power off completely. The switch in any position does not disconnect the mains line. The power can be remote controlled. Ð G-1 Ð CA-WMD90R[B].Safety99.3.4, 7:54 PM 2

Page 2

CA-D3S CA-D3S 1 cm 1 cm 15 cm 15 cm15 cm 15 cm 15 cm 10 cm Front view Side view Caution: Proper VentilationTo avoid risk of electric shock and fire, and to prevent damage, locate the apparatus as follows: 1 Front: No obstructions and open spacing. 2 Sides/ Top/ Back: No obstructions should be placed in the areas shown by the dimensions below. 3 Bottom: Place on the level surface. Maintain an adequate air path for ventilation by placing on a stand with a height of 10 cm or more. Ð G-2 Ð IMPORTANT FOR LASER PRODUCTS REPRODUCTION OF LABELS CLASS 1 LASER PRODUCT 1. CLASS 1 LASER PRODUCT 2.DANGER: Invisible laser radiation when open and interlock failed or defeated. Avoid direct exposure to beam. 3.CAUTION: Do not open the top cover. There are no user serviceable parts inside the Unit; leave all servicing to qualified service personnel. 1CLASSIFICATION LABEL, PLACED ON REAR ENCLOSURE2WARNING LABEL, PLACED INSIDE THE UNIT CA-WMD90R CA-WMD90R DANGER: Invisible laser radiation when open and interlock failed or defeated. AVOID DIRECT EXPOSURE TO BEAM. (e) ADVARSEL: Usynlig laser- stråling ved åbning, når sikkerhedsafbrydere er ude af funktion. Undgå udsæt- telse for stråling (d) VARNING: Osynlig laser- strålning när denna del är öppnad och spärren är urkopplad. Betrakta ej strålen. (s)VARO: Avattaessa ja suo- jalukitus ohitettaessa olet alttiina näkymättömälle lasersäteilylle. Älä katso säteeseen. (f) CA-WMD90R[B].Safety99.3.4, 7:54 PM 3

Page 37

Ð 35 Ð Ex. CD is selected as the source 6 Rotate the left jog dial to select the recordable MD. 7 Press SET. Playback of the source disc starts. ¥ When the source is CD, playback starts from CD 1 to CD 3 if two or three CDs are loaded. 8 Decide if you want to include the current track in the program or skip it. ¥To include the current playing track in the program, press SET. The current track is programed (ÒMEMORYÓ appears for a while) and the next track starts playing. (After the last track of a CD is programed, the first track of the next CD starts playing.) ¥To skip the current track, press CANCEL or rotate the right jog dial clockwise. The current playing track is not programed and the next track starts playing. If you do not either press the button or rotate the right jog dial, the unit will play the same track repeatedly. 9 Repeat step 8 to program other tracks. When you finish checking all tracks or if there is no more remaining time for recording on the MD, Listening Edit Recording starts automatically. ¥ If the remaining time of the MD becomes short, MD deck B will search for a track fitting into the remaining time. To include the track found in the program, press SET. To find another, press CANCEL. To stop any time during editing process and start recording, press START (ENTER). Ex. MD 3 is selected as the recordable MD Playing time of the source trackRemaining time on the MD Listening Edit Recording Listening Edit Recording allows you to make a program while listening and checking each track of the loaded CDs (up to 3 CD) or an MD in MD deck A, then to start recording the program. ¥ You can program up to 32 tracks. ¥ Before you start recording in the following steps, you can Ñ Ð cancel the setting, press REC MODE. Ð go back to the previous steps, press CANCEL. On the unit ONL Y: 1 Prepare a CD or an MD as the source sound. ¥ To use a CD as the sour ce: Always place a CD on the CD 1 tray. If not, this function does not work. ¥ To use an MD as the sour ce: Insert a source MD in the loading slot of MD deck A. 2 Insert a blank or recordable MD into the MD B loading slots. 3 Press REC MODE. ÒMD 3 MD REC?Ó appears in the main display. The MD 3 MD lamp also lights. 4 Rotate the left jog dial until ÒLISTENING?Ó appears in the main display, and the correct recording mode lamp (CD 3 MD or MD 3 MD) lights on the unit. ¥ To use a CD as the sour ce: Light the LISTENING EDIT and CD 3 MD lamps. ¥ To use an MD as the sour ce: Light the LISTENING EDIT and MD 3 MD lamps. 5 Press SET. EN23-37.CA-WMD90R[B]/f99.3.4, 8:25 PM 35