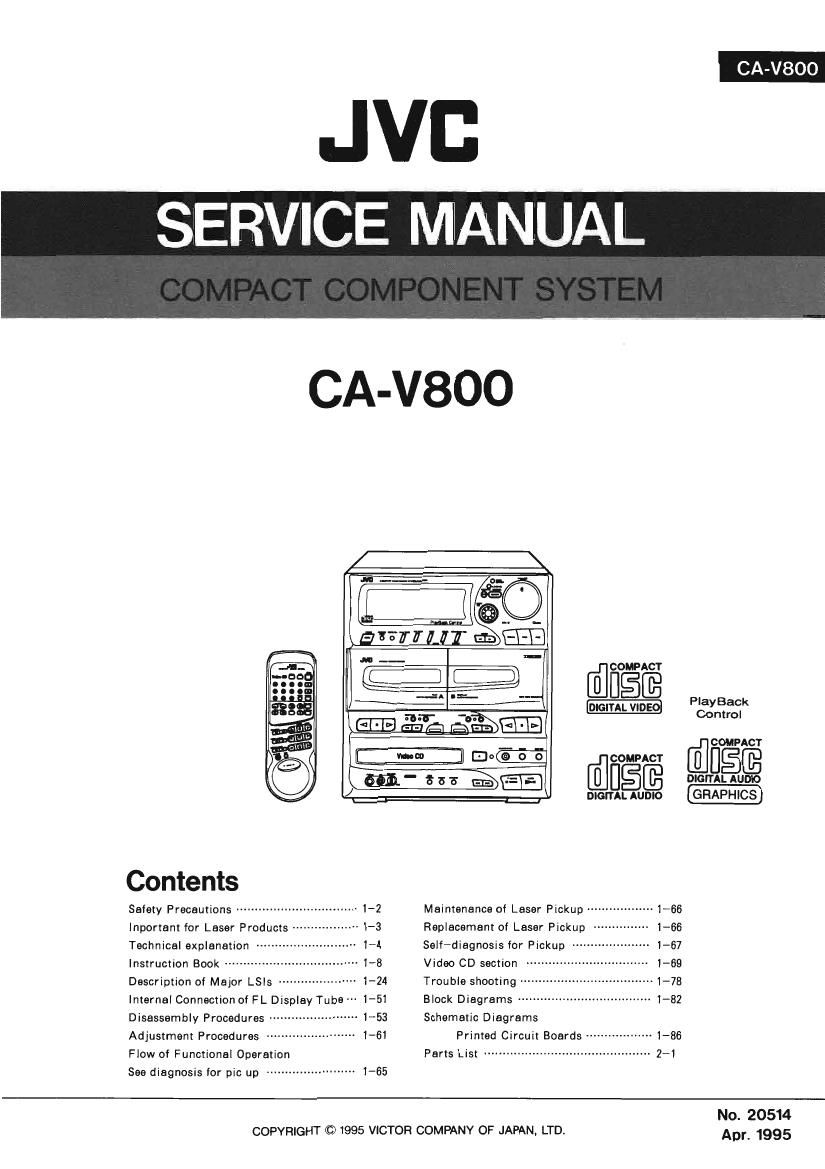
Jvc CAV 800 Service Manual

This is the 164 pages manual for Jvc CAV 800 Service Manual.
Read or download the pdf for free. If you want to contribute, please mail your pdfs to info@audioservicemanuals.com.

Page: 1 / 164
left right
Jvc CAV 800 Service Manual

Extracted text from Jvc CAV 800 Service Manual (Ocr-read)


Page 1

JVB
SERVICE MANUAL

CA-V8OO

Contents

Selety Precautions --------------

Inportent for Laser Products

Technical explanation -----------

Instruction Book --------------
Description of Major LSIs ~-
Internel Connection of FL Display Tube
Disassembly Procedures --
Adjustment Procedures --
Flow of Functional Operation

See diagnosis for pic up ------------------------ 1-65

Maintenance of Laser Pickup -----


Replacement of Laser Pickup
Selfidiagnosis for Pickup ---------
Video CD section -
Trouble shooting --
Block Diagrams
Schematic Diagrams

Printed Circuit Boards ------------------ 1-86
Parts LiSK ............................................. 21

PIayBack
Control

COMPACT

DIGITAL AUDIO

COPYRIGHT © 1995 VICTOR COMPANY OF JAPAN, LTD.

No. 20514
Apr. 1995

Page 2

CA-V800

1-2

-Safety Precautions

1.The design of this product contains special hardware and many circuits and components
specially for safety purposes. For continued protection, no changes should be made to the
original design unless authorized in writing by the manufacturer. Replacement parts must
be identical to those used in the original circuits. Services should be performed by
qualified personnel only.

2. Alterations of the design or circuitry of the product should not be made. Any design
alterations of the product should not be made. Any design alterations or additions will
void the manufacturer's warranty and will further relieve the manufacture of responsibility
for personal injury or property damage resulting therefrom.

3. Many electrical and mechanical parts in the products have special safety-related
characteristics. These characteristics are often not evident from visual inspection nor can
the protection afforded by them necessarily be obtained by using replacement components
rated for higher voltage, wattage, etc. Replacement parts which have these special safety
characteristics are identified in the Parts List of Service Manual. Electrical components
having such features are identified by shading on the schematics and by (A) on the Parts
List in the Service Manual. The use of a substitute repalcement which does not have the
same safety characteristics as the recommended replacement parts shown in the Parts List of
Service Manual may create shock, fire, or other hazards.

4. The leads in the products are routed and dressed with ties, clamps, tubings, barriers and
the like to be separated from live parts, high temperature parts, moving parts and/or sharp
edges for the prevention of electric shock and fire hazard. When service is required, the
original lead routing and dress should be observed, and it should be confirmed that they
have been returned to normal, after re-assembling.

5. Leakage currnet check (Electrical shock hazard testing)
After re-assembling the product, always perform an isolation check on the exposed metal
parts of the product (antenna terminals, knobs, metal cabinet, screw heads, headphone jack,
contorl shafts, etc.) to be sure the product is safe to operate without danger of electrical
shock.
Do not use a line isolation transformer during this check.

0 Plug the AC line cord directly into the AC outlet. Using a "Leakage Current Tester",
measure the leakage current from each exposed metal parts of the cabinet, particularly
any exposed metal part having a return path to the chassis, to a known good earth
ground. Any leakage current must not exceed 0.5mA AC (r.m.s.).

0 Alternate check method
Plug the AC line cord directly into the AC outlet. Use an AC voltmeter having, 1,000
ohms per volt or more sensitivity in the following manner. Connect a 1,5009 10 W
resistor paralleled by a 0.15 pF AC-type capacitor between an exposed metal part and a
known good earth ground.

Measure the AC voltage across the resistor RicaxgflMoggER
with the AC voltmeter. a ohms/volts,
Move the resistor connection to each exposed o c °'m°'ese"5itiViY-l
metal part, particularly any exposed metal part
having a return path to the chassis, and 0.15uFACTYPE
meausre the AC voltage across the resistor. -|
Now, reverse the plug in the AC outlet and |_| 3: this
repeat each measurement. Any voltage "-'-- >£;2h2,?§°,ed
measured must not exceed 0.75VAC (r.m.s.). 150091ow metal Pan-
This corresponds to 0.5 mA AC (r.m.s.). Good earth ground

-Warnmg

1. This equipment has been designed and manufactured to meet international safety standards.

2. It is the legal responsibility of the repairer to ensure that these safety standards are
maintained.

3. Repairs must be made in accordance with the relevant safety standards.
4. It is essential that safety critical components are replaced by approved parts,
5. if mains voltage selector is provided, check setting for local voltage.

Page 30

CA-V800

4. Terminal Discription

Pin No. symbol I/O Function Pin No. symbol I/O Function
1 HA2 I Host address terminal 78~80 V33; 0 Video data terminal(G2~4/Y2~4l
2 DS I Data strobe terminal 81 IO VDD -- Power suplly for Input /Output
3 W/R l I/O read terminal 82~B4 V3313; 0 Video data terminal(GS~7/Y5~7)
4 IRQ 0 interact terminal 85 CKT VSS -- Connected to GND
5 DTACK O Acknowledge data output 86~89 V335; 0 Video data terminal 6 H00 |/0 Host data terminal 90 IO VSS -- Ground terminal for Input /Output
7 IO voo -- Power suplly for Input/Output 91~94 V33; 0 Video data termina|(B4~7)
8,9 HD1,2 l/o Host data terminal 95 vsmc l/O vema' mparam C°mp°"te
comparator output
10 CKT VSS -- Connected to GND 96 HSYNC l/O Horizontally synchronizing signal
11~15 HD3~HD7 I/O Host data terminal 97 VOE I Video output enable signal
16 IO VSS -» Ground terminal for Input IOutput 98 VCO VDD -- Power suplly of VCO
17 TEST | Test terminal 99 VCLK [/0 Video clock terminal
18 XTL VSS -- Oscillator ground terminal 100 VCO VSS -- Ground of VCO
19 XTLIN | Oscillator input terminal 101 RESET | Reset signal input
20 XTLOUT O Oscillator output terminal 102 l0 VSS .. Ground terminal for input/output
21 XTL VDD -- Power suplly for Oscillator 103 CZPO I Data error flag input
22 CKT VDD -- Power suplly 104 CDLRCK | L/ R word clock input
23~28 hilt/IDS; l/O DRAM data / ROM data terminal 105 CDDATA I Bit serial data input
29 IO VDD ~< Power suplly for Input l0utput 106 CDBCK I Bit clock output
30,31 MD6,7 l/O DRAM data / ROM data terminal 107 DALRCK O L/ R clock output
32,33 MCEO,1 0 Chip enable output for ROM bank 108 DADATA 0 Bit serial PCM audio signal output
34~37 $3? l/O DRAM data / ROM data terminal 109 DABCK 0 Bit clock output
38 IO VSS -- Ground terminal for Input /0utput 11!) IO VDD .. Power suplly for input/output
39~42 MMDSf; IIO DRAM data/ROM address terminal 111 XCK l Bit clock input terminal from outside
43 5V VDD -- Power suplly (+5V) 112 CKT VDD -- Power suplly
44 LCAS O DRAM LCAS/ROM address terminal 113 PI012 O Interact 2 signal output
45 LCASIN I DRAM LCAS input 114 Hon 0 Non connection
46 CKT VSS -- GND 115 PIOIO I Host enable signal input
47 MWE 0 DRAM write enable signal output 116 PI09 I Boot rorn enable signal input
48 UCAS O DRAM UCAS/ROM address terminal 117 FIGS 0 Non connection
49 IO VDD -- Power suplly for input/output 118 PI07 O DAC emphasis signal output
50 UCAS IN DRAM UCAS input terminal 119 PI06 I CD-DA emphasis signal input
51,52 RA50.1 O DRAM RASO,1 terminal 120 FIGS 0 Non connection
53~57 Nil/ff; O DRAM data / ROM address terminal 121 P|04 O FMV detect signal output
53 IO vss .. Ground terminal for Input/Output 122 nos 0 DA Y'd CD we 59 mm
Low: Video CD
59~63 Max; 0 DRAM data/ROM address terminal 123 5v voo -- Power suplly (+ 5V)
64 PlOO 0 ROM address extention terminal 124 PIOZ 0 Non connection
65 IO VDD -- Power suplly for Input/Output 125 I0 VSS -- Ground for input/output
VDO~ Video data terminal
66~72 o 126 '
V05 (Ro~6/Crcbo~6/VCero~6) 01 o N mnnmmn
73 IO VSS -- Ground terminal for Input/Output 127 HAO I Host address input

Video data terminal
74~7s vo7~vr>9 o 128 HA1 l H '
(R7/Cer7/YCer7)(Go,1/Y0,1) t address "9

77 CKT VDD .. Power suplly

1-30

Page 79

Spindle section

Note)

oscilloscope, do not connect the other probes

CAAV800

When checking the voltages between pinll and pin12 of IC700 with an

mm

Check the spindle

motor and wiring.

Check lC700 and
associated components.

Is the pin21, 22 of NO Check the power
IC700 +10V? supply circuit.
YES
Does the spindle N0 Is pin25 of IC650 N0 Check IC650 and
motor stop in the associated components.
STOP status? 0V(VREF) fixedly?
YES
YES Defective [C700
Can the following
waveform be observed
t ' 24 of 10650?
Does the disc Is the voltage approx +3V a pm
accelerate to rotate NO between pinll and pin12 of No My NO Check 10650
after closing the tra .7 10700 for approx 400mg? (VREOF)__ or IC951.
y. (pinl2 must be the basis) mm
YES YES
YES
Check the spindle Check 10700 and
motor and wiring associated components.
. The following waveforms Does the signal from pin25
Does the disc rotate NO must appear by observing of 10650 show the
smoothly m the between pinll and pin12 of following waveform during N0 Check IC650
PLAY status? IC'700 during playing the playing mode? and 1095-
inner side of the disc. NO
YES (pin12 must be the basis.) fir (63%)] -U-
_ _ _ Ave, 0 _ ___ ___ _
o " (IMIV soomv 4-)
. Approxvzsps
533%? sous/div
YES YES
(33:11: :23 :piigdle Check IC700 and Check the RF
ng. associated components. signal and pickup.
Is there the following
4 signal at pin24 of
IC650 b to 7
Does the spindle 3 the" ppm" 3] w en s Wed
motor stop soon after between pinll and pin12 'Lfi
the snap Button is 0 3:01):ng I 148 1 fl» (fig/n 5v|-| "0 Check lC650 0110951
9 .
pressed. (pin12 must be the basis) 0"" """"
YES YES YES

1-79