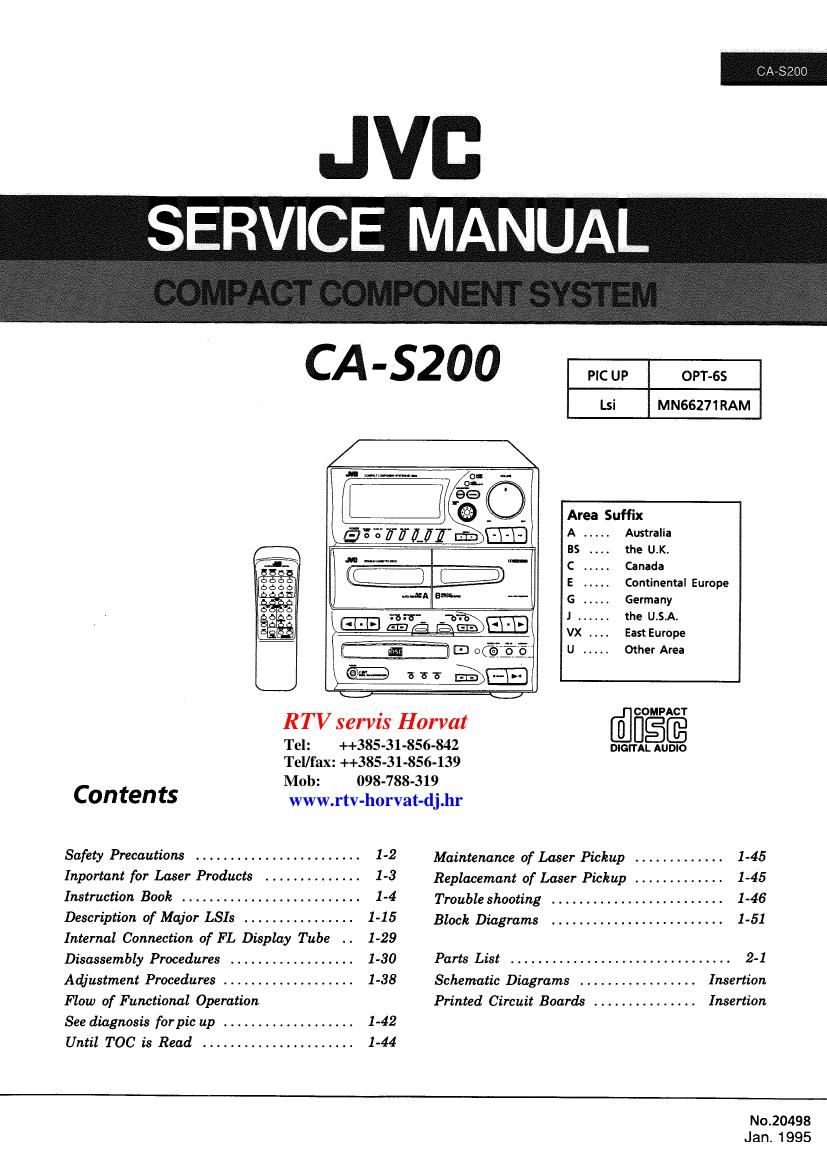
Jvc CAS 200 Service Manual

This is the 111 pages manual for Jvc CAS 200 Service Manual.
Read or download the pdf for free. If you want to contribute, please mail your pdfs to info@audioservicemanuals.com.

Page: 1 / 111
left right
Jvc CAS 200 Service Manual

Extracted text from Jvc CAS 200 Service Manual (Ocr-read)


Page 1

JVC _
SERVICE MANUAL

CA-SZOO *


Lsi M N66271 RAM
Area Suffix
A ..... Australia
BS .. . . the UK.
C ..... Canada
E ..... Continental Europe
G ..... Germany
1 ...... the U.S.Ai
VX . . .. East Europe
U ..... Other Area
. COMPACT
RTV servts H orvat
Tel: ++385-3 1-856-842 DIGITAL AUDIO
Tel/fax: ++385-31-856-139
Mob: 098-788-319
contents www.rtv-h0rvat-dj.hr
Safety Precautions ........................ 1-2 Maintenance of Laser Pickup ............. 1-45
Inportant for Laser P7011140 --------- 1-3 Replacemant of Laser Pickup ............. 1-45
Instruction 300k --------------------- . 1'4 Trouble shooting ......................... 1-46
Description of Major L318 ---------------- 1'15 Bloch Diagrams ......................... 1-51
Internal Connection of FL Display Tube . . 1-29
Disassembly Procedures .................. 1-30 Parts List ................................ 2-1
Adjustment Procedures ................... 1-38 Schematic Diagrams ................. Insertion
Flow of Functional Operation Printed Circuit Boards ............... Insertion
See diagnosis for pic up ................... 1-42
Until T00 is Read ...................... 1-44
No.20498

Jan 1995

Page 2

CA- 8200

-- Safety Precautions

1.The design of this product contains special hardware and many circuits and components
specially for safety purposes. For continued protection, no changes should be made to the
original design unless authorized in writing by the manufacturer. Replacement parts must
be identical to those used in the original circuits. Services should be performed by
qualified personnel only.

2. Alterations of the design or circuitry of the product should not be made. Any design
alterations of the product should not be made. Any design alterations or additions will
void the manufacturers warranty and will further relieve the manufacture of responsibility
for personal injury or property damage resulting therefrom.

3. Many electrical and mechanical parts in the products have special safety-related
characteristics. These characteristics are often not evident from visual inspection nor can
the protection afforded by them necessarily be obtained by using replacement components
rated for higher voltage, wattage, etc. Replacement parts which have these special safety
characteristics are identified in the Parts List of Service Manual. Electrical components
having such features are identified by shading on the schematics and by (A) on the Parts
List in the Service Manual. The use of a substitute repalcement which does not have the
same safety characteristics as the recommended replacement parts shown in the Parts List of
Service Manual may create shock, fire, or other hazards.

4. The leads in the products are routed and dressed with ties, clamps, tubings, barriers and
the like to be separated from live parts, high temperature parts, moving parts and/or sharp
edges for the prevention of electric shock and fire hazard. When service is required, the
original lead routing and dress should be observed, and it should be confirmed that they
have been returned to normal, after re-assembling.

5. Leakage currnet check (Electrical shock hazard testing)
After re-assembling the product, always perform an isolation check on the exposed metal
parts of the product (antenna terminals, knobs, metal cabinet, screw heads, headphone jack,
contorl shafts, etc.) to be sure the product is safe to operate without danger of electrical
shock.
Do not use a line isolation transformer during this check.

0 Plug the AC line cord directly into the AC outlet, Using a Leakage Current Tester",
measure the leakage current from each exposed metal parts of the cabinet, particularly
any exposed metal part having a return path to the chassis, to a known good earth
ground. Any leakage current must not exceed 0.5mA AC (r.m.s.).

0 Alternate check method
Plug the AC line cord directly into the AC outlet. Use an AC voltmeter having, 1,000
ohms per volt or more sensitivity in the following manner. Connect a 1.5009 10 W
resistor paralleled by a 0.15 pF AC-type capacitor between an exposed metal part and a
known good earth ground.

Measure the AC voltage across the resistor 3.2%,?3353
with the AC voltmeter. E ohms/volts, _ . .
Move the resistor connection to each exposed o °_ °' "we "533
metal part, particularly any exposed metal part
having a return path to the chassis, and 0.15111: Ac TYPE
meausre the AC voltage across the resistor. .
Now, reverse the plug in the AC outlet and a: 5
repeat each measurement. Any voltage Egzheefgmd
measured must not exceed 0.75VAC (r.m.s.). 150° 10 metal?-
This corresponds to 0.5 mA AC (r.m.s.). Good earth ground

-- Warning

1. This equipment has been designed and manufactured to meet international safety standards.

2. It is the legal responsibility of the repairer to ensure that these safety standards are
maintained.

3. Repairs must be made in accordance with the relevant safety standards.
4. It is essential that safety critical components are replaced by approved parts.
5. If mains voltage selector is provided, check setting for local voltage.

12 (No. 20498)

Page 35

CA~8200

(20) Reel and cam motor removal (21) Cam SW PCB removal

1. Remove the cassette mechanism assembly. 1. Remove the (18).

2. Remove the cassette controller PCB. 2. Remove the reel and cam motor PCB.

3. Remove the (15). 3. Remove the screw and hooks fixing the PCB to
4. Remove the 2sctews® and Zscrews®. remove the Cam SW.

5. Unsolder the reel and cam motor PCB . .When assembling the cam switch ,install it so
6. Remove thr motor . that the part @meets the part ©.

1x2 3X2

£5

FR arm ASSY

Fig 20 Cassette mecha Top view Fig 21 AMP PCB view
(22) Cassette controll PCB(ENJ-083)removal. (23) Head assembly removal
1. Remove the (l)(2)and (5). 1. Remove the cassette mechanisum assembly.
2. Disconnect the 4 J303,J304. 2. Remove the FPC wire to the Cassette controll
3. Remove the Zscrews ©holding the Cassette PCB.
controll PCB. 3. Remove the 8 screws (23) holding the Cassette
4. Remove the Cassette controll PCB. controll PCB.

@

(9
FR arm ASS'Y ®/\
. 1/. e
we g
0 Q

O
I ENJ-083-A I 5 © l
a all e .
: l
.__'__
® ® (E
Fig 22 Cassette mechanisum Bottom view Fig 23 Front panel rear view

© .. SPST2604Z © SBST3006M ® SDSF2608Z

(No. 20498) 1-35

Page 49

Feed section

Note)
oscilloscope, do not connect the other probes.

Check the power

is the pin2l, 22 N0
of IC700 +10V?
YES
V
l TOC read? N°
YES

supply circuit

CA-SZOO

When checking thevoltages between pinlS and pinl'l of IC860 with an

ls the voltage at
pin17 of 10860

Is the pickup at the
' most inner position?

YES

NO

10700 .

approx -3V to the
voltage at pin18 of

Is there +5V at
pin21 of 10650?

YES

NO NO

YES

\

Check 10700 and asso-

Check the REST Switch,

10950 and connections. Check the feed mo-

tor and wiring

dated components.

Check 10650,
IC951 and wiring.

It must be possible to During playing the inner side of the
play the inner disc disc, the feed drive voltage of approx
continuously during N0 +800mV must appear per4 to Eseconds No 911901 ICG50 and 3350
more than 5minutss by observing between pinl8 and pinl7 Bled components.
(without skipping). of 10860 (pin18 must be the basis).
YES YES
Check the feed motor
and wiring.
l
The SEARCH key must In that same condition, 5v
make it possible that confirm that the signal I W
the manual search can- N0 from pin16 of IC600 ms/div N0 Check IC600 and 3359
tinues during more shows the following waveform. mated eomponente

than 15seconds.

YES
YES
Check {0650,
V 10951 and wiring.
Can each track be YES
searched correctly?
NO
In 11 d' ' b
Observe pin18 and pin17 of IC600 during . t at me "1 w- ° "9
track numher search between the inner and $33 :gpigfig 35 £152;
3§s-i§;§}°§h?§e$i§ fipio'iiriiiivoue ° ward the We swe- And if the ° Che 1C6! -
er side. And oppositely if the search is to- "Heb is toward the inner side, K1950 and Wiring.
ward the inner side, approx -3.5V must approx +2.5V must appear.
appear (pinIB must be the basis). YES
YES
Check [0600 and asso-
{ elated components.
The following signal must 5v
appear during track number ML
search between the imm- W NO Check 10660. [0951 and

and the outer side of the WW

disc by observing pin24 of IC600.

lvss

Check [0810, 10951
and wiring.

associated components.

(No. 20498) 149