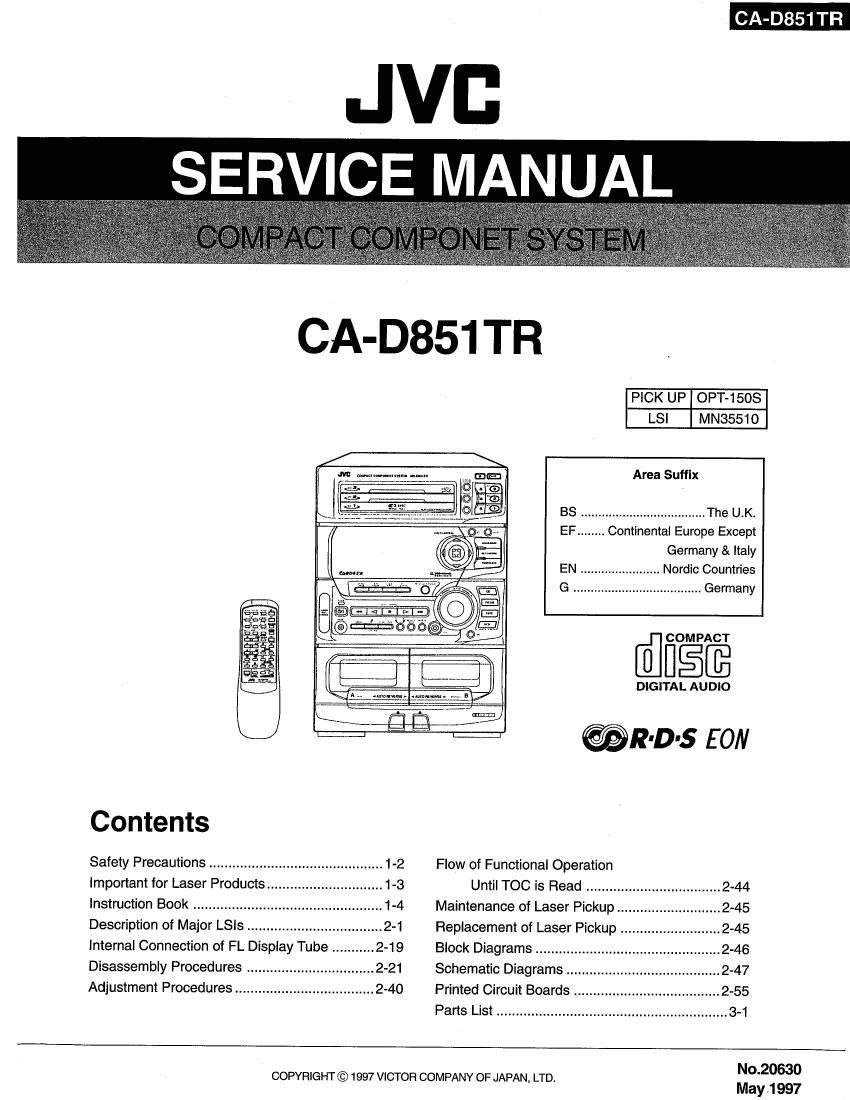
Jvc CAD 851 TR Service Manual

This is the 90 pages manual for Jvc CAD 851 TR Service Manual.
Read or download the pdf for free. If you want to contribute, please mail your pdfs to info@audioservicemanuals.com.

Page: 1 / 90
left right
Jvc CAD 851 TR Service Manual

Extracted text from Jvc CAD 851 TR Service Manual (Ocr-read)


Page 1

CA-D851TR

JVB
SERVICE MANUAL

CA-D851 TR

PICK UP OPT-150$
LSI MN35510

Area Suffix

BS . ........................ The U.K.

EF ........ Continental Europe Except
Germany & Italy
. Nordic Countries
6 ............... Germany
1:":

flfifigfim
mn'céu

WEE

DIGITAL AUDIO

@R-D-S EON

it:

U

Contents

Safety Precautions
Important for Laser Products


Flow of Functional Operation
Until T00 is Flead ................................... 2-44


Instruction Book ................. Maintenance of Laser Pickup .................. 2-45
Description 0t Major LSis Replacement of Laser Pickup . ..... 2-45
Internal Connection of FL Display Tube ........... 2-19 Block Diagrams ............................... 2-46
Disassembly Procedures ...2-21 Schematic Diagrams .......... 2-47
Adjustment Procedures ....... Printed Circuit Boards ..... 2-55
Parts List ............................................................ 3-1

No.20630

COPYRIGHT © 1997 VICTOR COMPANY OF JAPAN, LTD.
May ,1 997

Page 2

13 L

Troubleshooting

- Ifylm are having a prnhlern wilh your CA-Dlmm check lhis list for s possible solutim before calling furs/twice,
. If ynu cannot solve the prnhlern fmm rhe hints given here, or the linir has been physically damaged. call a qualified
person such us your dealer. for service.

Sympmm
No sound is heard.

Unable to racmd.

Poor mlio reeeplinn

Possible Cause

ConnecLiolls are mom-rm, or loose.

Cassette maid protect labs are
removed.

- The antenna is disconnected.

. The AM Loop Anlennu is (co clnse

Aininn

Check all mnnbcljons and make
eerreeelons. (See pages 4 - 6.)

Cover holes on back edge of cassette

will: laps.

. [Is-Connect the antenna securely.

- Change the position and direction

w lhe Unir. oldie AM imp Antenna.
- The FM Wire Antenna is run ~ Exlend FM Wire Amcnnz lo the
pmperly extended end pnsrnened. best reeepsipn posilion.
The. CD skips. The CD is dirty nr scramhed. Clean ur replnee rhe CD.

Unnhle lo epeusn: the Rerunle Cennol.

The path beiwcen the Remote
Control and the sensor on the Unit
is blacked.

- The batteries have last their charge.

Remove ihe obstruction.

- Replace the heuenes.

The CD tmy cannot be opened.

The main AC power cord is US
plugged in.

Plug in lhe AC pnwes plug.

The CD does nel pley
aperuuons are disabled.

new is upside down.

The bull in nlicmpmoessor has
malfunctioned due «2 meme! Elecnicai
interfmnce.

Pm the CD in with line label side up.
Unplug the Uni! men plug in back in.

The ensselle door cannot be opened.

During mp0 playing, the power and
was unplugged.

Plug in the power cord. press the {DH
human, and then fill: A bunch.

47

English

English

Specifications

Amplifier Seciinn
Output power (mc 268-3/DIN)
From speakers

Cemer speaker (At surround operation)

Rear speakers (A: sumund upemlion)

input Sensilivitylimpedanoe (1 kHz)
VCR

cussene nesk Saclilm
Frequency Response
Type ll (00,) ~

Type I (NORMAL) :
Wow And Filmer

cu Auluruerie changer Seclinn
CD Cspaeily

Dynamic Range
Signal-remiss knlie

Wow And Fiuller

Tuner Seclion
FM Timer
Tuning Range
AM Tuncr
Tuning Range
MW

LW

Dimensions
Mass

Acnlssurius

Power Specifications
Power Requiremeuls
power Consumption

45 watts per channel, min. RMS, both channels driven, into
6 ohms at 1 kHz with no more than 0.9% will harmonic
distonjon.

25 watts, mm RMS, dnvelh into 8 aims at 1 kHz, with no
more than 03% tom! harmonic distortion

12.5 Watts pzr channel. min RMS, both driven, into 16 Ohms
a: 1 kHz. wiLh no man: man 0.9% 10ml harmonic dismm'un.

300 mV/4S 1:0th

30 . 16.000 Hz
30 s 159mm
0. l yin (WKMS)

3 discs

93 dB

98 dB
Unmeasumblc

87.5 - 108.0 MHz

522 - L629 kHz
l44~283 kHz

245 x 345 x 350.2 mm (WIH/D)
(9-11l16x135/X x13-13/16inches)
8.5 kg(18.81bs)

AM (MW/LW) Loop Anlennn (l)
Remalc Contml (1)

Batteries R6P (SUMJVAA (ism (2)
FMWrre Antenna (1)

AC 230 v a, . 50 Hz
160 wens
20 watts (in standby mode)

Design and speerficwionx am sub/es: in change wilhmu notice.

48

HLLQQCI'VO

Page 27

CA-D851 TR

(23) How to assemble

1. Move the FWD/REV arm in the direction of
the arrow .

2. In step I ,pull the head base forward .

3. In step 2 ,after inserting the cam into the
shaft, move the head base and FWD/REV arm
slightly until the cam is fully inserted and it
clicks to inform when it has been locked.

4. Rotate the cam counterclockwise to check if
the cam rotates smoothly and the spring clicks
according to the forward/backward movement
of the head base .

5. After checking the rotation of the cam ,rotate
the cam until the notch section comes to the
right so that the FWD/REV arm assembly can
be attached.

6. Attach the FWD/REV arm assembly while
observing the positioning of:

the hole and stud

the cam hole and arm edge
shown in the figure 25-a.
After attachment,move the FWD/REV arm in
the direction of the arrow to check if it moves
back to the original position .

7. Attach the elevator ring .

8. Attach the trigger arm .

After attachment ,move the trigger arm in the
direction of the arrow to check if it moves
back to the original position .

Working confirmation:

If the control cam rotates
counterclockwise ,the assembly was
successful: if it does not rotates.
It must be reassembled .


Confirm that
it is locked

Fit the control cam its notch located as shown.
(Engage with the gear of the control cam while
moving the FWD/REV arm and head base slightly.)

Fig. 26-a

Control cam
shaft

Rotate up to

Attach the FWD/REV arm with the control cam
rotated up to the position shown .

Fig. 26-h

this position .

2-31