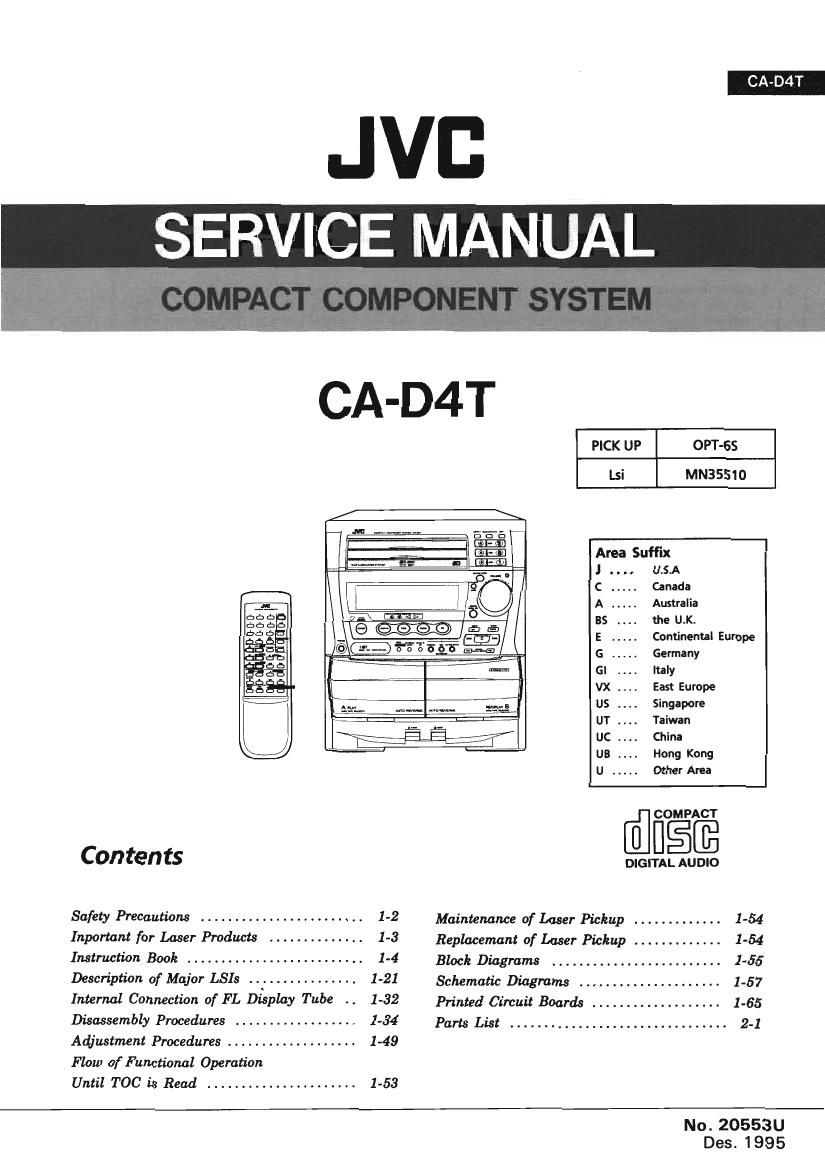
Jvc CAD 4 T Service Manual

This is the 146 pages manual for Jvc CAD 4 T Service Manual.
Read or download the pdf for free. If you want to contribute, please mail your pdfs to info@audioservicemanuals.com.

Page: 1 / 146
left right
Jvc CAD 4 T Service Manual

Extracted text from Jvc CAD 4 T Service Manual (Ocr-read)


Page 1

CA-D4T

PICK UP OPT-65
Bi MN35510
Area Suffix
J . . . . U.S.A
C ..... Canada
A ..... Australia
BS . . .. the U.K.
E ..... Continental Europe
G ..... Germany
GI Italy
VX East Europe
US Singapore
UT . . . . Taiwan
UC . . . . China
UB Hong Kong
U ..... Other Area
[5} USE
Contents DIGITAL AUDIO
Safety Precautions ........................ 1-2 Maintenance of Laser Pickup ,,,,,,,,,,,,, 1-54
Inportant for Laser Products -------------- 1'3 Replacemnt of Laser Pickup ............. 1-54
Instruction Boole .......................... 1-4 Block Diagram ......................... 1.55
Description Of Mqior LSIs ---------------- 1-21 Schematic Diagrams ..................... 1-57
Internal Connection of FL Di8play Tube -- 1-32 Printed Circuit Boards ................... 1-65
Disassembly Procedures ------------------ 1-34 Parts List ................................ 2.1
Adjustment Procedures ................... 1-49
Flow of Functional Operation
Until T00 is Read ...................... 1-53
No. 20553U

Des. 1995

Page 2

CA-D4T

- Safety Precautions

1. The design of this product contains special hardware and many circuits and components
specially for safety purposes. For continued protection, no changes should be made to the
original design unless authorised in writing by the manufacturer. Replacement parts must
be identical to those used in the original circuits.

2. Any unauthorised design alterations or additions will void the manufacturer's guarantee;

furthermore the manufacturer cannot accept responsibility for personal injury or property
damage resulting therefrom.

3. Essential safety critical components are identified by (A) on the Parts List and by shading

on the schematics ,and must never be replaced by parts other than those listed in the
manual. Please note however that many electrical and mechanical parts in the product have
special safety related characteristics. These characteristics are often not evident from visual
inspection. Parts other than specified by the manufacturer may not have the same safety
characteristics as the recommended replacement parts shown in the Parts List of the service
manual and may create shock,fire,or other hazards.

4. The leads in the products are routed and dressed with ties, clamps, tubings. barriers and

the like to be separated from live parts. high temperature parts, moving parts and/or sharp
edges for the prevention of electric shock and fire hazard. When service is required, the
original lead routing and dress should be observed, and it should be confirmed that they
have been returned to normal, after re-assembling.

Warning

1. Service should be performed by qualified personnel only.

2. This equipment has been designed and manufactured to meet international safety standards.
3. It is the legal responsibility of the repairer to ensure that these safety standards are

maintained.

4. Repairs must be made in accordance with the relevant safety standards.
5. It is essential that safety critical components are replaced by approved parts.
6. If mains voltage selector is provided, check setting for local voltage.

Page 46

CA-D4T

(25) Removal for actuator motor and belt

1. Remove 2 screws® securing the gear bracket.
(See Fig. 37.)

Press the pawl ® securing the gear bracket to

the arrow in the figure to remove the gear

bracket. (See Fig. 37.)

Remove the gear bracket from the chassis

assys ® securing top of the gear bracket.

(See Fig. 38.)

Remove each belts from the both actuator

motor pulleies and the pulley gears.

(See Fig.37.)

Reverse the chassis assy and widen 4pawls @

which secure both actuator motors to its

arrows to remove the actuator motors.

(See Fig.3!) .)

[NOTE] The pulley gears and other gears which
consist the gear unit may drop
separately if the chassis assy is
reversed without gear bracket and belt.

See Fig. 40 to assemble them again.

2.

Gear braket

ully gear

\
Pullv gear Motor pully

Fig. 37

Chassis assembly

Gear braket

Fig. 38

Actuator motor

Pully gear

Pully gear

Gear 3

Gross
Gear C Select gear

0
Cylinder gear

gear L Gross gear U

Gear C Fig. 40

® . . DPSP26162

1-46