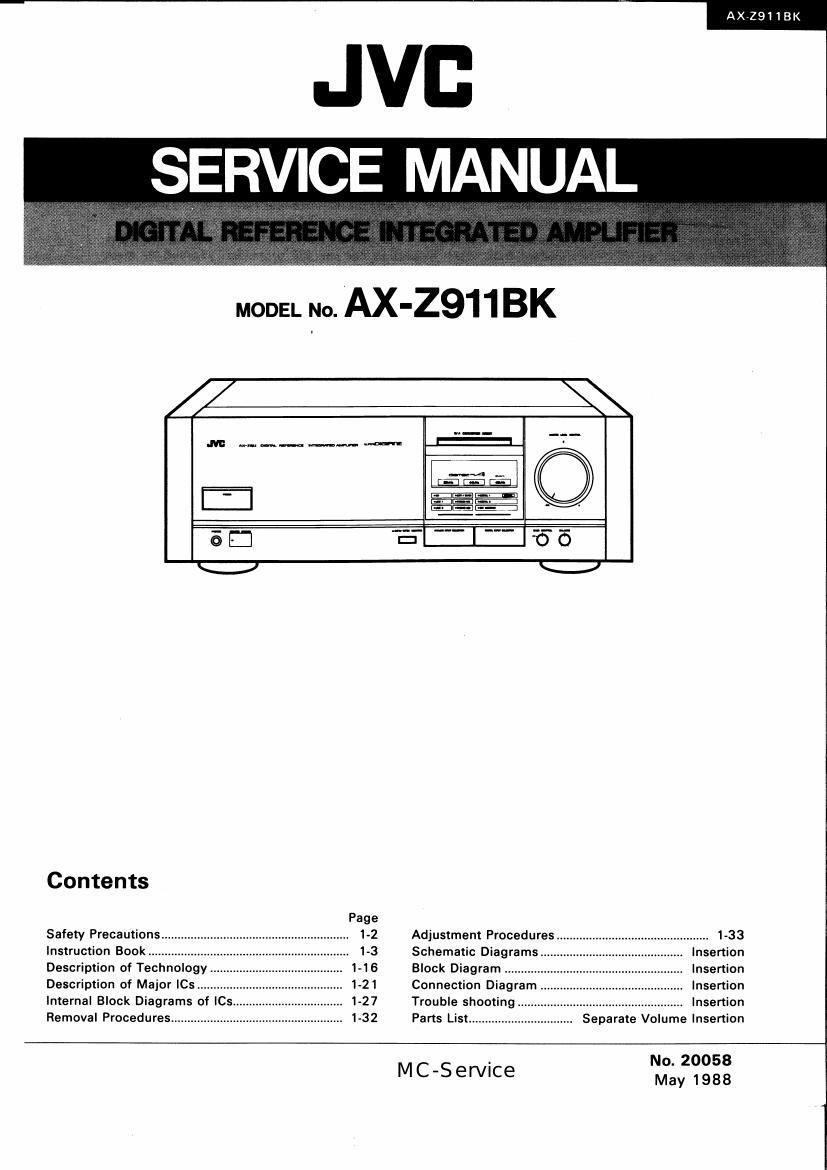
Jvc AXZ 911 BK Service Manual

This is the 65 pages manual for Jvc AXZ 911 BK Service Manual.
Read or download the pdf for free. If you want to contribute, please mail your pdfs to info@audioservicemanuals.com.

Page: 1 / 65
left right
Jvc AXZ 911 BK Service Manual

Extracted text from Jvc AXZ 911 BK Service Manual (Ocr-read)


Page 1

AXZQIIBK

SERVICE MANUAL

MODEL I40. AX'2911 BK

/

.Nl: .nm-___-m

E ELE-
=5? '

.i/

5 E I: I 0
v V
Contents
Page
Safety Precautions .......................................................... 1-2 Adjustment Procedures ............................................... 1-33
Instruction Book .................. . 1-3 Schematic Diagrams . Insertion
Description of Technology 1-16 Block Diagram ........... . Insertion
Description of Major |Cs........t. 1-21 Connection Diagram . Insertion
Internal Block Diagrams of ICs 1-27 Trouble shooting ....... Insertion
Removal Procedures ..................................................... 1-32 Parts List ................................ Separate Volume Insertion
No. 20058

MC-SerVIce May 1988

Page 2

AX-ZSl 1 BK

c Safety Precautions

1.

The design of this product contains special hardware and many circuits and components specially for safety
purposes. For continued protection, no changesshould be made to the original design unless authorized in
writing by the manufacturer. Replacement parts must be identical to those used in the original circuits. Service
should be performed by qualified personnel only.

. Alternations of the design or circuitry of the product should not be made. Any design alterations of the product

should not be made. Any design alterations or additions will void the manufacturer's warranty and will further
relieve the manufacturer of responsibility for personal injury or property damage resulting therefrom.

. Many electrical and mechanical parts in the product have special safety-related characteristics. These

characteristics are often not evident from visual inspection nor can the protection afforded by them
necessarily be obtained by using replacement components rated for higher voltage, wattage, etc.
Replacement parts which have these special safety characteristics are identified in the Parts List of Service
Manual. Electrical components having such features are identified by shading on the schematics and by (A)
on the Parts List in the Service Manual. The use of a substitute replacement which does not have the same
safety characteristics as the recommended replacement part shown in the Parts List of Service Manual may
create shock, fire, or other hazards.

. The leads in the products are routed and dressed with ties, clamps, tubings, barriers and the like to be

separated from live parts, high temperature parts, moving parts and/or sharp edges for the prevention of

electric shock and fire hazard. When service is required, the original lead routing and dress should be

observed, and it should be confirmed that they have been returned to normal, after re-assembling.

Leakage current check (Electric shock hazard testing)

After re-assembling the product, always perform an isolation check on the exposed metal parts of the product

(antenna terminals, knobs, metal cabinet. screw heads, headphone jack, control shafts. etc.) to be sure the

product is safe to operate without danger of electrical shock.

Do not use a line isolation transformer during this check.

0 Plug the AC line cord directly into the AC outlet. Using a "Leakage Current Tester", measure the leakage
current from each exposed metal part of the cabinet, particularly any exposed metal part having a return
path to the chassis, to a known good earth ground. Any leakage current must not exceed 0.5 mA AC (r.m.s).

0 Alternate check method
Plug the AC line cord directly into the AC outlet. Use an AC voltmeter having 1,000 ohms per volt or more
sensitivity in the following manner. Connect a 1,500 .0 10 W resistor paralleled by a 0.15 F AC-type
capacitor between an exposed metal part and
a known good earth ground.

Measure the AC voltage across the resistor with E (Argngj'gggERhm / u
the AC voltmeter. or marge "5:in V°
Move the resistor connection to each exposed

O 0
metal part, particularly any exposed metal part -I
having a return path to the chassis, and measure '15 M: AC FE
the AC voltage across the resistor. Now, reverse

o

Place this probe

the plug in the AC outlet and repeat each on each exposed
measurement. Any voltage measured must not 9 0 metal part
exceed 0.75 V AC (r.m.s)t This corresponds to Good earth ground

0.5 mA AC Ir.m.s).

-Warning

@PWNT

This equipment has been designed and manufactured to meet international safety standards.
It is legal responsibility of the repairer to ensure that these safety standards are maintained.
Repairs must be made in accordance with the relevant safety standards.

It is essential that safety critical components are replaced by approved parts.

If mains voltage selector is provided, check setting for local voltage.

1-2

(No. 20058)

Page 7

HOW TO OPERATE
BEDIENUNG

UTILISATION
BEDIENING
COMO SE OPERA
ANVANDNING

am 05

DAT 2/TAPE 2 MONITOR J

Turn the MASTER LEVEL CONTROL knob
down before turning on the power.

Connect the tuner and video components to
LINE 1 and LINE 2 respectiver In accordance
with the diagram on page5 showing connec-
tions.

RECORD
OPTICAL DIGITAL
CD OUTPUT
ANALOG

FM/AM Broadcast
FM/AMRundfunksendungen
Emission en FM/AM

VIDEOIHirFiVIDEO)

COAXIAL DIGITAL DAT -
ANALOG DAT l/TAPE 1
ANALOG DAT 2/TAPE 2 -

TAPE
BAND
BANDE

OUTPUT

DIA CONVERTER DIRECT switch

When this switch Is operated the digital Input
is received dIrectly by the power ampIIfier and
the balance circuit and source selector circuit
are by-passed. The D/A CONVERTER (Digital
Analog Cunverterl Output is input directly intc
MASTER LEVEL CONTROL and very clear
high fidelity performance is achieved. Aocord»
ingly, when the BIA CONVERTER DIRECT
function is ON, ANALOG recording and the
balance Iunction will not operate.

Note:

0 During the rece tion of television or FM
radi Iiunals, depending on the broadeastinu
stltlun frequency, noise might appear irorn
digital units such as co players. In this type
of situation, out off the power to the digital
unit.

COAXIAL DIGITAL

Drehen SIe den MASTER LEVEL CONTROL-
Knopf herunter, beyor Sie den Netzstrom ein-
schalten.

SchlieBen SIe den Tuner and die Video-Kem-
Donenten an die Buchsen LINE 1 bzw, LINE 2
an, wie im AnscthBdIagramrn aul Seite 5 ge-
zeigt.

AX 9113K

- D/A CONVERTER DIRECT

Fig. 4
Abb. 4
Alb. 4

- DIGITAL INPUT SELECTOR
- ANALOG INPUT SELECTOR

Abaisser Ie bouton de controle deniyeau princi-
pal IMASTER LEVEL CONTROL) evant de
fournir l'alimentation.

Raccorder Ie syntoniseur et Ies appareiis VIdeO a
Is ligneI ILINE1)eté|aIIgne 2 (LINE 2) re-
spectivernent suivant Ie diagramme de pageS
Inquuant Ies raccordements.

ANALOG INPUT SELECTOR DIGITAL INPUT SELECTOR DATE 2/TAPE 2MONITOR

PHONO

CD

LINEI

LINE 2

DAT l/TAPE 1

D/A CONVERTER DIRECT-Schelter

Wenn Sie diesen SchaIter betfitigen, wird das
Digitaleingangssignal direkt vom Endverstérker
emplangen, wcbai Balance-Schaitkreis und
Signalquelienwahl-Scnaitkreis umgangen wer-
den Der D/A CONVERTER-Ausgang IDigitalv
Analog-Umsstzeri liegt direkt am MASTER
LEVEL CONTROL an, wodurch hOchste Hifi-
Klangqualitéit gewéhleIstet is! Wenn die D/A
CONVERTER DIRECTFunktiOn eingeschaiter
ION) ist, sind ANALOGAufnahmefunktIon
und Balancereglerfunktion also nicht aktiv,

e We end des Emplengs won Ferneeh- odor
UKW-Siululen k6nnen - ie new dar Fre-
quenz der Signelquelle - durcll Digit-I-

wie CD-Spialet G uwhl auhveten.

m Felle die Stromvusomung tum

Digit-Inuit abtdlllten.

MC-Service

DIGITALI
DIGITALZ

DAT MONITOR

- OFF
OFF
OFF
- OFF

OFF

- OFF
OFF
- OFF
- ON

Fin. 5
Abb. 5
Afls. 5

Oomntutateur direct de eonveflissnuv nume-
rique-analogiqul (D/A CONVERT! RI

Lorsque ce ccmmutateur est manpule, lentrée
numérique est directemem recue par l'ampli»
licateur de puissance, et Ie circuit de balance
at Ie circuit de selecteur de sourcesont ignores,
La sortie de convertisseur nunerique-analo-
gique (D/A CONVERTER) estdirectemem
entree dnas Ie contréle de niVau principal
(MASTER LEVEL CONTROL), ela reDroduc-
tion sonore de tres haute fidéité est ainsi
réaIIsée. Far consequent, lorsquea touche de
fonction directe de convertisseur numériquer
anaiogique (D/A CONVERTER i| RECT) est
sur la pOSItiun marche IONI. I'eregistrement
anaIug'Ique (ANALOG) et la Clrrlmande de
balance ne s'effectuent pas.

Remerque:
e Pendent la rieeptien the signal; de la ulc-
vieion ou de la redio FM "Ion. 'Vuuenee
e ll nation int-rice, I knit pourralt ee
predulre dee Ipplreile numeriual tela que
la lacteur de diequee pomp-q, Dene um
I. situation, coupe: I'allmeflk ion de I'ep-
perell numhlque.

(No. 20958) 1-7

Page 24

, AX-ZS1 1BK

I VC4082-2 (IC108)

(1) Outline
The VC4082-2 is the delay circuit gate array forthe digital interface receiver (YMBGZZB: IC 1 06). It is a delay device
which writes the serial data transmitted from |C106 into the DRAM (IC109) and outputs the serial data after a
fixed period (150 msec) has elapsed.

(2) Function

1) Parallel outputs the upper 8 bits of the serial data which is transmitted from |C106. (For the precedent signal)

2) Serially outputs the delayed serial data in synchronism with the ECG signal and the WC signal, which are
transmitted from lClOG.

3) Serially outputs the 2's complement data since operation starts until the first delay time has elapsed.

4) With the external RESET signal or the ERR signal transmitted from |ClO6, all of the internal memory is erased
and the initialized status resumes in VC4082-2.

5) Outputs the 2's complement serial data, between the delayed L-channel and R-channel serial data.

6) Writes the serial data transmitted from |C106 into |0109 and at the same time, reads the serial data that the
delay time has elapsed, by accessing by the read modified write cycle.

7) Enters START mode by detecting the rising edge of the external RESET signal (negative logic) or the falling
edge of the ERR signal (positive logic) transm itted from C106, and enters operation mode by detecting the rising
edge of the L/R signal transmitted from |C106t

(3) Internal Structure and Peripheral Connections

RAIOI,RA102
i i DAM
|C109
Jgéi m_- 35 M,_,_ LM33256N-15
r ........................... , r ........... . , . . , . , . '
l 5 _


.s.ov
PIS
REGISTER . ADDRESS DECODER MUX
: i COUNTER
I
V .
SHIFT 3 3
- !
5:75" : 5 (ADDRESS BLOCK)
. .
.
.
.

(OUTPUT BLOCK)


I |C108
VC4082v2

,_ _______________ , .............................. 1 .
j (CONTROL BLOCK) : MU"
. l

m 3 . . E I SHIFT
3 T'm'"9 i REGISTER
. .
. .

777/ r»- STARTER I STARTER 2 Gmem'm I 32
L.' ...........
----- 9 ~ mm mm

- ' ; lCiiI
wc . 2 L F {@493 _
Do 17 1 L7-_ SDI
ICIOG BCO 1 E BCI
vmaszsa M E7 E XI
UK 15 E SDSY

1-24 (No. 20053)

Page 65

_ AX-ZS1 1 BK

Accessories List


A Item Part Number Part Name Q'ty Description Areas
530530-1428A Instruction Book 1 Except as
E30530-1428ABS Instruction Book 1 BS
BTZOOZSK Warrany Card 1 C
BT20029C Warrany Card 1 for Australia A
BTZDDAEB Warrany Card I J,P,PG
BTZOOSOB Warrany Card 1 BS
BTZDOSAA Warrany Card I G
BT20098 Warrany Card 1 for New Zealand A
BTZOOME Safety Instruction Sheet 1 J
81200461: Service lniormation 1 J,P,PG
BTZOOGE EEC Agency I 6.35
BT20071A Service Center List 1 C
QZL1008»001 FTZ Information Sheet 1 G
E43486v340A Safety Sheet 1 BS
023604301 Caution Sheet 1 C
UM-ANJ -ZPSA Battery 1
RM»SA911U Remote Controler 1

A QMF51A2-8ROL Fuse 1 u , PG

A QMF51A2-4ROS Fuse 1 P
E67142~T8R0 Fuse Label 1 U,PG
E67142-T4R0 Fuse Label 1 P
TOCP172»1MB-JV DPT. Fiver 1
1202-2 Envelope 1 Excet BS
(241202-28 Envelope 1 BS
E65814 Envelope 1 for Fuse U. P . PG
E66416-003 Envelope 1 J

A E04056 Siemens Plug 1 U,PG
12354974019 Caution Sheet 1 220V U.PG
E35497-017 Caution Sheet 1 NOV P

A :Safety Parts
The Marks for Designated Areas

J-"m USA. West Germany

0... Canada BS U.K. _

P,PG~ -U.S..Mllitary Market . Other Countries

Continental Europe No mark ndlcates all areas.
Australia

2-24 (No. 20058)

MC-Service