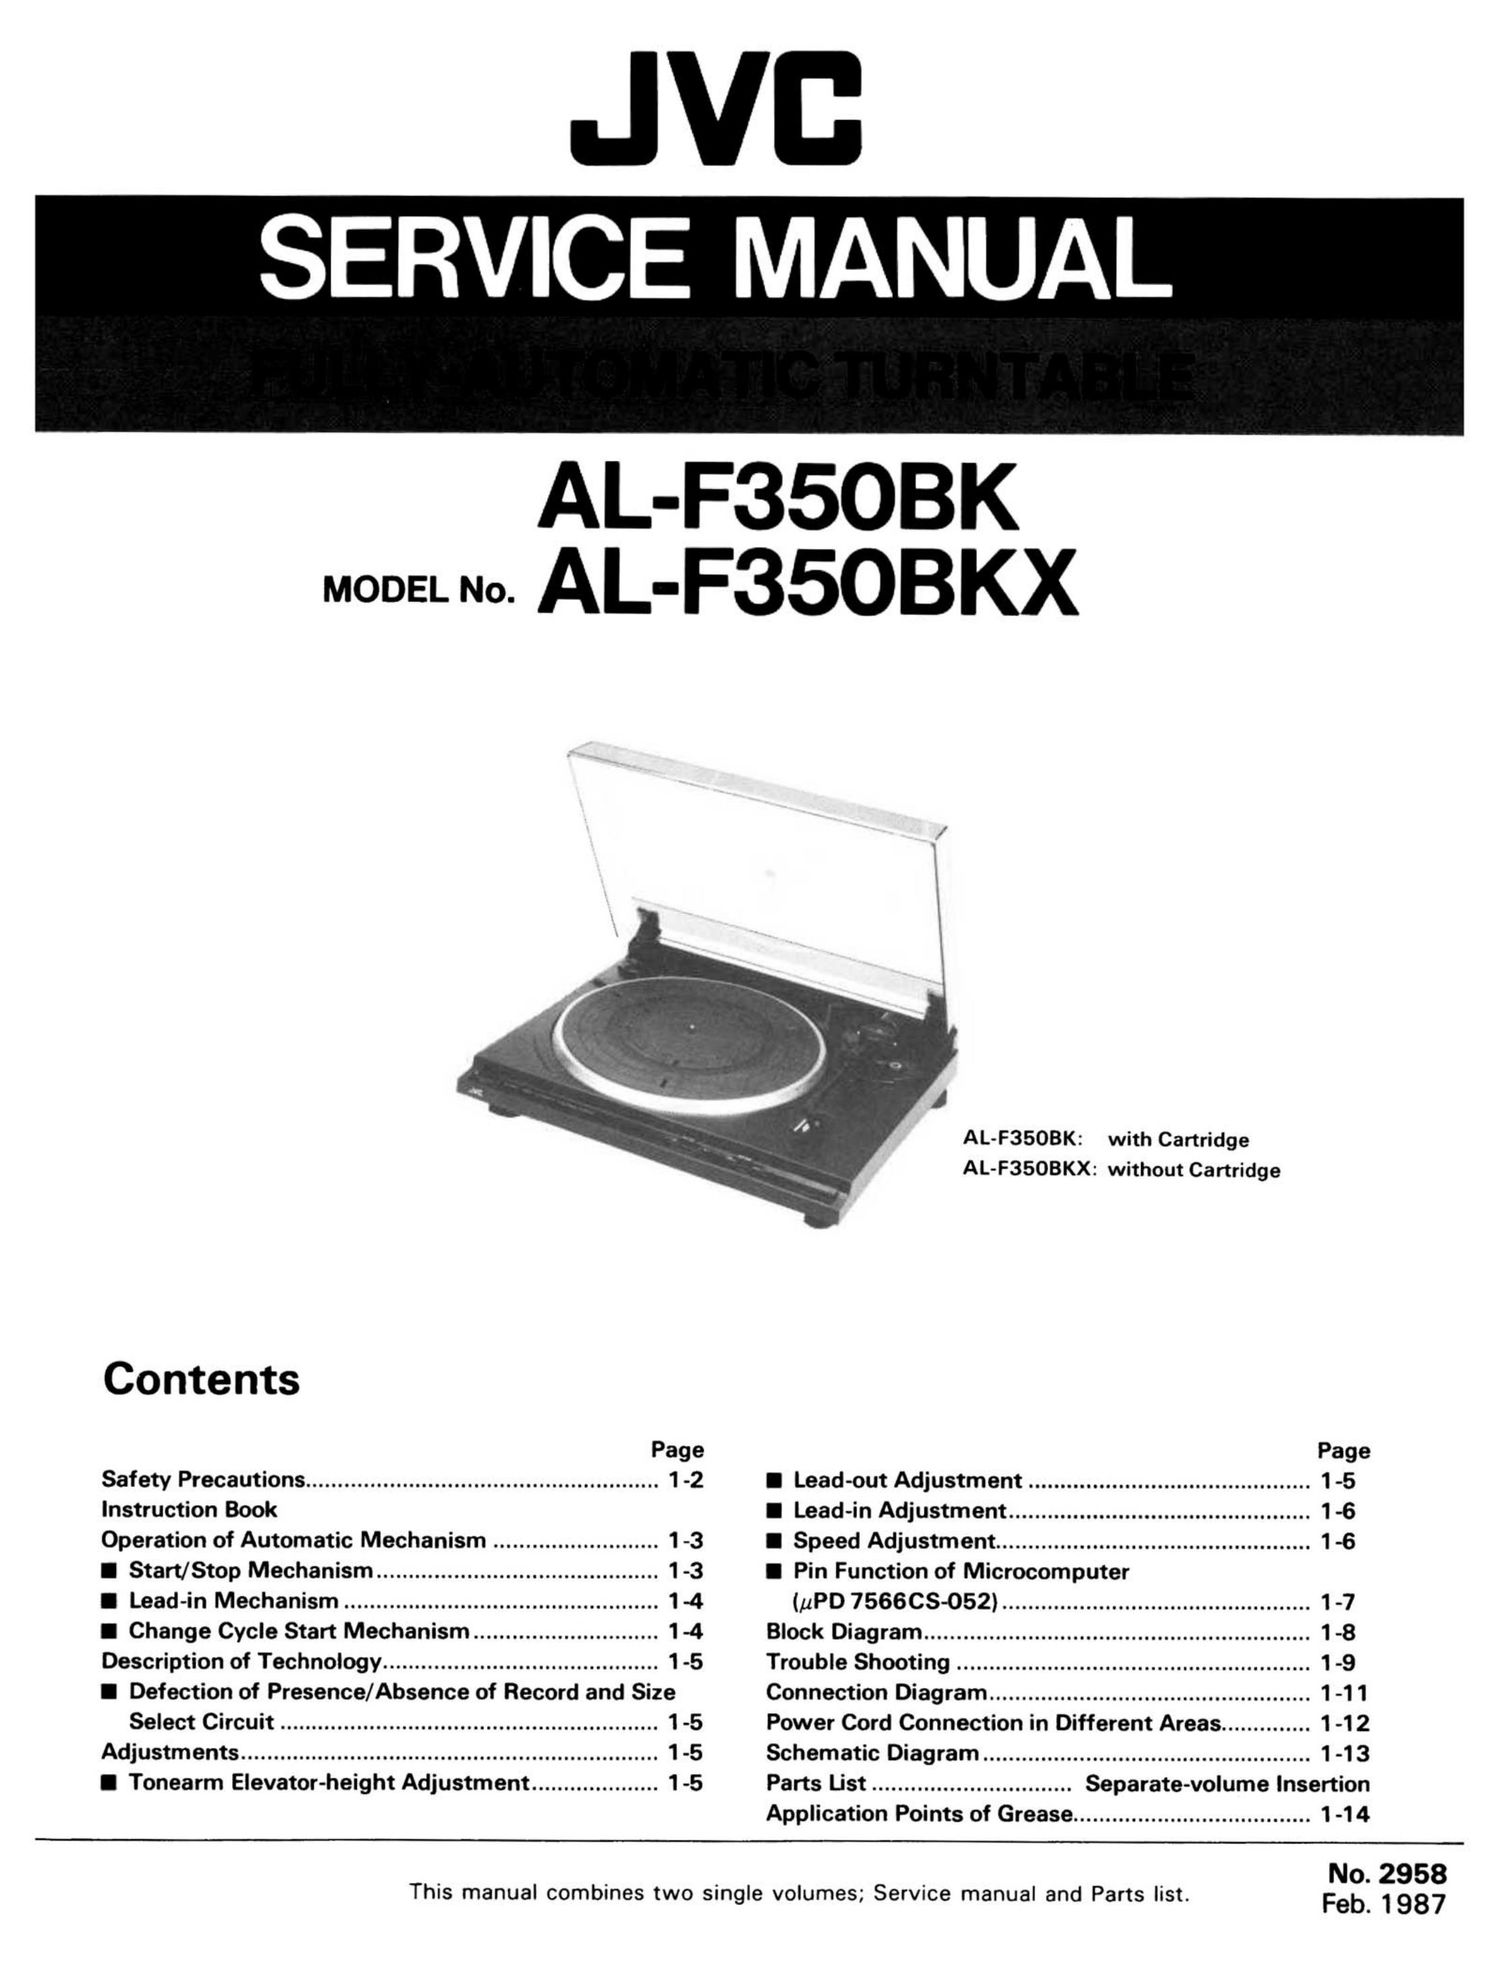
Jvc ALF 350 BK Service Manual

This is the 33 pages manual for Jvc ALF 350 BK Service Manual.
Read or download the pdf for free. If you want to contribute, please mail your pdfs to info@audioservicemanuals.com.

Page: 1 / 33
left right
Jvc ALF 350 BK Service Manual

Extracted text from Jvc ALF 350 BK Service Manual (Ocr-read)


Page 1

SERVICE MANUAL

AL-F35OBK
momma. AL-F35OBKX

AL-F3SOBK: with Cartridge
AL-F3503KX: without Cartridge

Contents
Page Page
Safety Precautions ....................................................... 1-2 I Lead-out Adjustment ............................................ 1-5
Instruction Book I Lead-in Adjustment ............................................... 1-6
Operation of Automatic Mechanism .......................... 1-3 I Speed Adjustment ................................................. 1-6
I Start/Stop Mechanism ............................................ 1-3 I Pin Function of Microcomputer
I Lead-in Mechanism ................................................. 1-4 (,uPD 7566CS-052) ................................................ 1-7
I Change Cycle Start Mechanism ............................. 1-4 Block Diagram ............................................................ 1-8
Description of Technology ........................................... 1-5 Trouble Shooting ....................................................... 1-9
I Defection of Presence/Absence of Record and Size Connection Diagram .................................................. 1-11
Select Circuit ........................................................... 1-5 Power Cord Connection in Different Areas .............. 1 -12
Adjustments ................................................................. 1-5 Schematic Diagram ................................................... 1 -13
I Tonearm Elevator-height Adjustment .................... 1-5 Parts List ............................... Separate-volume Insertion
Application Points of Grease ..................................... 1 -14
No. 2958

This manual combines two single volumes; Service manual and Parts list.

Feb. 1987

Page 2

Safety Precautions

1.

The design of this product contains special hardware,
many circuits and components specially for safety pur-
poses.

For continued protection, no changes should be made
to the original design unless authorized in writing by
the manufacturer. Replacement parts must be identical
to those used in the original circuits. Service should be
performed by qualified personnel only.

. Alterations of the design or circuitry of the product

should not be made. Any design alterations or additions
will void the manufacturers warranty and will further
relieve the manufacturer of responsibility for personal
injury or property damage resulting therefrom.

. Many electrical and mechanical parts in the product

have special safety-related characteristics. These charac-
teristics are often not evident from visual inspection
nor can the protection afforded by them necessarily
be obtained by using replacement components rated for
higher voltage, wattage, etc. Replacement parts which
have these special safety characteristics are identified
in the parts list of Service manual. Electrical components
having such features are identified by shading on the
schematics and by (A) on the parts list in Service
manual. The use of a substitute replacement which does
not have the same safety characteristics as the recom-
mended replacement part shown in the parts list in
Service manual may create shock, fire, or other hazards.

. The leads in the products are routed and dressed with

ties, clamps, tubings, barriers and/or the like to be
separated from live parts, high temperature parts, mov-
ing parts and/or sharp edges for the prevention of elec-
tric shock and fire hazard.

When service is required, the original lead routing and
dress should be observed, and they should be confirm-
ed to be returned to normal, after re-assembling.

. Leakage current check

(Safety for electrical shock hazard)
After re-assembling the product, always perform an
isolation check on the exposed metal parts of the

Products (antenna terminals, knobs, metal cabinet,

screw heads, headphone jack, control shafts, etc.) to be

sure the product is safe to operate without danger of

electrical shock.

Do not use a line isolation transformer during this check.

0 Plug the AC line cord directly into the AC outlet.
Using a "Leakage Current Tester", measure the
leakage current from each exposed metal part of the
cabinet, particularly any exposed metal part having a
return path to the chassis, to a known good earth
ground. Any leakage current must not exceed 0. 5 mV
AC (r.m.s.).

0 Alternate check method.
Plug the AC !ine cord directly into the AC outlet. Use
an AC voltmeter having 1,000 ohms per volt or more
sensitivity in the following manner. Con-
nect a 1500 9 10 W resistor paralleled by a 0.15 uF
AC-type capacitor between an exposed metal part
and a known good earth ground. Measure the AC
voltage across the resistor with the AC voltmeter.
Move the resistor connection to each exposed metal
part, particularly any exposed metal part having a
return path to the chassis, and measure the AC
voltage across the resistor. Now, reverse the plug in
the AC outlet and repeat each measurement. Any
voltage measured must not exceed 0.75 V AC (r.m.s.).
This corresponds to 0.5 mA AC (r.m.s.).

GOOD EARTH GROUND

AC VOLTMETER
(HAVING 1000 ON.
OR MORE SENSITIVITY)

AF

r-0 0-

0.15 F AC-TYPE

(TI-1 .,

1 500 9 10 W PLACE THIS PROBE
ON EACH EXPOSED
METAL PART.

CHECK THE VOLTAGE SELECTOR'S SETTING

(Except for USA. Canada. Australia, U.K. and Continental Europe.)

Before inserting the power plug, please check that the voltage selector's setting corresponds with the line voltage in
your area. If it doesn't, be sure to reset the voltage selector before operating this equipment. The voltage selector
may be located on the rear or bottom of the unit, or underneath the platter.

CAUTION: Before setting the voltage selector to proper voltage, disconnect the power plug.

1-2

(No. 2958)

Page 20

1-10

Does not lead-in.

Check that the
voltage at pin (E of
lC301 is O V when the
START/STOP button
(S306) is pressed.

YES

Check that
the voltage at
pin of |C301
is +5.6 V.

NO

YES

Is the

NO
plunger pulled?

YES

S301 - S304 are defec-

tive.

ea- -in Operation starts
without a record on the
clatter.


Check that
the hole in the platter
is aligned with that in
the coverning.

NO


Align the holes.


YES

Check that
the pulse voltage at

pins 6) and Q) of |C301
are +5.6 V.

YES lC30l is defective.

0617 ~ 619

0630 ~ 632 is
defective.

Fig. 16

(No. 2958)

S306 is defective.


|C301 is defective.

The plunger or 0501 is

defective.

Leads in at 30 cm record
position even when a re-
cord of 17 cm is put on

the platter.

0630 - 0632 or 8303
are defective.

Leads in at 17 cm record
position even when a re-
cord of 30 cm is put on
the platter.

0617 - 0619 are defec-
tive.