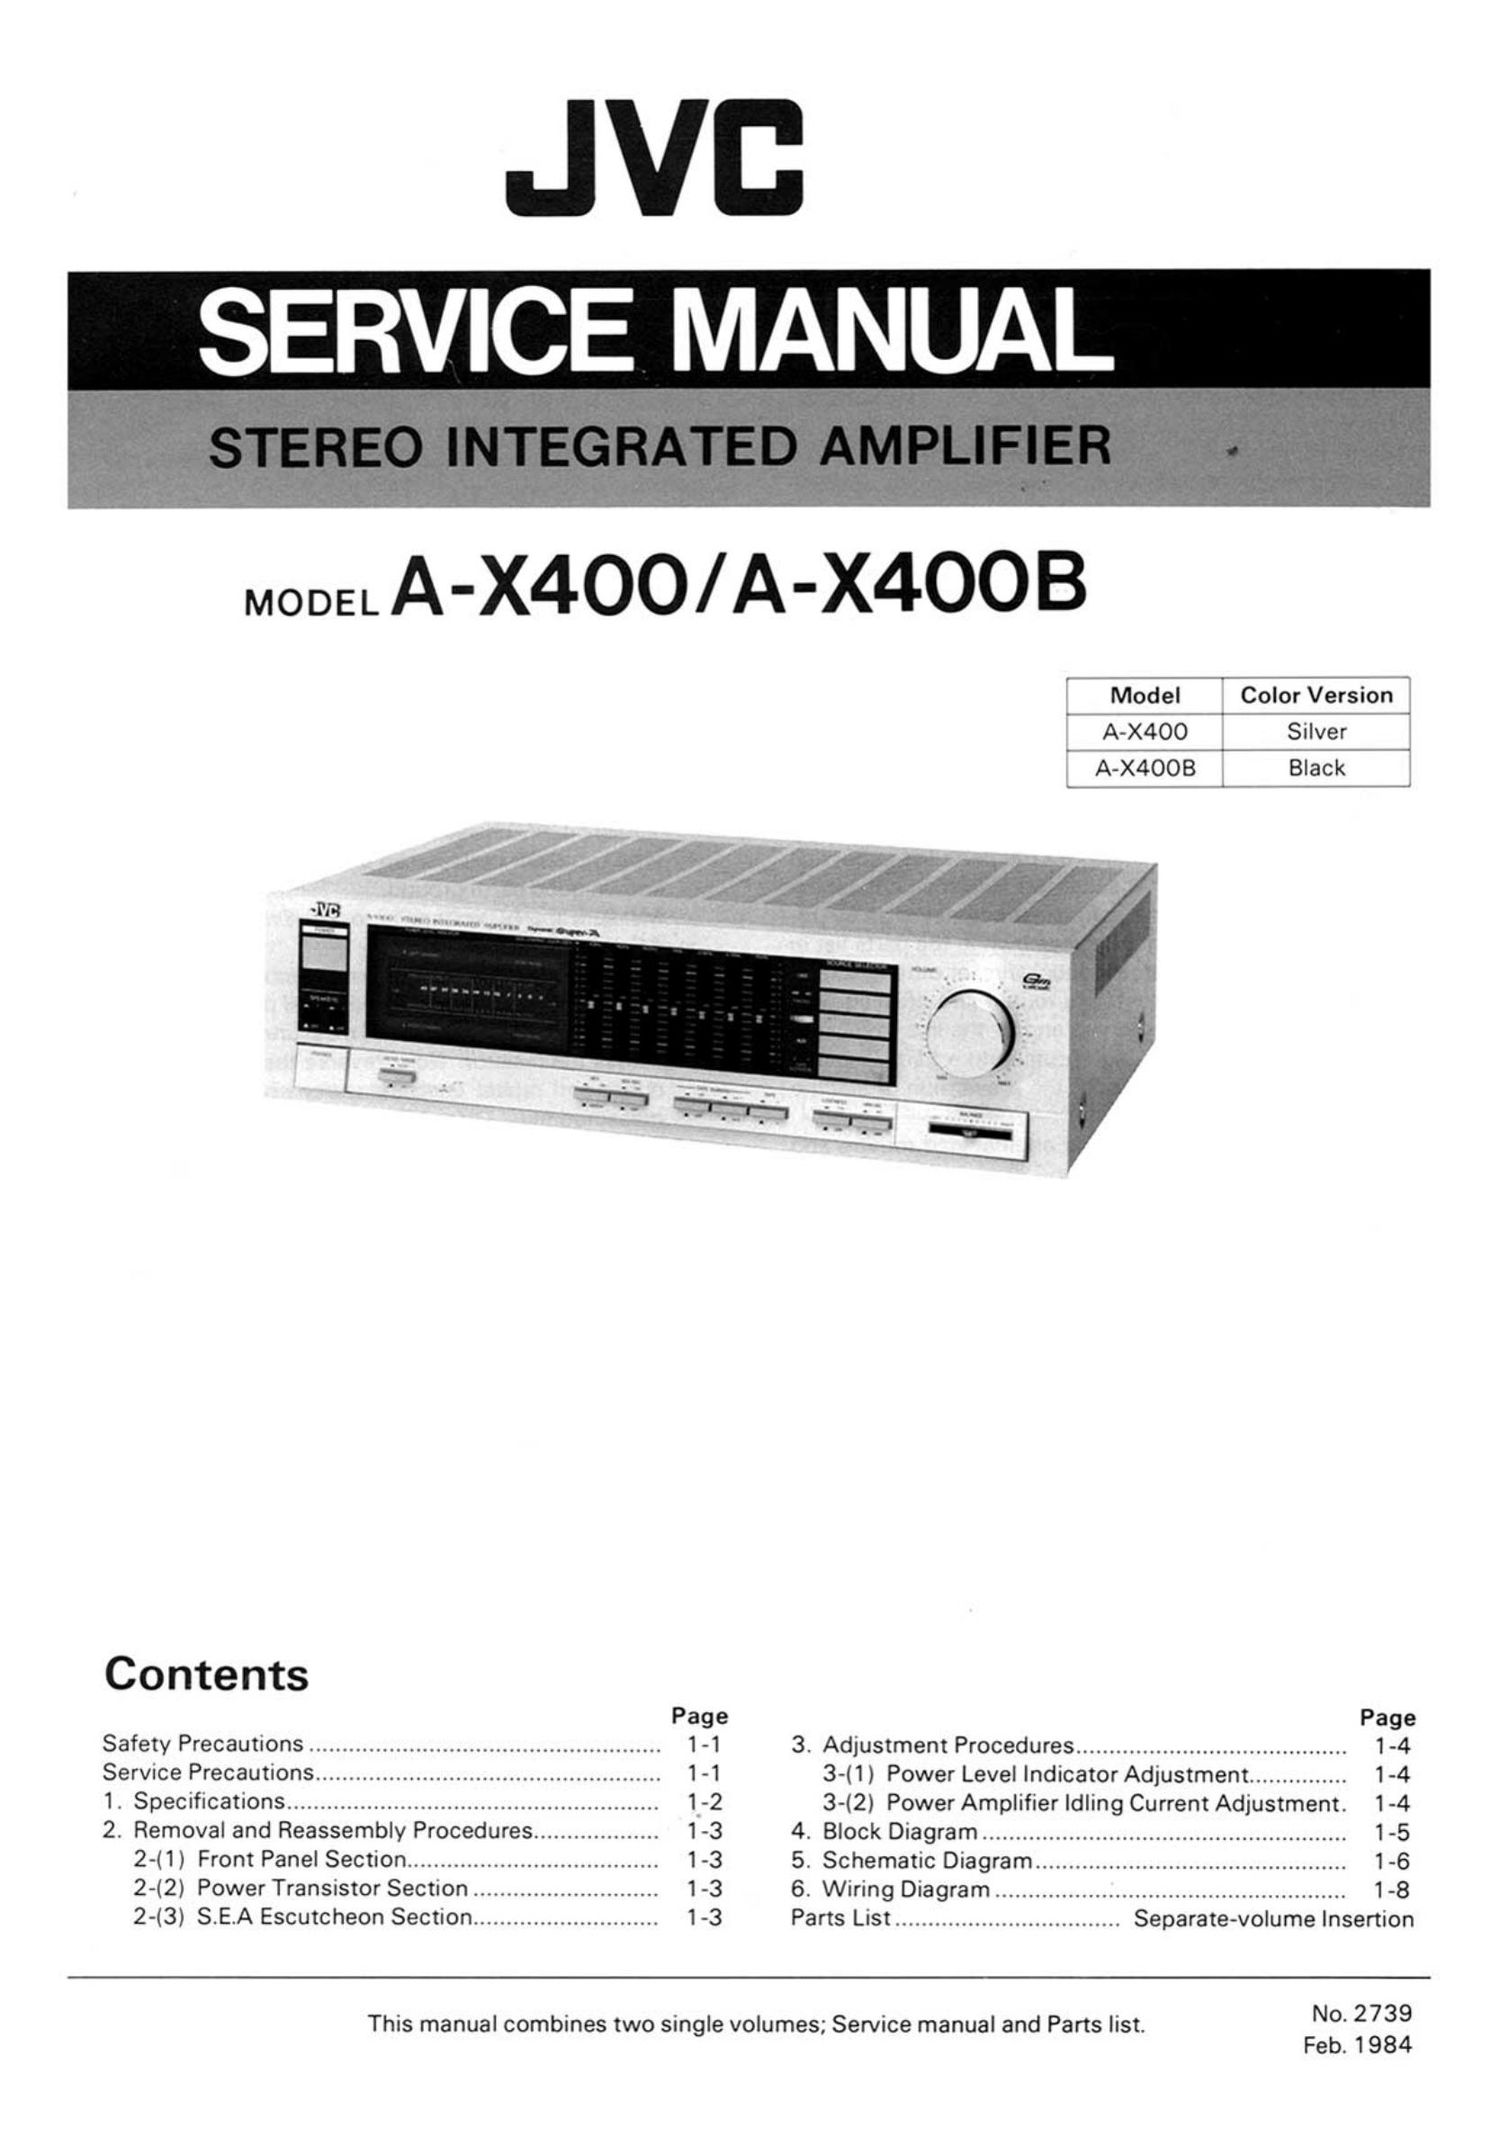
Jvc A X400 Service Manual

This is the 11 pages manual for Jvc A X400 Service Manual.
Read or download the pdf for free. If you want to contribute, please mail your pdfs to info@audioservicemanuals.com.

Page: 1 / 11
left right
Jvc A X400 Service Manual

Extracted text from Jvc A X400 Service Manual (Ocr-read)


Page 1

ERVICE MANUAL

MODEL A-X400/A-X4OOB

*\

Model Color Version-
A-X4OO Silver
A-X4OOB I Black

Contents
Page Page
Safety Precautions ..................................................... 1-1 3. Adjustment Procedures ......................................... 1-4
Service Precautions .................................................... 1-1 3-(1) Power Level Indicator Adjustment ............... 1-4
1. Specifications ........................................................ 1-2 3-(2) Power Amplifier Idling Current Adjustment. 1-4
2. Removal and Reassembly Procedures ................... 1-3 4. Block Diagram ....................................................... 1-5
2~(1) Front Panel Section ...................................... 1-3 5. Schematic Diagram ............................................... 1-6
2-(2) Power Transistor Section ............................ 1-3 6. Wiring Diagram ..................................................... 1-8
2-(3) S.E.A Escutcheon Section ............................ 1-3 Parts List .................................. Separate-volume Insertion
No. 2739

This manual combines two single volumes; Service manual and Parts list.

Feb. 1984

Page 2

Safety Precautions

1. The design of this product contains special hardware.

many circuits and components specially for safety pur-
poses.
For continued protection, no changes should be made
to the original design unless authorized in writing by
the manufacturer. Replacement parts must be identical
to those used in the original circuits. Service should be
performed by qualified personnel only.

2. Alterations of the design or circuitry of the product
should not be made. Any design alterations or addi-
tions will void the manufacturers warranty and will
further relieve the manufacturer of responsibility for
personal injury or property damage resulting therefrom.

3. Many electrical and mechanical parts in the product
have special safety-related characteristics. These char-
acteristics are often not evident from visual inspection
nor can the protection afforded by them necessarily be
obtained by using replacement components rated for
higher voltage, wattage, etc. Replacement parts which
have these special safety characteristics are identified
in the parts list of Service manual. Electrical compo-
nents having such features are identified'by shading on
the schematics and by ( A l on the parts list in Service
manual. The use of a substitute replacement which
does not have the same safety characteristics as the re-
commended replacement part shown in the parts list in
Service manual may create shock, fire, or other hazards.

4. The leads in the products are routed and dressed with .

ties, clamps, tubings, barriers and/or the like to be sep-
arated from live parts, high temperature parts, moving
parts and/or sharp edges for the prevention of electric
shock and fire hazard.

When service is reQuired, the original lead routing and
dress should be observed, and they should be con-
firmed to be returned to normal, after reassembling.

Service Precautions

1. Before repairing, be sure to discharge the large electro-
lytic capacitors across a resistor of about 100 ohms/1
watt.

I When disassembling

1. When replacing a power transistor or IC, be sure to
apply silicone grease to the section of a new transistor
or IC which is in close contact with the heatsink, then
mount it.

2. When removing or stretching wires on the P. C. Board,
be sure to restore them to their original routing as far as
possible.

3. When connecting a remote switch, insert it from above
as shown in Fig. 2. In this case, press it in sufficiently
in order to prevent it from floating during operaiton.

1-1 (No. 2739)

5. Leakage current check

(Safety for electrical shock hazard)

After reassembling the product, always perform an iso-

lation check on the exposed metal parts of the Products

(antenna terminals, knobs, metal cabinet, screw heads,

headphone jack, control shafts, etc.) to be sure the pro-

duct is safe to operate without danger of electrical
shock.

Do not use a line isolation transformer during this

check. . -

0 Plug the AC line cord directly into the AC outlet. Us~
ing a "Leakage Current Tester", measure the leakage
current from each exposed metal part of the cabinet,
particularly any exposed metal part having a return
path to the chassis, to a known good earth ground.
Any leakage current must not exceed 0.5 mA AC
(r.m.s.).

0 Alternate check method.

Plug the AC line cord directly into the AC outlet. Use
an AC voltmeter having 1,000 ohms per volt or more
sensitivity in the following manner. Connect a
1500.9 10W resistor paralleled by a 0.15 uF AC-
type capacitor between an exposed metal part and a
known good earth ground.

Measure the AC voltage across the resistor with the
AC voltmeter.

Move the resistor connection to each exposed metal
part, particularly any exposed metal part having a re-
turn path to the chassis, and measure the AC voltage
across the resistor. Now, reverse the plug in the AC
outlet and repeat each measurement. Any voltage
measured must not exceed 0.75V AC (r.m.s.).

This corresponds to 0.5 mA AC (r.m.s.).

__+ AC VOLTMETER
1 \ (HAVING 10009/V.
OR MORE SENSITIVITY)

O O-
.15uF AC-TYPE

{L 3.:
J

PLACE THIS PROBE
> ON EACH EXPOSED
METAL PART

1500910

GOOD EARTH GROUND

Fig. 1


5 lift

Metal section

Fig. 2

Note: Set the switch to OFF, then mount or demount it
holding the metal section shown above.

Page 6

4. Block Diagram

EQUALIZER AMP. ANALOG FUNCTION TAPE MONITOR

PHONO SWITCH on: on: oemr SEA AMP.
DAD j [j
133- *
ON
TUNER . * -r-° 0-
MM RIAA DUBBING ON ON
AUX MM 1 1 l SOURCEj- I..2 OFF DEFEAT '
O
0" I- r l 3
MC
MC 1-1-1 Do-U$lNC -02-ol -00N 00N
TAPE souRcE
:23 TUNER I r I-2 0
AUX I I
r02 0 O 32-!
OUBBING ON
TAPE-1 REC
APE-1 PLAY 4.
TAPE-2 REC
TAPE-2 PLAY 4
LOUDNESS
POWER AM P. SPEAKERS SYSTEM
----g 0N 3-0
SUPERA SYSTEM-1
OFF 0
BALANCE -. Gm DRIVER AMP. o N °--°
SYSTEM-2
4. NF _________. 0"
L I
g % ~-IWI---o PHONES
77/. #7 ,7 ANALOG FUNCTION SWITCH PROTECTOR
EOUALIZER AMP.
SEA AMP.
VOLTAGE AMP. POWER AMP.
69 e 69 G


1-5 (No. 2739)

POWER
SUPPLY

Fig. 9