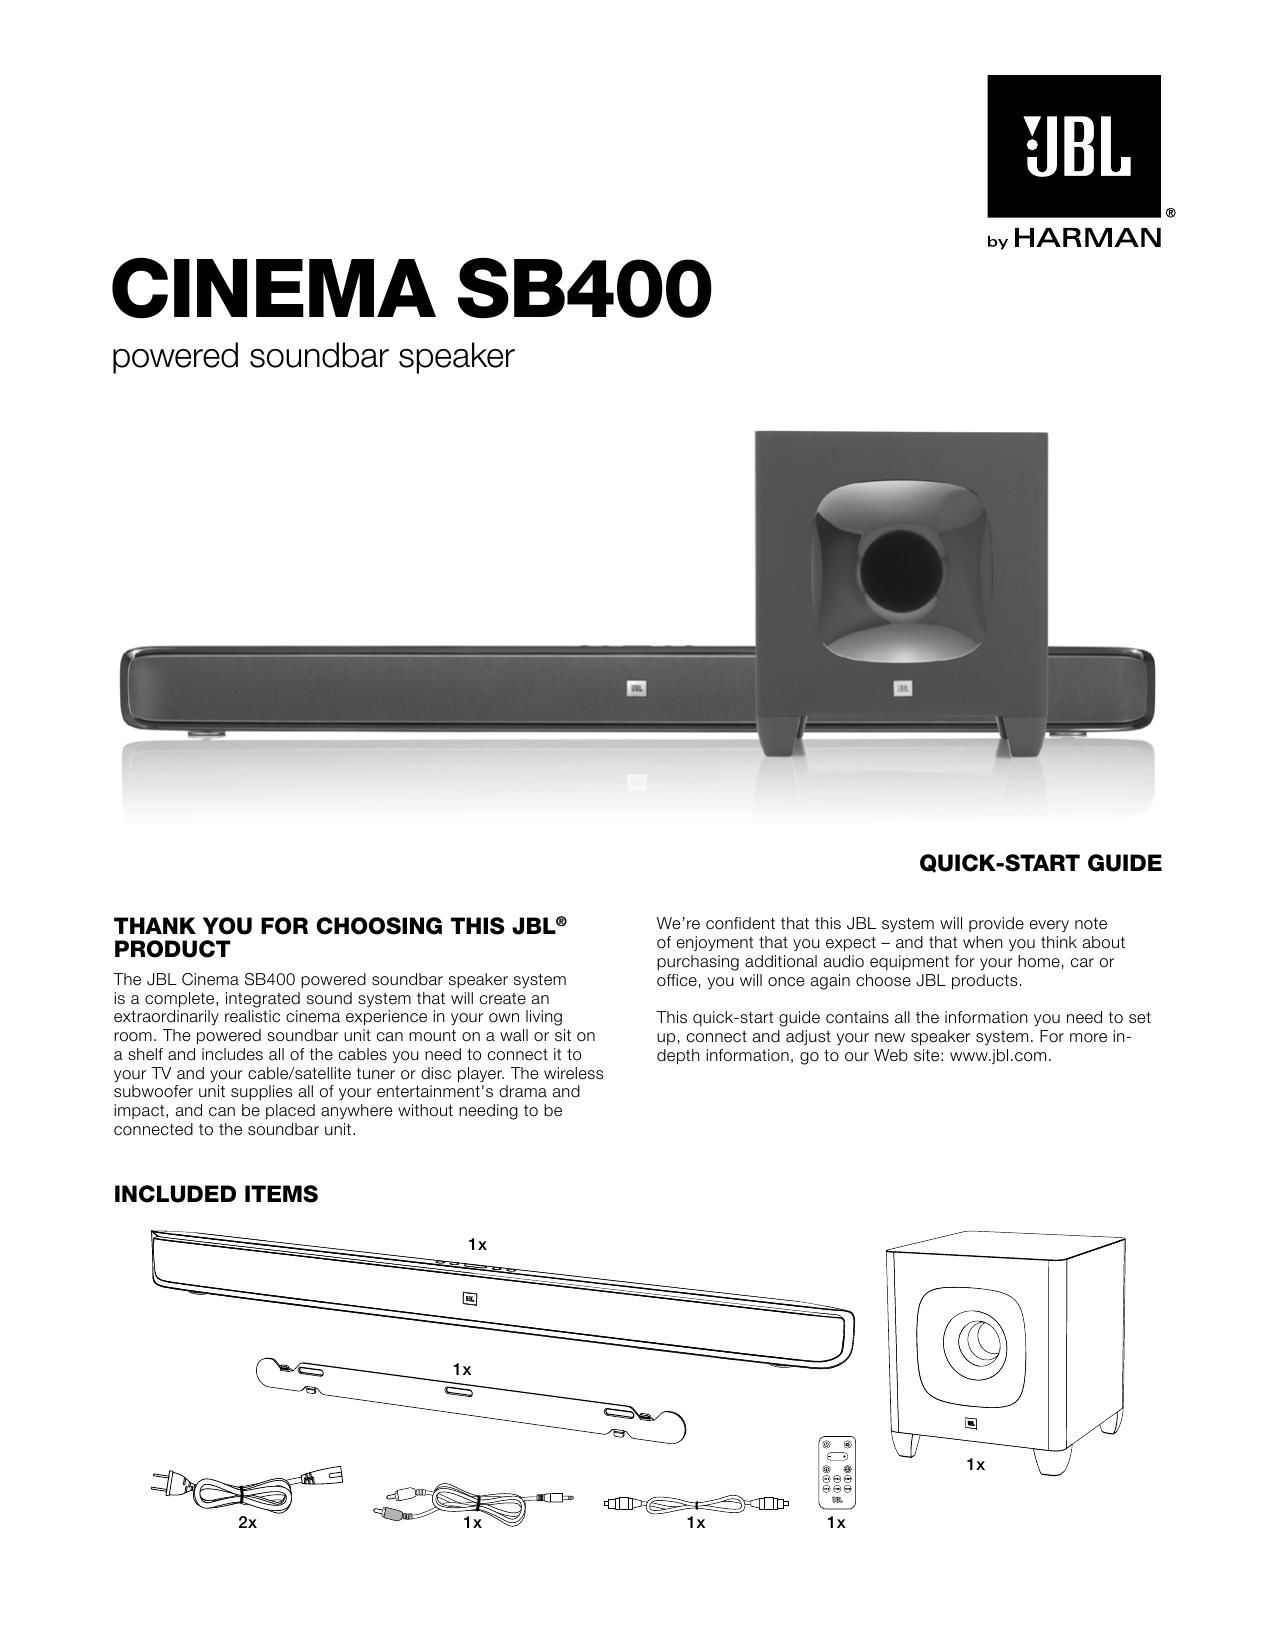
Jbl SB 400 Owners Manual

This is the 10 pages manual for Jbl SB 400 Owners Manual.
Read or download the pdf for free. If you want to contribute, please mail your pdfs to info@audioservicemanuals.com.

Page: 1 / 10
left right
Jbl SB 400 Owners Manual

Extracted text from Jbl SB 400 Owners Manual (Ocr-read)


Page 1

2 SouNdBAr rEAr-PANEL CoNTroLS ANd CoNNECTIoNS Power Switch Power Cord Connector EQ Switch HDMI Input Connectors Pairing Button and LED HDMI ARC TV Out Connector Optical Input Connector Aux Input Connector Power switch: Set this switch to the On position to activate the soundbar. In normal operation, this switch will be left in the On position. See Turning the Soundbar On and Off , on page 5, for more information. Power Cord connector: Connect the included power cord here. See Power Connections , on page 5, for more information. HDMI ® Input connectors: HDMI connections transmit digital audio and video signals between devices. If you have source devices with HDMI connectors, using them will provide the best possible audio and video performance quality. HDMI ARC TV Out connector: If your TV has an HDMI input, use an HDMI cable (not supplied) to connect it to the soundbar's HDMI ARC TV Out connector. The soundbar will pass video from source devices connected to its HDMI Input connectors, along with its own on-screen information display to the TV. If your TV is equipped with the HDMI Audio Return Channel (ARC) Function, you can feed its sound to the soundbar via the HDMI ARC TV Out connection, and it will not require additional audio connections to the soundbar. The ARC signal is active when the HDMI TV source is selected. Pairing button and LED: Press the Pairing button to initiate wireless pairing between the soundbar and the wireless subwoofer. See Pairing the Units for Wireless Operation, on page 6, for more information. EQ switch: Use this switch to adjust the soundbars bass for either wall or table mounting. If youre mounting the soundbar on a wall with the included wall-mount bracket, set the EQ switch to the Wall position for the most natural-sounding bass performance. If you are placing the soundbar on a table, set the EQ switch to the Table position for the most natural-sounding bass performance. Aux Input connection: Use the included stereo 3.5mm to stereo RCA audio cable to connect the stereo analog outputs of your TV, disc player or cable/satellite tuner here. Optical Input connector: If your TV, disc player or cable/satellite tuner has an optical digital output, use the included optical cable to connect\ it here. IMPORTANT: Do not connect the power cord to an AC outlet until you have made and verified all other connections. If you will not be using the soundbar for an extended period -“ for instance, if youre going on vacation -“ set the Power switch to the 0 (off) position. SouNdBAr ToP-PANEL CoNTroLS ANd rEMoTE CoNTroL Volume Buttons Source Indicator LEDs Source Button Surround ModeButton Bluetooth Button Power Button Volume Buttons Surround Mode Button Power Button Mute Button Bass Boost Button Source Buttons Power button: To turn the system on when the soundbar is in the Standby mode, press the Power button on either the soundbar or the remote. (The Power indicator will turn white.) To put the system in the Standby mode, press either Power button while the system is on. (The Power indicator will turn amber.) The subwoofer will remain on for approximately ten minutes after the soundbar goes into the Standby mode. If you do not press the Power button, the soundbar and the subwoofer will both automatically go into the Standby mode approximately 10 minutes after the audio signal ceases. NOTE: If you put the soundbar into the Standby mode by pressing the Power button, you must manually turn it on by pressing the Power button again. If the soundbar automatically goes into the Standby mode 10 minutes after the audio signal ceases, it will automatically turn on whenever the soundbar detects an audio signal at either input connection. Mute button (remote control only): Press the Mute button to mute the system. (The Volume +/-“ indicators both illuminate white.) While the system is muted, press the Mute button again or either Volume button to restore the sound. NOTE: Pressing both of the soundbars Volume buttons at the same time while the system is on will mute the system. Pressing either Volume button while the system is muted will restore the sound. Surround Mode button: This button turns the soundbars HARMAN Display Surround processing on and off. The Surround button indicator turns amber when HARMAN Display Surround is active, and turns white when HARMAN Display Surround is not active (normal stereo sound). See Changing the Surround Mode , on page 7, for more information. Volume buttons: Press the + button to increase the volume; press the -“ button to decrease the volume. The buttons illuminate white for a few seconds after being pressed. Source button: This button cycles between the sources in the following order: Bluetooth, Aux, Optical, HDMI TV, HDMI 1, HDMI 2, HDMI 3, Bluetooth, etc. The active source's Source Indicator LED will illuminate. Note: The remote has an individual selector button for each source except Bluetooth.

Page 2

3 Bluetooth button (soundbar only): Press this button to play the audio stream from a paired Bluetooth device through the soundbar. (The Bluetooth Source Indicator LED will illuminate when a paired Bluetooth device is the active source.) Press and hold this button to force the soundbar into the Bluetooth pairing mode. See Bluetooth Operation, on page 7, for more information. Bass Boost button (remote control only): Press the remotes Bass Boost button to enhance low-frequency performance. Pressing the Bass Boost button again will return the soundbars normal low- frequency performance. SuBWooFEr CoNTroLS ANd CoNNECTIoNS Subwoofer Level control: Use this control to balance the subwoofers volume with that of the soundbar. Turn the knob clockwise to increase the subwoofers volume; turn it counterclockwise to decrease the subwoofers volume. Crossover control: This knob adjusts the subwoofers cutoff between 40Hz and 200Hz.The higher you set the Cutoff control, the higher in frequency the subwoofer will operate and the more its bass will overlap that of the soundbar. This adjustment helps achieve a smooth transition of bass frequencies between the subwoofer and the soundbar for a variety of different rooms and subwoofer locations. See Subwoofer Crossover control, on page 8, for more information. Phase switch: This switch determines whether the subwoofer drivers piston-like action moves in and out in phase with the speakers in the soundbar. If the subwoofer were to play out of phase with the soundbar speakers, some of the sound waves produced by the subwoofer or soundbar could be canceled, reducing bass performance and sonic impact. This phenomenon depends in part on the relative placement of the speakers in the room. See Subwoofer Phase switch, on page 8, for more information. Wireless Pairing switch and LED: Press this switch to initiate wireless pairing between the subwoofer and the soundbar. See Pairing the Units for Wireless Operation, on page 6, for more information. - The LED lights blue continuously when the subwoofer is on and linked to the soundbar. - The LED slowly flashes blue when the subwoofer is on and the wireless link is not established between the subwoofer and the soundbar. - The LED rapidly flashes blue during the wireless pairing process. Power switch: Set this switch to the On position to activate the subwoofer. In normal operation, this switch will be left in the On position. See Turning the Subwoofer On and Off, on page 6, for more information. If you will not be using the subwoofer for an extended period -“ for instance, if youre going on vacation -“ set the Power switch to the Off position. Power Cord connector: Connect the included power cord here and into an active, unswitched AC outlet. See Power Connections, on page 5, for more information. IMPORTANT: Do not connect the power cord to an AC outlet until you have made and verified all other connections. Power Switch Subwoofer Level Control Crossover Control Phase Switch Wireless Pairing Button Wireless Pairing LED Power Cord Connector www.jbl.com English