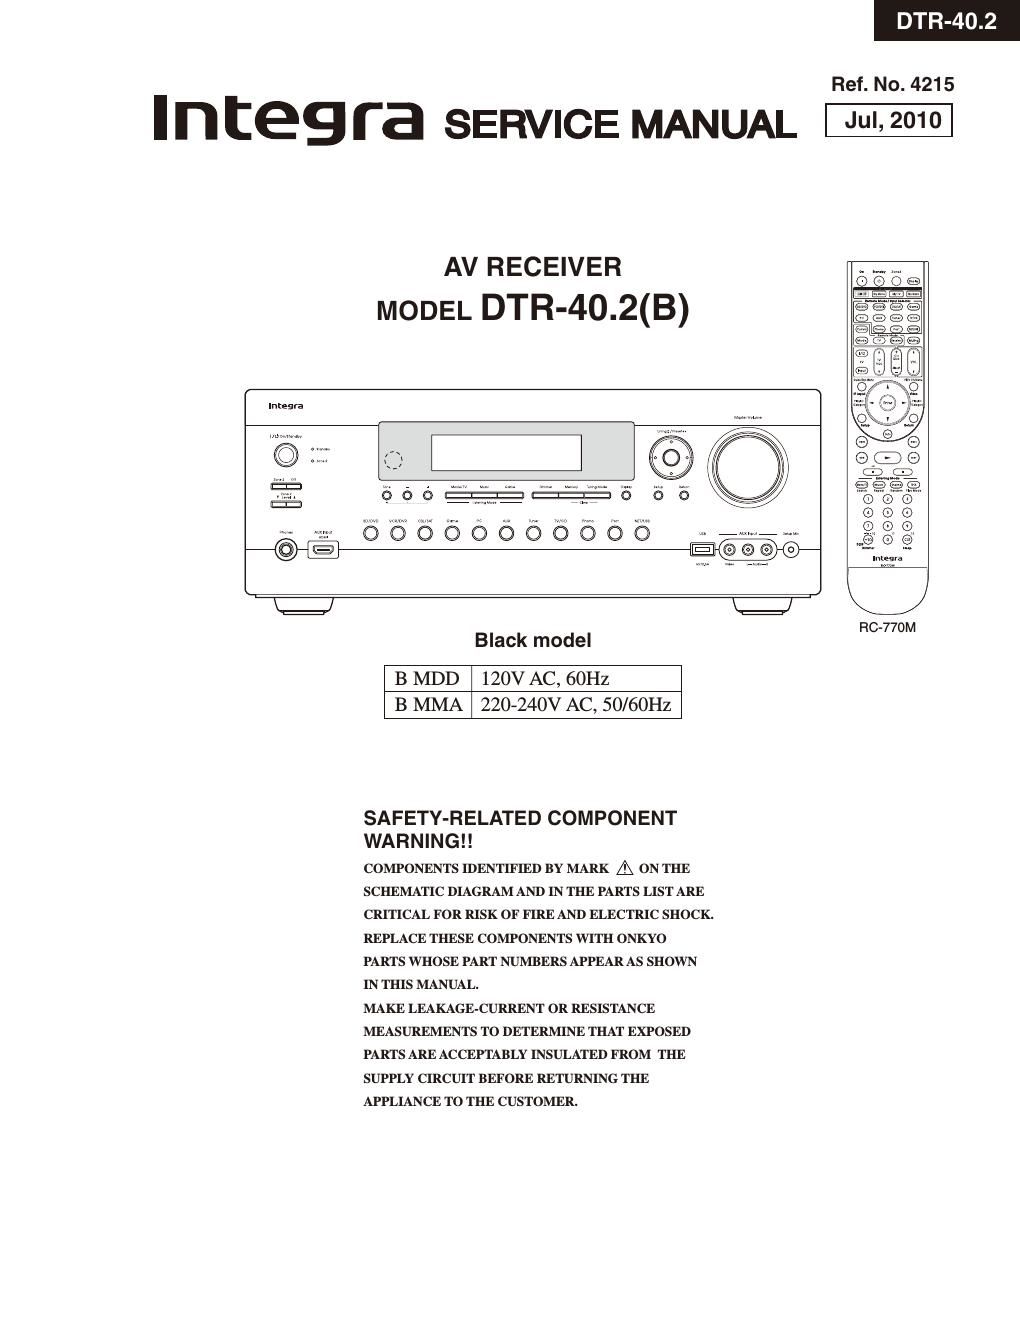
Integra dtr 40 2 service manual

This is the 221 pages manual for integra dtr 40 2 service manual.
Read or download the pdf for free. If you want to contribute, please mail your pdfs to info@audioservicemanuals.com.

Page: 1 / 221
left right
integra dtr 40 2 service manual

Extracted text from integra dtr 40 2 service manual (Ocr-read)


Page 1

DTR-40.2

Ref. No. 4215

Integr a SERVICE MANUAL Junzow

AV RECEIVER
MODEL DTR-40.2(B)

Integra

Black model

B MDD 120V AC, 60Hz
B MMA 220-240V AC, 50/60Hz

SAFETY-RELATED COMPONENT
WA R N I N G ! !

COMPONENTS IDENTIFIED BY MARK A ON THE
SCHEMATIC DIAGRAM AND IN THE PARTS LIST ARE
CRITICAL FOR RISK OF FIRE AND ELECTRIC SHOCK.
REPLACE THESE COMPONENTS WITH ONKYO
PARTS WHOSE PART NUMBERS APPEAR AS SHOWN
IN THIS MANUAL.

MAKE LEAKAGE-CURRENT 0R RESISTANCE
MEASUREMENTS TO DETERMINE THAT EXPOSED
PARTS ARE ACCEPTABLY INSULATED FROM THE
SUPPLY CIRCUIT BEFORE RETURNING THE
APPLIANCE TO THE CUSTOMER.

Page 2

SERVICE PROCEDURE-1

1. Replacing the fuses

EE This symbol located near the fuse indicates that the
fuse used is show operating type, For continued protection against
fire hazard, replace with same type fuse, For fuse rating, refer to

the marking adjacent to the symboll

EE Ce symbole indique que le fusible utilise est e lent,

Pour une protection permanente, n'utiliser que des fusibles de meme
typel Ce demier est indique la qu le present symbol est apposre.

REF NO. PART NAME DESCRIPTION PART NO. REMARKS

F2000 FUSE 4A-UL/T-233 252325 GR 1

F2000 or FUSE 4A-T/UL-ST2 252257GR i

F2001 FUSE 2A-UL/T-233 252320GR !

F2001 or FUSE 2A-T/UL-ST2 252253611 !

F6901 FUSE lSA-TUL-250V 252303GR i

F6901 or FUSE 15A-UL/T-314 252197GR i

F6902 FUSE 15A-TUL-250V 252303GR !

F6902 or FUSE 15A-UL/T-314 252197GR !

F901 FUSE lOA-UL»ST6 Nl 252382GR !,

F901 FUSE 5A-SE-EAK 252078GR !,

F901 or FUSE 5A-SE-TL250V 252278GR !,

: 120V,US model
2 230V,Australian model
: 100V, Japanese model

2. Safety check out
(U.S,Al model only)

After correcting the original service problem, perform the following safety check before releasing the unit to the customerl

Leakage current Check

Measure the leakage current to a known earth ground (water pipe or conduct etc) by connecting a leakage current

DTR-40.2

tester between the earth ground and exposed metal parts of the unit (input/output ground terminals, screw heads or metal overlays etc.).

Plug the power supply cord directly into a 120Vac 60Hz wall socket and tum ON/STANDBY button on

Any current measured must not exceed 015mAl

3. Memory Backup

This model uses a EE-PROM IC in order to retain radio presets and other settings So, memory contents will be

kept eternally with no care

4. To initialize the unit
1. ON/STANDBY (Power On)

2. VCR/DVR + ON/STANDBY.

Clear

a Stand-by

Preset memory and each mode stored in the memory, are
initialized and will return to the factory settings

On/Standby

VCR/DVR