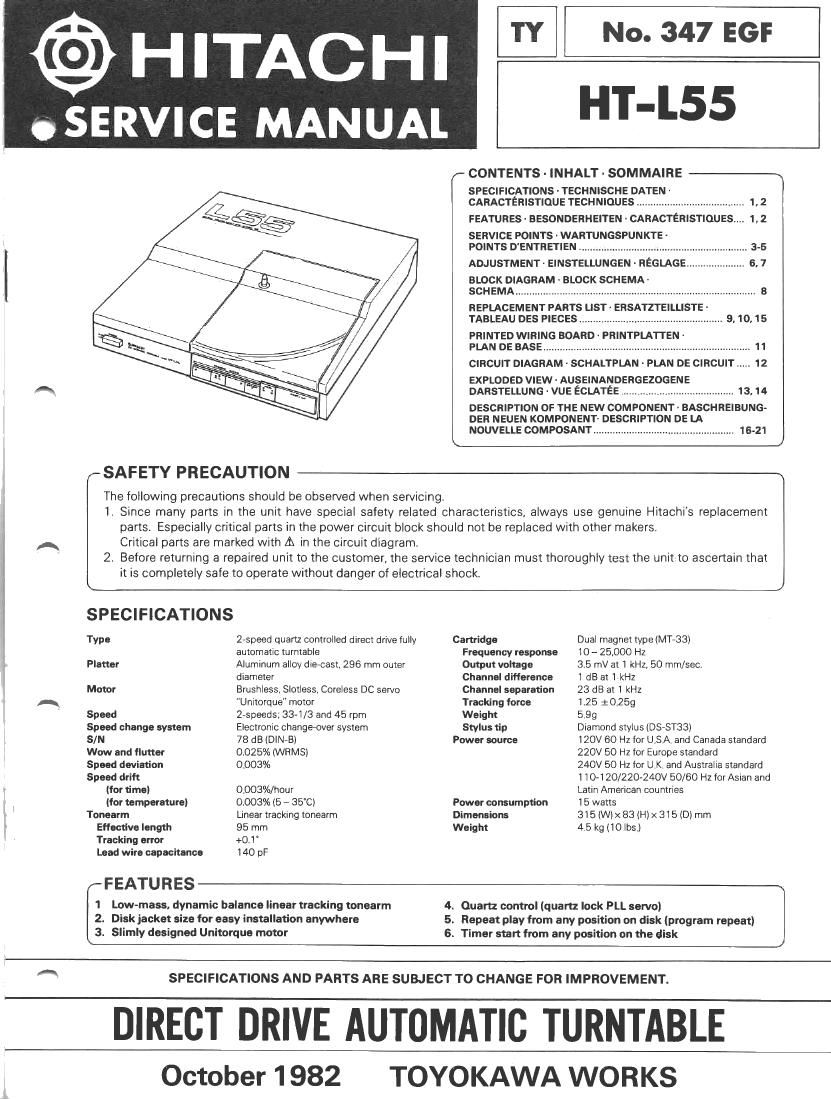
Hitachi HTL 55 Service Manual

This is the 24 pages manual for Hitachi HTL 55 Service Manual.
Read or download the pdf for free. If you want to contribute, please mail your pdfs to info@audioservicemanuals.com.

Page: 1 / 24
left right
Hitachi HTL 55 Service Manual

Extracted text from Hitachi HTL 55 Service Manual (Ocr-read)


Page 1

HITACHI HT-L55 SICH ERH EITSMASSNAH M EN Bei Warîungsarbeiten sind die folgenden SicherheitsmaBnahmeh zu beachten: 1. Da verschiedeneTeile dieses Geràtes Sicherheitsfunktionen aufweisen, nur Original-Hirachi-Ersatzteile verweóden Kritische Teile im TECHNISCHE DATEN Tvp Plattenteller Motor Drehzahlen Drehzahl-Unschaltung Fremdspannungsanstand Gleichlauf schwankungen Drehzahlabweichung Zeitdrift der Drehzahl Temperaturdrift der Drehzahl Tonealm Effektive Lànge Tangentialer Spurfehlwinkel Leitu ngsdrahtkapazitàt Tonabnehmer Vollauîomalischer, quarzgesleurîer Direk- îantriebs-Plattenspieler mit 2 Geschwin- d igkeiten Aluminum-DruckguRlegiergierung, AuBen durch messer 296 mm Bùrsten-. Schlitz-, kernloser Gleichstrom-"Unitorque" Servomotor 33-1/3 und 45 U/min Elektronìsches Umschalsystem 78 dB (DrN-B) o,025% (wRMS) 0,o03% 0.003%/std 0,003% (5 - 35"C) Linear abtastender fonarm 95 mm +0,1' 140 pF Doppelmagnettyp (lMT-33) Freguenzgang Ausgangsspannung Unterschied des Ubertragungsmatses Kanaltrennung Auflagekraft Gewicht Abtastnabel Stromversorgung Leistungaufnahme Abmessungen Gewicht 10-25000H2 3,5 mV bei 1 kHz, 50 mm/sec 1 dB bei 1 kHz 23 dB bei '1 kHz 1.25 +0.259 5,9s Diamantnabel (DS-ST33) 1 20Vl60 Hz (fúr U S.A -und Kanada-Norm) 22OV/5O Hz (ftir Europa-Norm) 24OVl5O Hz (fùr GroBbritannien und Aus- lralien-Norm) 11O-12O122O-240V 50/60 Hz (fùr Asien und lateinamericanische Lànder) 'l 5 Watt 315 (B) x 83 (H)x 315 (T) mm 4,5 ks PRÉCAUTIONS DE SÉCURITÉ Les précautions suivanîes doivent ètre observées chaque fois qu'une reparation doit ètre faite 1 Etant donné que de nombreux composants de l'appareil possèdent des caractéristiques relatives à la sécurité, utiliser uniquement des pièces de rechange d'origine Hitachi pour effectuer un remplacement Cecr se rapporte noîamment aux pièces critiques du bloc d'alimentation qui ne doivent en aucun cas ètre remplacées par celles d'autres fabricants Les pièces critiques sont accompagnées du symbole A dans le schéma de montage 2 Avant de retourner l'appareil ré7aré au client, le technicien dort procéder a un essar complet pour s'assurer qu'il ne présente aucun danger de chocs électriques CARACTÉN ISTIOU E TECH N IOU ES + ^. Type Plateau Moteur Vitesses Système de changement de vitesses Signal/Bruit Pleurage et scintillement Variation de la vitesse Modification de la vitesse (En fonction du temps| {En lonction de la tempéra- ture! Bras de lecture Longueur réelle Erreur de piste Platine à automatisme intégral, 2 vitesses, entraînement direct, contrólée par quartz Alliage alumrnium et fonte,296 mm de diamètre extérieur Sans balai, fente ni noyau; moleur a "cou- ple unique" à servo CC 2 vitesses:33-1/3 et 45 trlmn Changement par commutation électroni- que 78 dB (DrN-B) o,o25% (wRMS) o,o03% O,O037o par heure 0,OO3% (enîre 5 et 35'C) Bras a lecture linéaire 95 mm +0.1' Capacité de conducteur Cellule Réponse en fréquence Puissance de sortie Différence de canal Séparation de canal Force d'appui Poids Pointe de lscîure Alimentation Consommation de courant Dimensions Poids 140pF Type à mobiles aimants (MT-33) 1O-25O00H2 3.5 mV é 1 kHz,50 mm/sec ldBalkHz 23dBà1kHz 1.25 +0.259 5,9s Pointe de lecture en diamant (DS-ST33) 12OV 160 Hz pour les normes américaines et canadiennes 22OV /5O Hz pour les normes euro- péennes 24OV/5O Hz pour les normes britanniques et les normes australiennes 1 1O-12O/22O-240V, 50/60 Hz pour lès pays d'Asie et d'Amérique Latrne 15W 315 (L)x 83 {H) x 31 5 (P) mm 4.5 ks cARACTÉnrSrrOUeS 1 . Bras de lecture linéaire a équilibre dynamique et faible masse 2. Dimensions d'une pochette de disque pour grande facilité d'installation Moteur a couple unique de constrùc,tion simple Circuit d'asservisèement de phase par quartz Détecteur automatiqúe de dimension/vitesse de disque sans contact quer point du disque grarnmdeuy a.rpaÉir 5. 6. 7. 3. 4- Netzterl sollten nicht durch àhnliche Teile anderer Herstellèr ersetzt werden Alle krrtischen Teile sind im Schaltplan mit dem Symbol A gekennzeichnet Vor der Auslieferung eìnes reparierten Geràtes an den Kunden muB der Wartungstechniker das Geràt einer grúndlìchen Prùfung un- terziehen, um sicherzus.tellen, daB sicherer Betrieb ohne die Gefahr von elektrischen Schlàgen gewàhrleistet isl MARKMALE 1 2 3 4 Massearmer, dynamisch balancierter Tonarm mit linearer Rillenfùhrung Abmessungen von der GróBe einer Plattenhúlle ermóglic- hen bequeme Aufstellung ùberall ,,Unitorque" - Motor in flachern Design Kristallsteuerung (q uartzgesteuerte P LL-Servoschaltungl Kontaktfreier, automatischer Detektor von Schallplatten- durchmesser und -drehzahl Wiederholtes Abspielen von jeder beliebigen Stelle der Schallplatte Schaltuhrstart von ieder beliebigen Stelle der Schallplatte 5. 6. 7.

Page 2

HITACHI HT-155 SERVICE POINTS 1. Removing Control PWB (Figs. 1 and 2 I Remove 6 screws @ and remove bottom plate Next, remove 8 screws @and the 1 1 P connector 2. Removing microswitch (Power Source) (Fig. 2) After removing bottom plate, remove screw @ (1 screw) and then the fìxing plate. 3. Removing DD Motor (Fig.3) After removing bottom plate and control PWB, re- move 4 screws @ (Note) There are adjusting screws @ at 2 positions on the DD motor, and these are fixed by screw locks. As the screws are already adjusted, do not turn them by mistake. 4. Removing Linear Mechanism (Fig. a) Remove 5 screws @ and, after removing the dust cover, remove 2 screws @. 5. Removing Pick-up (Fig.5) (1)After removing the bottom plate, remove the sol- dering on the phono lead wires (2) Remove the dust cover, turn the worm by hand and move the tone arm about 5 cm inward. (3) Remove 1 screw @, remove the rail and and remove the spring from the wire connection part. 6. Removing Wire (1)After removing the tone arm, cating 1 screw @(Fig.5). (2) When assembling, wind the Fig. 6. (Note) remove the wire lo- wire as shown in When winding the wire on care above and below the wire. 7. Replacing Cartridge lnterchangeable with ordinary available on the market. the gear pulley, take plug-in (1 )Turn the power ON, press ARM move tone arm slightly inwards. (2)Turn the power OFF and open dust cover. (3) Remove cartridge fixing screws with a small screw- driver and, holding the tone arm, gently pull the car- tridge out (Fig. 7) 8. Replacing Stylus Press ARM lN button, move tone arm slightly in- wards and proceed as in Fig 8. Stylus DS-ST33 can play about 8OO - 1 500 LP sides before re- placement is required. type cartridges lN button and Flg.2 Abb.2 Fis.3 Abb.3 -3-