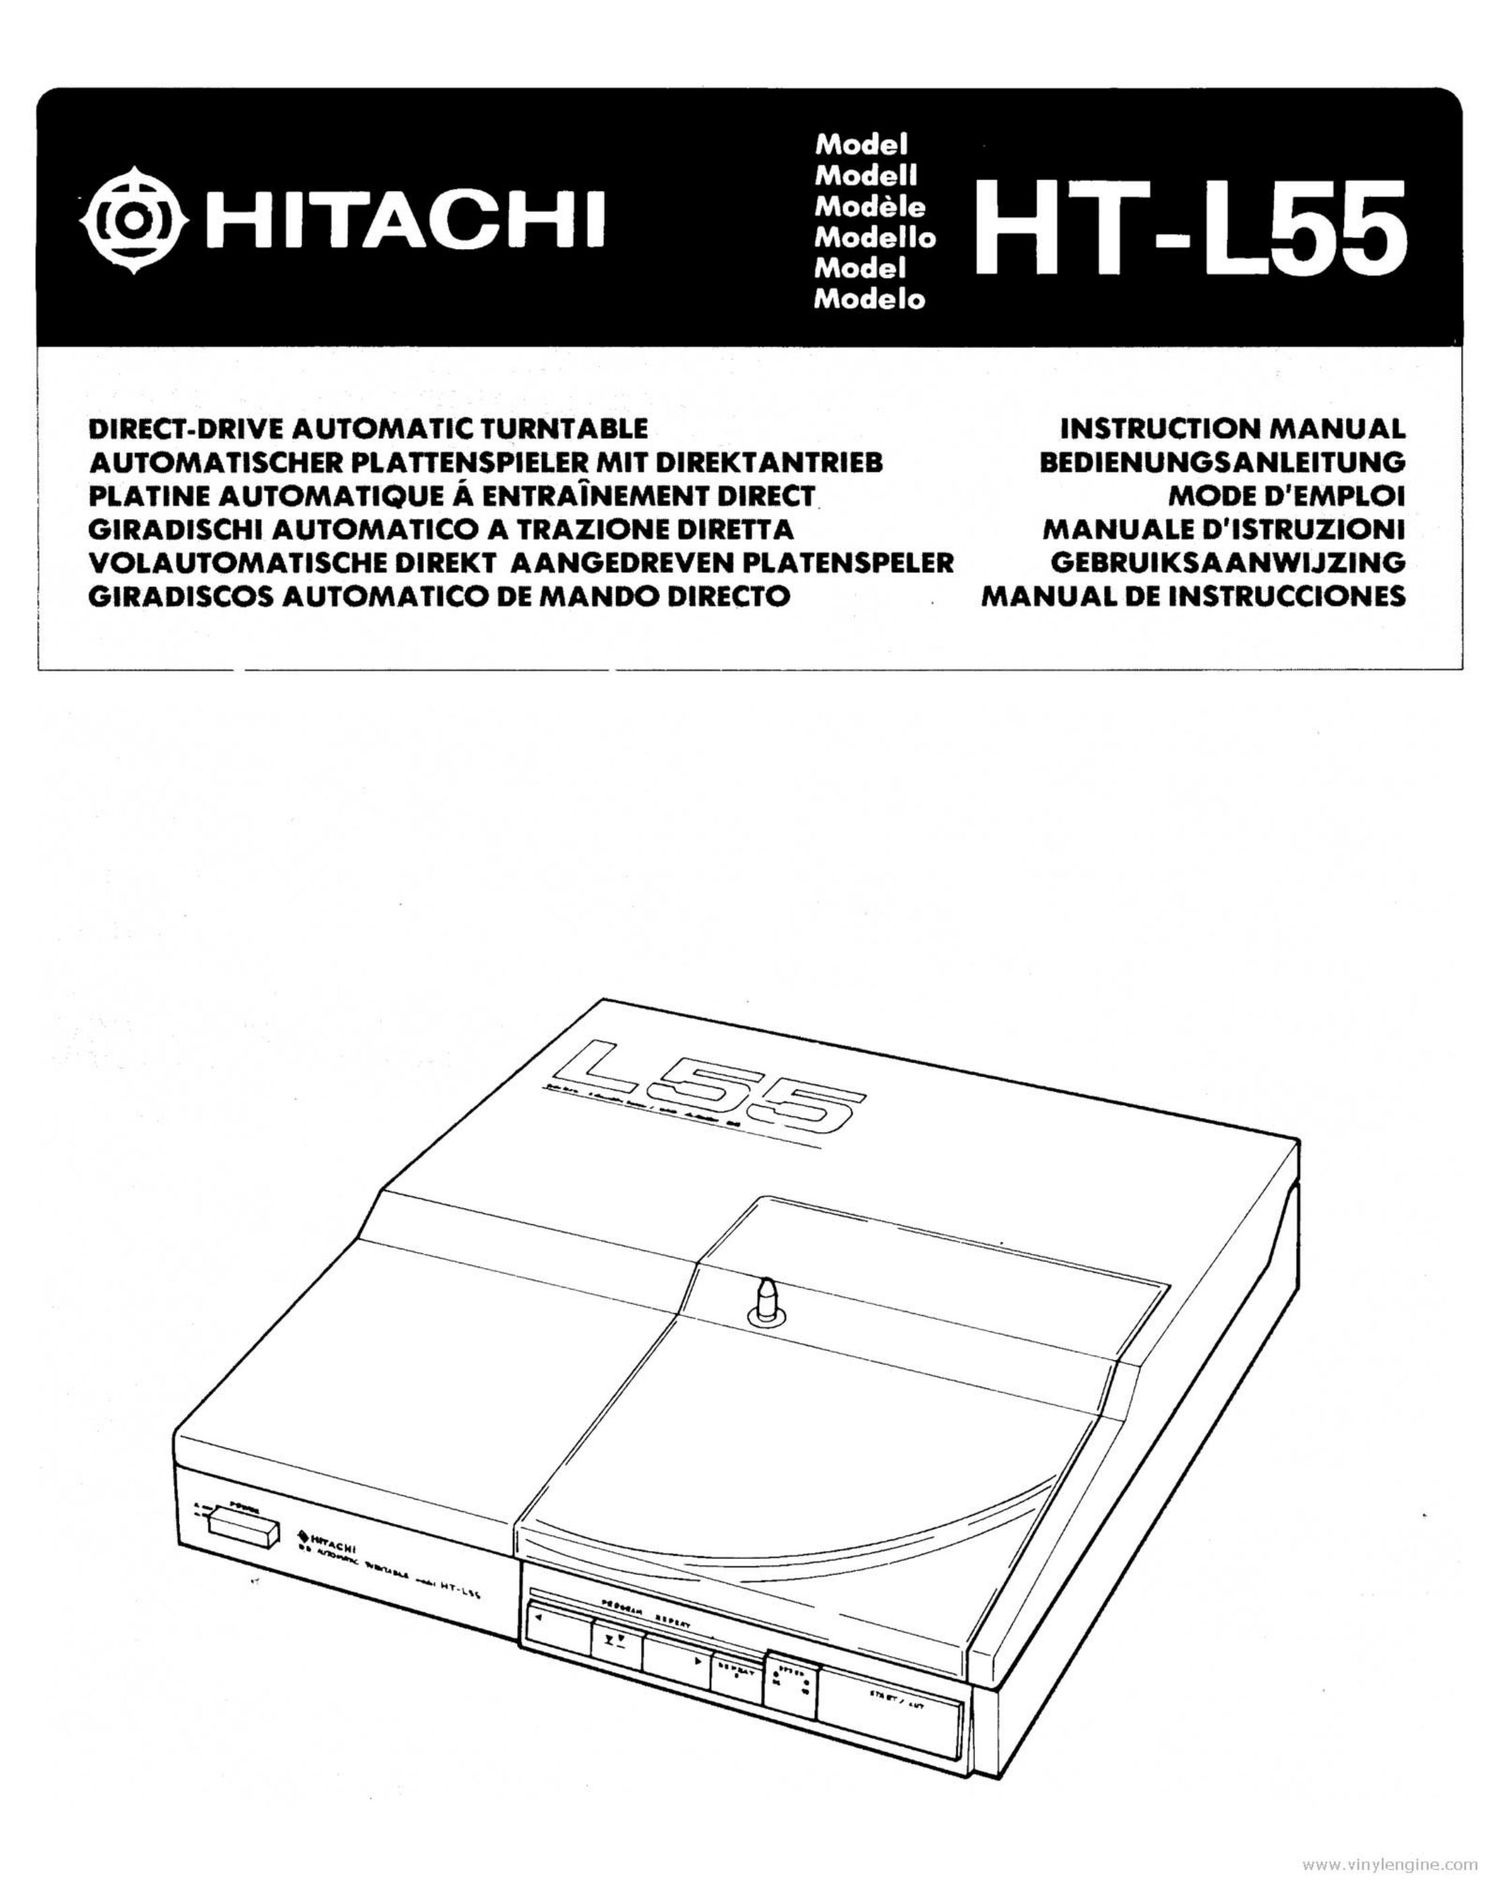
Hitachi HTL 55 Owners Manual

This is the 7 pages manual for Hitachi HTL 55 Owners Manual.
Read or download the pdf for free. If you want to contribute, please mail your pdfs to info@audioservicemanuals.com.

Page: 1 / 7
left right
Hitachi HTL 55 Owners Manual

Extracted text from Hitachi HTL 55 Owners Manual (Ocr-read)


Page 1

Model
Modell

@HITACHI HT- L55

Modelo

DIRECT-DRIVE AUTOMATIC TURNTABLE INSTRUCTION MANUAL
AUTOMATISCHER PLATTENSPIELER MIT DIREKTANTRIEB BEDIENUNGSANLEITUNG
PLATINE AUTOMATIQUE A ENTRAINEMENT DIRECT MODE D'EMPLOI
GIRADISCHI AUTOMATIco A TRAZIONE DIRETIA MANUALE D'ISTRUZIONI
VOLAUTOMATISCHE DIREKT AANGEDREVEN PLATENSPELER GEBRUIKSAANWIJZING

GIRADISCOS AUTOMATICO DE MANDO DIRECTO . MANUAL DE INSTRUCCIONES

Page 2

Engfish

SAFEGUARD

Electrical energy can perform many useful functions. This unit has been engineered and manufactured to assure
your personal safety. Improper use can result in potential electrical shock or fire hazards. In order not to defeat
the safeguards, observe the following instructions for its installation, use and servicing.

CAUTION: TO PREVENT ELECTRIC SHOCK, DO NOT REMOVE
SCREWS. N0 USER-SERVICEABLE PARTS INSIDE. REFER
SERVICING TO QUALIFIED SERVICE PERSONNEL.

FEATURES

1. Low-mass, dynamic balance linear tracking The load characteristics and rotational precision are
tonearm enhanced by controlling the rotational speed through
This unit features a linear tracking tonearm which a process of comparing the phases of the constant
moves in the same linear way as the cutting machine oscillation frequency generated by the crystal
did when it produced the sound grooves on your oscillator and the detection frequency from the
disks. The non-contact optoelectronic tracking error motors speed detection unit. The circuit which per-
detector greatly reduces the tracking errorand helps forms this function is based on a single-chip LSI
to yield a high-fidelity reproduced sound with which contributes greatly to improving the reliability
minimal tracking distortion. The combination of the of the circuit.
low-mass tonearm with an effective length of 95 mm . Repeat play from any position on disk (program
and an extremely sensitive gimbal support bearing repeat)
unit works tracking wonders. The points at which the repeat operation is to start

2. Disk jacket size for easy installation and end can be set exactly as required and the
anywhere desired track or tracks can be repeatedly played. This
This turntable has measurements of 315 mm for both means that you can play over and over again only the
its width and depth, giving it the same size as a disk tracks of your choice or the sections that particularly
jacket. Its height is only 83 mm for a slim overall appeal to you such as climactic parts.
design which takes up the minimum in installation 6. Timer start from any position on the disk
space. Timer play is possible from any desired position on

3. Slimly designed Unitorque motor the disk using the timer.

Hitachi has incorporated a slimly designed Unitorque 7. Other features

motor which is an upgraded version of its original All operations are computer-controlled.
Unitorque motor that displays a uniform torque and a * No-contact auto size/speed detector

smooth fixed rotational speed. This motors speed Tonearm in" and out buttons (for moving the
detection precision and response characteristics tonearm toward the inside or outside of the disk in
have further been improved by a 240-pole magnetiza- very small steps).

tion feature based on a precision magnetization * Muting switch for muting the shock noise heard
technique. As a result, the turntable exhibits an ex- when the stylus descends onto the disk or when it
cellent signal-to-noise ratio with low wow and flutter. lifts off the disk.

4. Quartz control (quartz lock PLL servo) " No-contact opto-electronic return detector.

INSTALLATION

1. Removing the armholder 2. Mounting the platter and the platter mat

® Disengage the IOP hOOk- @ Align the disk size sensing
PH @ Pull the holder toward you. holes.
57 ® .Place the platter mat on
: top of the platter so that
Mew-vs Lt/f (9 its projections fit neatly
* fix ll into the large holes in the
0 .---- platter.
I , [\I I _ .
_/-/L T: Q) Align the platter With the
r'r disk guide and slip it over.
if (g

Fig. 1 Fig. 2