Hitachi HT 550 Owners Manual

This is the 14 pages manual for Hitachi HT 550 Owners Manual.
Read or download the pdf for free. If you want to contribute, please mail your pdfs to info@audioservicemanuals.com.

Page: 1 / 14
left right
Hitachi HT 550 Owners Manual

Extracted text from Hitachi HT 550 Owners Manual (Ocr-read)


Page 1

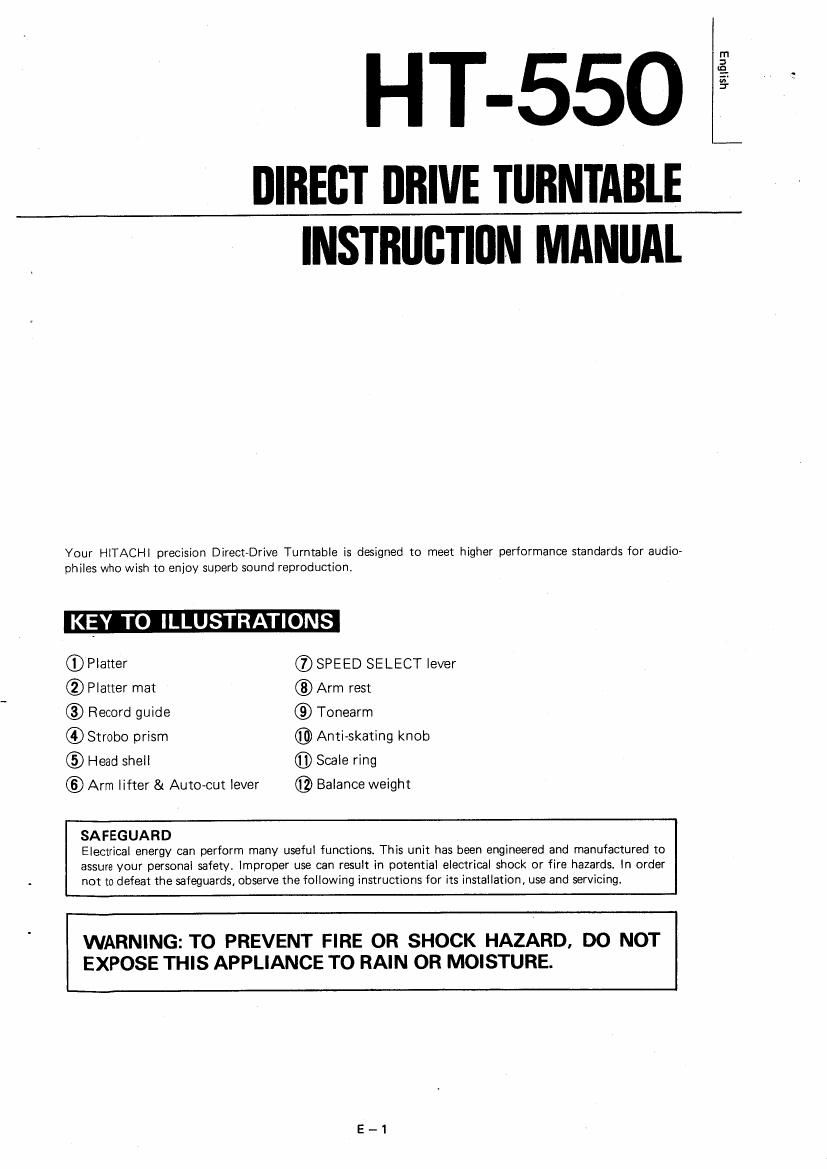
HT-550

DIRECT DRIVE TURNTABLE
INSTRUCTION MANUAL

Your HlTACHl precision Direct-Drive Turntable is designed to meet higher performance standards for audio
philes who wish to enjoy superb sound reproduction

KEY TO ILLUSTRATIONS

@Platter @SPEED SELECT lever
® Platter mat Arm rest

® Record guide @ Tonearm

@ Strobo prism ® Anti-skating knob

(53 Head shell ® Scale ring

© Arm lifter & Auto-cut lever ® Balance weight

SAFEGUARD

Electrical energy can perform many useful functions. This unit has been engineered and manufactured to
assure your personal safety. Improper use can resuli in potential electrical shock or fire hazards. In order
not to defeat the safeguards, observe the following instructions for its installation, use and servicing.

WARNING: TO PREVENT FIRE OR SHOCK HAZARD, DO NOT
EXPOSE THIS APPLIANCE TO RAIN OR MOISTURE.

usnfiua

Page 2

FE RS

1. Uni-torque motor
The model adopts a_ Uni-torque motor which is an improved version of HlTACHl's original Unitorque motor
characterized by its silent and smooth rotation due to the theoretically uniform torque generated. Develop-
ment of precision magnetic attraction techniques has brought about improvements in the accuracy of the
speed detection and the response characteristics, and achieved a superb signaleto-noise ratio and wow/flutter.
2. Quartz control (quartz lock PLL servo)
The phase of the oscillation frequency which is always constant and generated by the quartz oscillator and of
the detection frequency from the speed detection unit are compared, and by controlling the revolution speed,
the load characteristics and revolution speed accuracy are enhanced. This circuit employs a one«chip MOS LSI
for improved circuit reliability.
Large-sited, heavyweight platter
By adopting a large-sized, heavyweight platter with a high flywheel effect, the transient load variations during
record play are reduced and the reproduced sound is given excellent rise characteristics.
4. High-sensitivity, precision-engineered tonearm
The model incorporates a high-sensitivity, precision-engineered tonearm which employs high-precision bearings,
and this allows the stylus to trace the sound grooves reliably.

5"

5. Cartridge with elliptical stylus
The cartridge is provided with a 10 x 18 u (0.4 x 0.7 mil) elliptical diamond stylus for reliable tracing of the
sound grooves (According to the sales area. some models do not come with a cartridge.)

6. Howl-immune construction
The vibration-proof legs which feature an air suspension system displaying excellent vibration cut-off charac-
teristics and the bottom board with its high specific gravity, high internal loss and immunity to resonance
make for a construction which is immune to howl.

7. Handy automatic mechanism

When a record has been played and the auto cut lever has been operated during play, the tonearm automati-
cally returns to the arm rest and the platter will stop.

8. Easy-to-see single-pattern strobo
The strobo lamp lights up using the oscillation frequency of the quartz oscillator which means that the models
single-pattern strobo is not related at all to the revolution speed and frequency of the power line.

9. Viscous damped arm lifter never damages stylus tip
By using the viscous damped arm litter for lifting/lowering the stylus, there is little danger of damaging the
record or stylus tip.

10. Easily removable dust cover

The dust cover can be detached when using in a narrow place such as on a shelf, etc.

Open the package and take out the platter care-
fully. Be sure to remove all the components from
packaging.

1. Take out the platter and platter mat packed
separately: insert the platter into the record
guide and fit the platter mat on it.

2. Place the balance weight, which is packed
separately, into the rear of tonearm while
turning it counterclockwise.

3. When a cartridge is not attached, install your
Cartridge to the head shell. insert the head
shell into the tip of the tonearm and fix it
with a locking nut.

(A cartridge may or may not be provided
depending on the destination.)
(See Fig. 1)

0 Platter

® Platter mat

0 Record guide
6 Balance weight
3 Tone arm

ti Cartridge

(9 Head shall

{B Locking nut

When you do not intend to use your model, secure the tonearm to the arm rest. If the tonearm is disen-
gaged from the arm rest, the power will automatically come on.