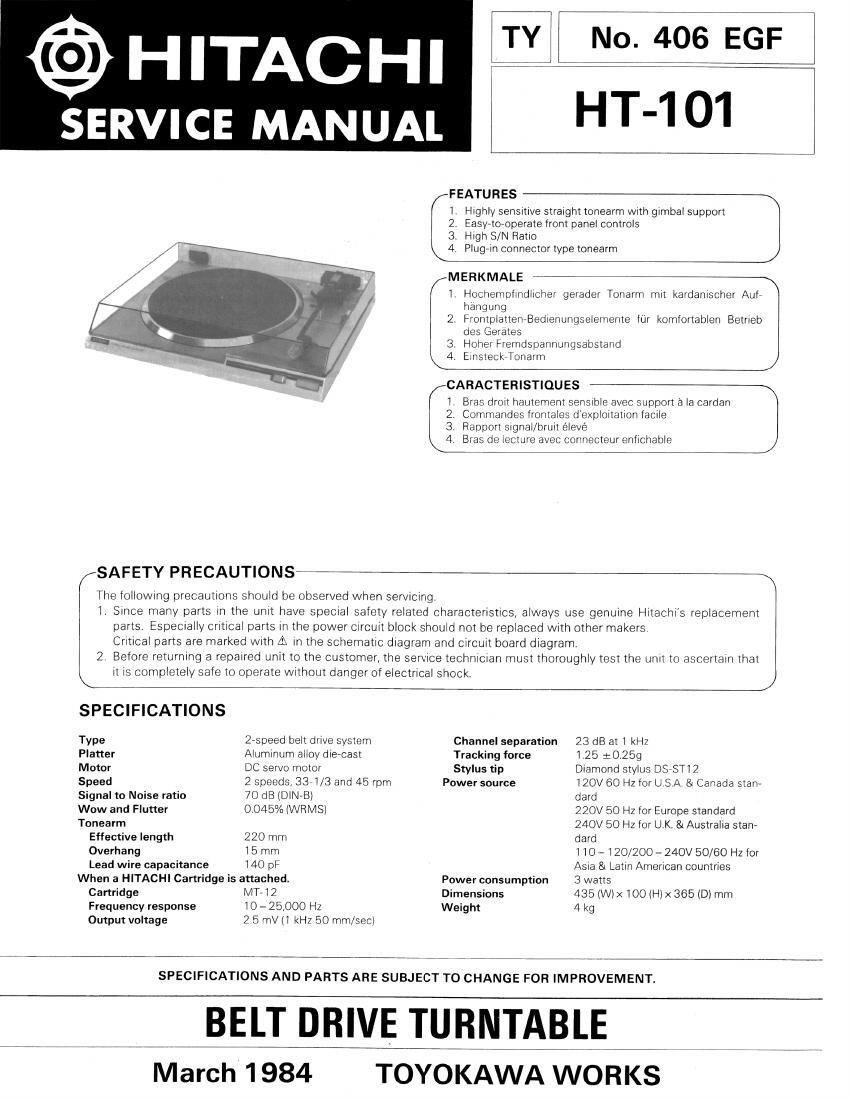
Hitachi HT 101 Service Manual

This is the 8 pages manual for Hitachi HT 101 Service Manual.
Read or download the pdf for free. If you want to contribute, please mail your pdfs to info@audioservicemanuals.com.

Page: 1 / 8
left right
Hitachi HT 101 Service Manual

Extracted text from Hitachi HT 101 Service Manual (Ocr-read)


Page 1

@ HITACHI iT. use;
SERVICE MANUAL HT-101

FEATURES
1. Highly sensitive straight tonearm With grrnbal support
2. Easy»toeoperate front panel controls

3. High S/N Ratio

4 Plug-In connector type tonearm

MERKMALE

l Hocliempfindlicher gerader Tonarm mir kardanischer Aufl
hangung

2. Frdntplatteanedienungselemente fur komfortablen Betneb
dcs Gerates

3. HolicrFremdspannungsabstand

4. Einsteck Tonarm

CARACTERISTIOUES

i. Bras droit hautement sensible avec support a la cardan
2. Commandes frontales dexpioitation lacile

3 Rapport Signal/bruit élevé

4 Bras de lecture avec connecteur enfichable

SAFETY PRECAUTIONS , . ..

The following precautions should be observed when servtcing.

1 Since many parts in the unit have special safety related Characteristics, always use genutne Hitachi's replacement
parts Especially critical parts in the power circuit block should not be replaced With other makers
Critical parts are marked with A in the schematic diagram and circuit board diagram.

2 Before returning a repaired unit to the customer, the service technician must thoroughly test the unit to ascertain that
it is completely sate to operate Without danger of electrical shock.

SPECIFICATIONS
Type 2-speed belt drive system ChanneI separation 23 dB at l kHZ
Platter Aluminum alloy die cast Tracking force 1 25 :0 259
Motor DC servo motor Stylus tip Diamond stylus DS-STiQ
Speed 2 speeds, 334 /3 and 45 rpm Power source 120V 60 Hz for U SA & Canada stan»
Signal to Noise ratio 70 dB lDiNrB) dard
Wow and Flutter 0.045% lWFlMS) 220V 50 Hz for Europe standard
Tonearm 240V 50 Hz for UK. 8i Australia start?
Effective length 220 mm dard
Overhang 15 mm 110 e i 20/200 - 240V 50/60 Hz for
Lead wire capacitance 140 pF Asta 8i Latin American countries
When a HITACHI Cartridge is attached. Power consumption 3 watts
Cartridge MTVIQ Dimensions 435 (Wix IOO (Hlx 365 (D) mm
Frequency response 10 - 25,000 I lz Weight 4 kg
Output voltage 2 5 mV (7 kHz 50 mm/secl

SPECIFICATIONS AND PARTS ARE SUBJECT TO CHANGE FOR IMPROVEMENT.

7 BELT DRIVE TURNTABLE-

March 1984 TOYOKAWA WORKS

Page 2

HITACHI HT-101

SICH ERH EITSMASSNAHMEN

Bei Wartungsarbeiten sind die folgenden SicherheitsmalSnahmen zu beachten:

1. Da verschiedene Teile dieses Gerates Sicherheitsfunktionen aufweisen, nur OriginaleHitachieErsatzteile verwenden. Kntische Teile
im Netzteil sollten nicht durch a'hnliche Teile anderer Hersteller ersetzt werden. Alle kritischen Teile sind im Schaltplan und im Dia-
gramm der Schaltplantinen mit dem Symbol A gekennzeichnet.

2, Vor der Auslieferung eines reparierten Gerates an den Kunden muiS der Wartungstechniker das Gerat einer grundlichen PrUfung
unterziehen, urn sicherzustellen, dais sicherer Betrieb ohne die Gefahr von elektrischen Schlagen gewahrleistet ist,

A d .. . .. . . -
TECH N ISCH E DATEN vgrb::i;g:: der auBeren Aufmachung und technischen fur weitere Varbesserung jederzeit

Typ Riemenantriebsautomatik mit 2 Frequenxgang 10 bis 25000 Hz
Drehzahlen Ausgangsspannung 2,5 mV(bei 1 kHz 50 mm/s)
Plattenteller Aluminium-DruckguiSIegierung Kanaltrennung 23 dB bei 1 kHz
Motor Gleichstrorn~8ervo motor Auflagekraft 1,25 :0259
Drehzahlen 2 Drehzahlen, 3371/3 und ASU/min Abtastnadel Diamantnadel DS-ST12
Fremdspannungsabstand 70 dB (DINFB) Stromversorgung 120V/6O Hz fLir USA und Kanada
Gleichlaufschwankungen 0,045% Mittelwert 220V/50 Hz fiir Europa
Tonarm 240/50 Hz for Grollbritannien
Effektive Lange 220 mm und Australien
Uberhang 15 mm 1107 120/200724OV 50/60 Hz
Leitungsdraht- for Asian und Lateinamerika
Kapazitatswen 140 pF Leistungsaufnahme 3 watts
Wenn ein Tonabnehmer von HITACHI angebracht ist. Abmessungen 435(L) x 100(H) >< 365(P) mm
Tonabnehmer M1112 Gewicht 4 kg

PRECAUTIONS DE SECURITE

Les precautions suivantes doivent etre observées chaque fois quune reparation don étre faite.

1. Etant donne que de nombreux composants de l'appareil possedent des caracteristiques relatives 51 la sécurité, utiliser uniquement
des pieces de rechange dorigine Hitachi pour effectuer un remplacement. Cem se rapporte notamment aux pieces critiques du bloc
dalimentation qui ne doivent en aucun cas etre remplacees par celles d'autres fabricants. Les pieces critiques sont accompagnes
du symbole Q dans le schéma de montage et sur le schema de plaque de cablage,

2. Avant de retourner lappareil repare' au client, le technICien doit procéder a un essai complet pour sassurer qu'il ne presente aucun
danger de chocs électriques.

CARACTERISTIQUES TECHNIQUES

Le conception et les caracteristiques sont susceptibles d'étre changées sans
avis préalable en vue d'améliorations.

Type Systeme dentrainement direct separation des canaux 23 dB a 1 kHz
automatique 2 vitesses Force d'appui 1,25 :0259
Plateau Alliage aluminium moulé Pointe de lecture Diamant DSFST12
Moteur Moteur a servo CC a entrainee Alimentation 120V/60 Hz pour les normes
ment direct et sans balais américaines et canadiennes
Vitesses 2 vitesses: 3371/3 et 45 tr/mn 220V/50 Hz pour les normes
Rapport signal/bruit 70 d8 (DlNeB) européenes
Pleurage et scintillement 0,0451% (WRMS) 24OV/50 Hz pour les normes
Bras de lecture anglaises et les normes
Longueur réelle 220 mm australiennes
Surplomb 15 mm 110-120/200-24OV, 50/60
Capacite de fil conducteur 140 pF Hz pour
Ouand vous utilisez une cellule HITACHI. les pays dAsie et d'Amérique
Cellule M112 Latine
Réponse en fréquence 10 7 25.000 Hz Consummation 3W
Tension de sortie 25 mV (1 kHz, 50 mm/sec) Dimensions 435(8) >< 100(H) x 365(T) mm
Poids 4 kg
SERVICE POINTS
1. Operation check and assembling method (2) Remove the fixing screws (2) and pull of the follow»
(1) Remove the platter, the belt from motor pulley and up lever assy,
run it round the Inside circumference of the platter. (3) Remove the pick up fixing screws (2).
(2) Now, an operation check is possible in ordinary cone 3. 1st auto-return after installation
ditions with the set the right way up again. Sometimes the autoereturn does not operate normally in
(3) Perform item (1 ) in reverse when assembling. the 1st operation after the unit is installed or moved,
(4) Be sure to lay out the power supply cord and phono therefore perform the autoecut operation before playing
cord according to Fig. 1 for safety standards. records after a move.
(5) Check cueing, autoereturn and autoecut operations 4. For re-transportation
after assembling. Take the following procedure when subsequently ref
[Caution] transporting the unit.
Be careful when assembling the cycle plate. the cycle (1) Fix the tone arm firmly to the arm rest.
plate pin must not fall into the switch lever. (Fig.2) (2) Remove the platter mat and platter, and pack them
2. Remove the tone arm separately.
(1) Remove the pick-up lead Wires (5) from the 5p ter- 5. How to replace the cartridge. (Fig.3)
minal plate.