Heathkit XR 1 Service Manual

This is the 7 pages manual for Heathkit XR 1 Service Manual.
Read or download the pdf for free. If you want to contribute, please mail your pdfs to info@audioservicemanuals.com.

Page: 1 / 7
left right
Heathkit XR 1 Service Manual

Extracted text from Heathkit XR 1 Service Manual (Ocr-read)


Page 1

ASSEMBLY AND OPERATION OF THE

HEATHKIT TRANSISTOR RECEIVER
MODEL XR-IP AND MODEL XR-lL

INSTRUMENT DESCRIPTION

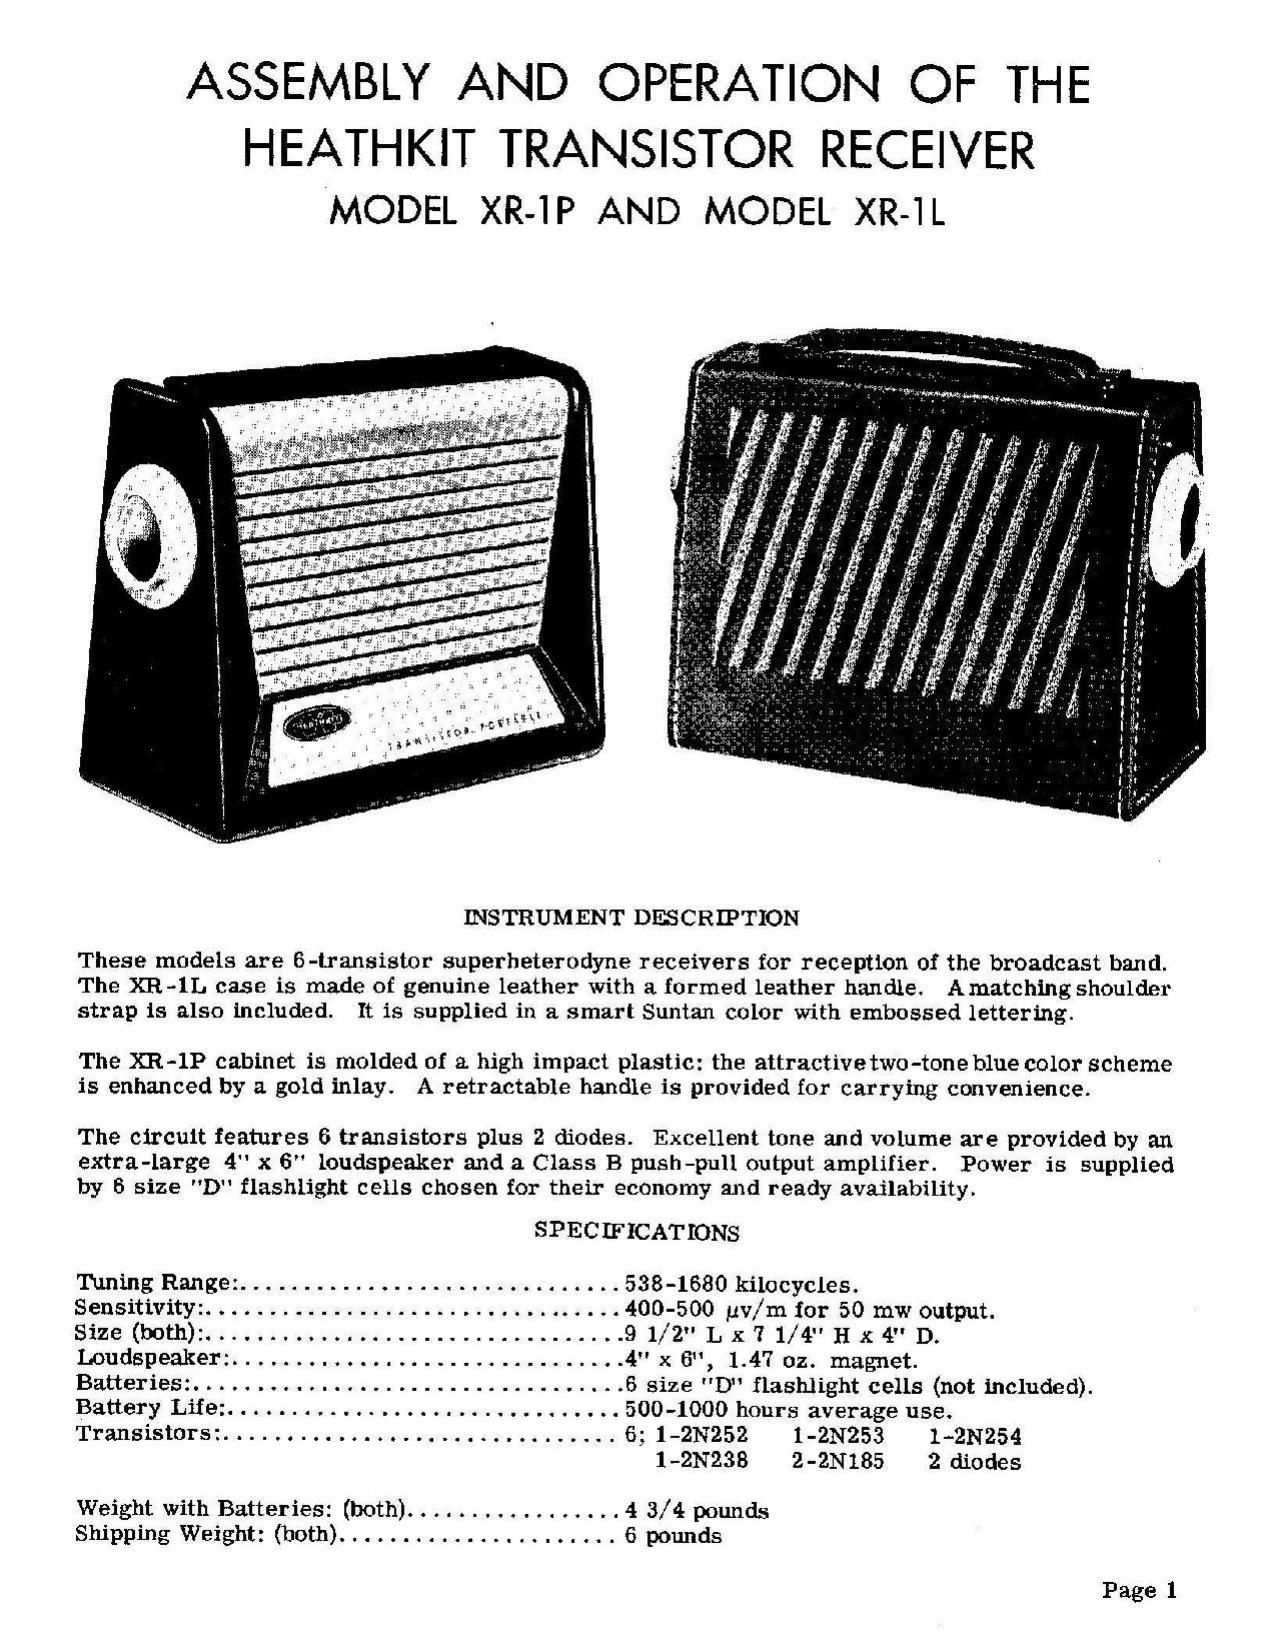
These models are S-Uansistor superheterodyue receivers for reception of the broadcast band.
The XR-lL case is made of genuine leather with a formed leather handle. Amatching shoulder
strap is also included. It is supplied in a smart Suntan color with embossed lettering.

The XR-lP cabinet is molded of a high impact plastic: the attractivetwo-tone blue color scheme
is enhanced by a gold inlay. A retractable hancfle is provided for carrying convenience.

The circuit features 6 transistors plus 2 diodes. Excellent tone and volume are provided by an
extra-large 4" x 6" loudspeaker and a Class B push-pull output amplifier. Power is supplied
by 6 size "D" flashlight cells chosen for their economy and ready availability.

SPECIFICATIONS

Tuning Range: .............................. 538-1680 kilocycies.
Sensitivity: ................................. 400-500 pv/m for 50 mw output.
Size (both): ................................. 9 1/2" L x 7 1/4" H x 4" D.
Loudspeaker: ............................... 4" x 6", 1.47 oz. magnet.
Batteries:. ................................. 6 size "D" flashlight cells (not included).
Battery Life: ............................... 500-1000 hours average use.
Transistors: ..... . ....... . ................. 6; 1-2N252 1-2N253 1-2N254

1-2N23B 2-2N185 2 diodes
Weight with Batteries: (both) ................. 4 3/ 4 pounds
Shipping Weight: (both) ...................... 6 pounds

Page 1

Page 2

(J) Straighten the leads on each transistor, if necessary, so that they extend straightaway from
the body. Now install each transistor in its proper socket, using Pictorial 5 as a. guide.
Observe the spacing of the leads and socket holes and press inwith straight and steady pres-
sure. Long-nose pliers may prove useful in confined spaces.

ADJ USTMENT PROCEDURE

Double check the installation of batteries and transistorsbefore attempting to operate your XR-l
Transistor Receiver. Errors could cause non-operation or damage to components in the re-
ceiver. When reasonably sure thatno errors exist, turn on the receiver by rotating the VOLUME
knob to the right until a "click is heard. Advance the control until a slight rushing sound or
static is heard. I! no sound is heard, turn the receiver of! and refer to the section "In Case of

Difficulty. If operation appears normal, you may proceed with the adjustments required to ob-
tain maximum performance

Read each step completely before performing the operations described.

STEP ONE

A. Turn BOTH adjusting screws on the variable capacitor down snugly without forcing.

B. Loosen EACH screw about 1/8 turn.

Page 20