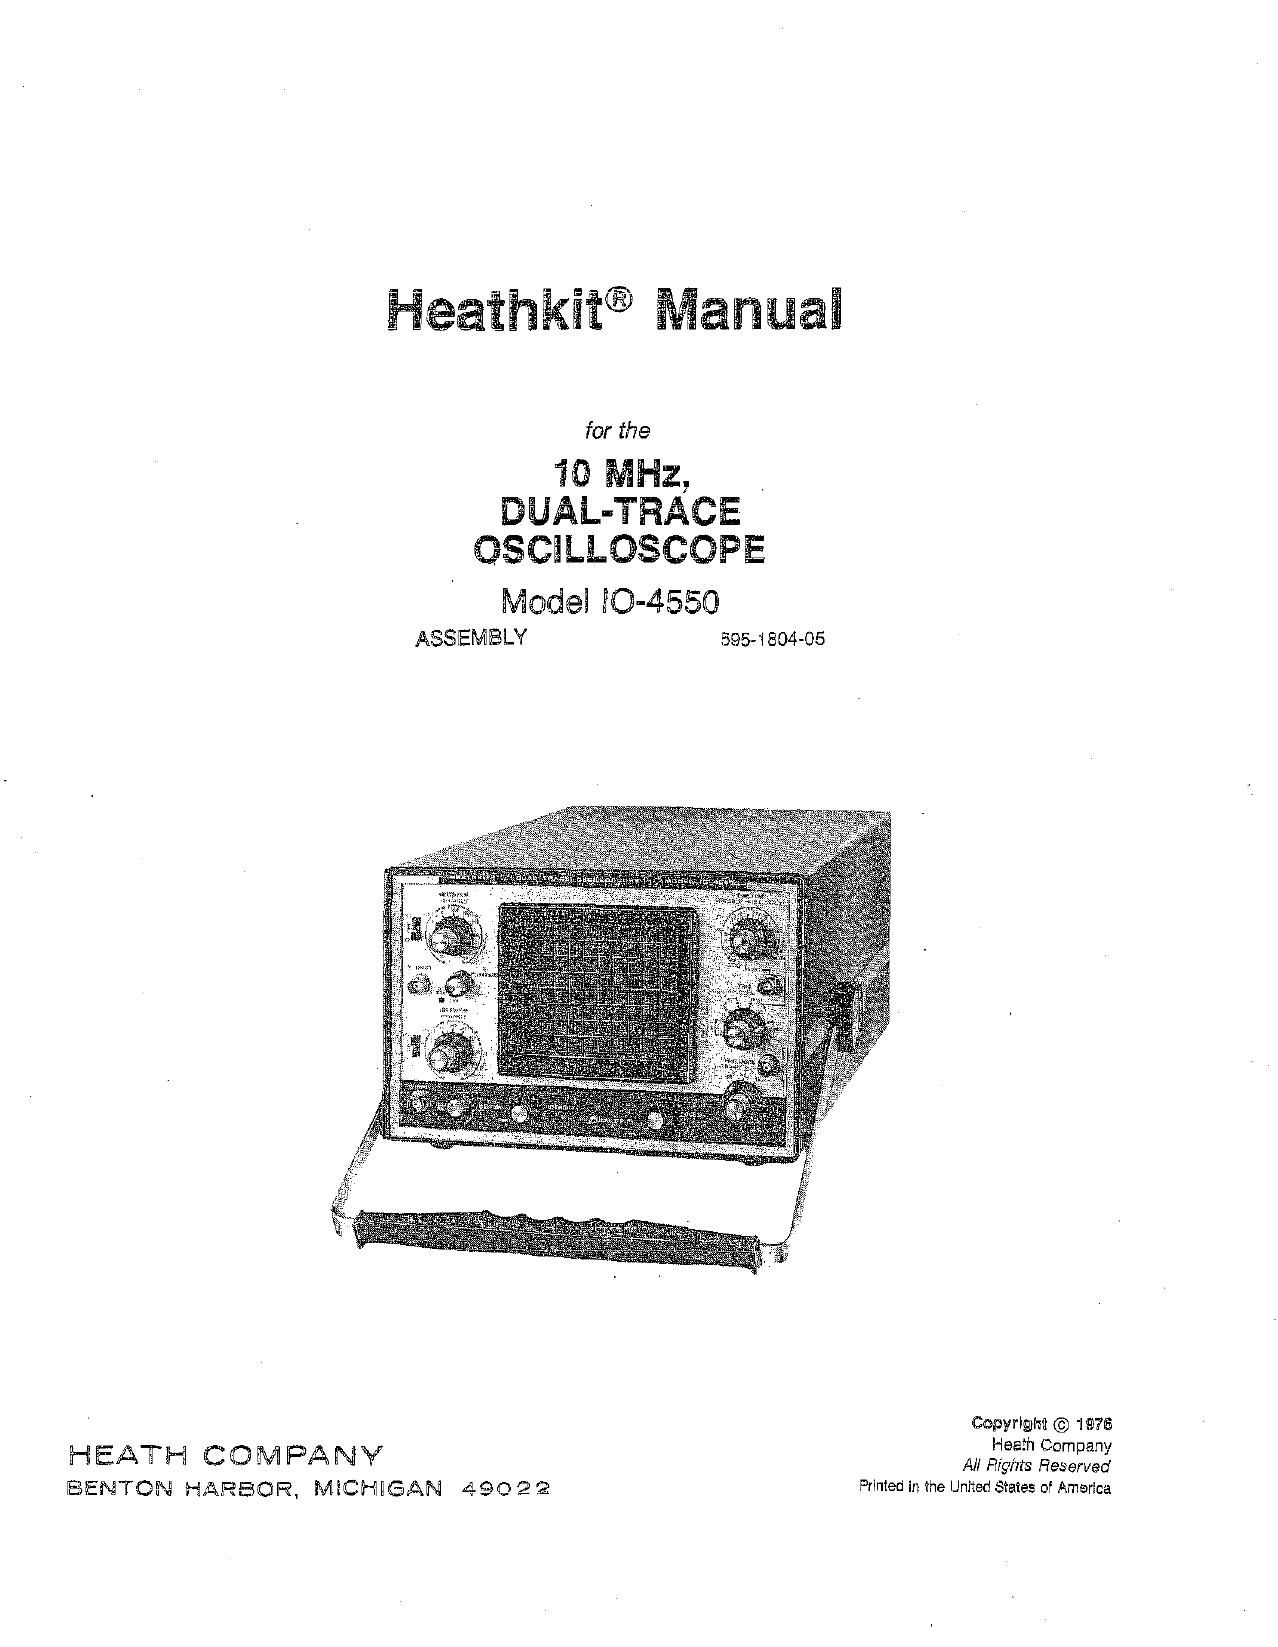
Heathkit IO 4550 Manual

This is the 101 pages manual for Heathkit IO 4550 Manual.
Read or download the pdf for free. If you want to contribute, please mail your pdfs to info@audioservicemanuals.com.

Page: 1 / 101
left right
Heathkit IO 4550 Manual

Extracted text from Heathkit IO 4550 Manual (Ocr-read)


Page 1

Eaaihmfi) Mamai

for the

19 MHz,
DUfiL-THACE
QSCILLQSCOPE

Mode; 30-4550

ASSEMBLY 595-1804-05

Cbpyrlgm © 1976
Heath Company

H EATH C O M PA N V All Rights Reserved
BENTON HARBOR, MECHHEAN 490 2 2 Printed in the United States of America

Page 2

Page 2

TABLE OF CONTENTS

INTRODUCTION ................ 3
UNPACKING INSTRUCTIONS ........... 4
ASSEMBLY NOTES ............... 5
LOW VOLTAGE CIRCUIT BOARD

Parts List ...................... 6
Step-by-Step Assembly ............... 10
HIGH VOLTAGE CIRCUIT BOARD

Parts Lin ...................... 15
Step VERTICAL CIRCUIT BOARD

Parts List ...................... 24
Step-by-Srep Assembly ............... 29

HORIZONTAL CIRCUIT BOARD
Parts List ...................... '45
Step-by-Step Assembly 50

CHASSIS ASSEMBLY

Parts List ...................... 71
Step-by-Step Assembly ............... 75
Rear Subpanel Assembly ............ 75
Rear Panel Assembly ............. 76
Chassis Assembly and Wiring .......... 76
Front Panel Assembly ............. 82
High Voltage Probe .............. 95
INITIAL TEST ................... 96
Power Supply Tests ................. 97
FINAL ASSEMBLY . . ........... ; . .101
WARRANTY ............. Inside front cover
CUSTOMER SERVICE ......... Inside rear cover

Page 5

ASSEMBLY NOTES

Before you start to assemble this kit, be sure you have read the
wiring and soldering information in the Kit Builders Guide."

Due to the small foil area around the circuit board holes and
the small areas between foils, it will be necessary to use the
utmost care to prevent solder bridges between adjacent foil
areas. Use only a minimum amount of solder, and do not
heat components excessively with the soldering iron. Diodes,
transistors, etc, can be damaged if subjected to excessive
amounts of heat. Use no larger than a 25-watt soldering iron
with a small tip. Allow it to reach operating temperature,
and then apply it only long enough to make a good solder
connection.

Page 5

Resistors will be called out by their resistance value in Q,
kfl, or M52, and color code.

Capacitors will be called out by the capacitance value (in pF
or ,uF) and type (ceramic, mica, electrolytic, etc).

A separate illustration Booklet" contains numbered
illustrations (Pictorials, Details, etc.) that are too large for
the Assembty Manual. The stepby-step assembly
instructions will direct you to the proper illustration in the
Booklet. After you have completed the assembly of your
kit, place the illustration Booklet" with the Manual and
save them for future reference.

Page 10

Page 10

S?EF-EY-STEP ASSEWE Hi

Refer to the Kit Builders Guidefar complete information
on unpacking, parts identification, too/s, wiring, soldering,
and step-by~step assembly procedures.

( l Position the circuit board as shown.

NOTE: When you install a diode, always
match the band or hands on the diuda
with the band mark on the circuit board


(br


.. .. 10!) $7.,
black-brownl,

R315: .51 fl, Q'Watt (green-brown»

HANDED
END silver). The circuit board may be
marked 1W.
m
%= l i R313: 2.7 fl, 2-Watt (red-violet-
( ) ZD313: 1N5232 zener diode galdi.
, (#564316). =_----__-_--%
i ) R3l2: 100 Q, l/Z-watt (brown-
black-brownl.

( l 20314: 1N5232 zener diode
(#SB-GlBl

_________
' l ) R304: 100 (l, 1/4-watt (brown-
blaclobrownl.

( l 0309:1N2071diadel#57-27).

( l R306: 33 fl, 2-watt (orangee
orange-silverl.

l ) D31 l: lN2071 diodel#57-27i.

l ) 0312:1N207idiodel#57-27l,
( ) R308: 15 Ml, 1/2-watt (bi'owm

green-orange).

( ) 0310:1N207l diode (#57-27}.

m

l l D305: lN207'l diode {#57-27). +

_._.---.-_----"_._-"

( l Solder all leads to the fall and cut
off the excess lead lengths.

( ) Sclder all leads to the foil and cut
off the excess lead lengths.

l

l l R307: .33 fl, 2~wan (orange-
orange-sliverl,

l l 0303: 1N2071 diode (#57-27)
m:
l ) 0307: 1N207'l diode (#5747).

l ) R311: 27 kn, 1/2-watt (redwviolet-
orange).

( l R305: 100 Q, l/4-watt (brown-
blaek-brown), '

l ) R301: 90 a, 10%, 5vwatt
wire-wound. Mount the resistor
7/16" above the circuit board.

( ) 0305:1N207ldlode{#57-27).

( l D301: 1N207l diode (#57'27l.

( l 0302:1N2071diode(#57-27),
____.___..____..._

l l 0304: 'lN207l diude (#5727)

( l R303: 100 S2, 2-watt (brown-

blackbrown).
l ) R302: 100 n, 2-wan {brown-

black-brewnl.

l l 0303:1N207ldiude(#57-2ll.

l ) Solder all leads to the foil and cut

off the excess lead lengths.

l

l ) Solder all leads :3 me foil and cm
off the excess lead lengths.

PICTQfiii-ll. 1 m'i

Page 31

Page 32

\\ The steps you perform in this Pictorial are
\ In this area of the clrcuit board.

x\\\
PART

NUMBER \

IDENTIFICATION
DRAWING /( I RIM:BBORIque-gray-bruwnL

( I R178:10:1(brown-blacl<»blacl<).
/ l I R768: 150 n, 2-wan (brown-gray-

( I R181: 1500 SZ (brown-green-redI. \ brown). Mount this resistor vertical-
lv as shown

( 2 R183: 2700 n lred-vlolet-redl. '

l I R182: moon (brown-black-redI. \

7/


( I 17 .eaofllbluegrav-browm.

,____._.__-__--
( I RIBS-2: 10 fl lbrown-biack~blackI.

l I R154-2: 10:2 Ibrown-black-black).

C
§ i
f- I I R166:6209(blue-red-brown).
/ l I RISDIGSSZ(blue-gray-black).
@-
? I I R165; 470 Q (yellawAviolebbrownI.

>\ I R167:4709(yelloww'mlet-bmwn).

( I R185: 10 @ (brown-black-orangel.

l I R154: 390 {Z lorenge-whitebrown).

( I R187110 fl lbmwn-black-black).

( I Solder all leads to the foil and cut

off the excess lead lengths.

( I R1522: 33 k9 (mange-orange-

l I Solder all leads tn the foil and cut

§ ' off the excess lead lengths.
m __ _._ I==== : == =

l I R170: 88 S2 (blue-gray-blaek).

orangeI. ,1
Il 0
, '. l d; - .
I ' R1532 20°09 bmred) 1 ' l I 9151-2:lEDOlerowwedwedI

l -: (2 s . .
( I H472 180 (browngray brown) I I HMS-2'. 18003 (brown-gray-redlv

( I fi146-2: 1809 Ibrown-gray-bmwn). ( ) RISE-1:13 m,1%.

I I HMS-2: 1800I1lbrowngravlsdI. l I R157-2'2009 1%

I ) H1422: 10 n (brown-black-blackI. ( ) R156-2:20000(2|

l l HMS-2: 100 (brown-black-blackl. l I H1442: lsoonlbrowngreen-red).

I l mez-z: 10 S2 Ibrawn-black-blackI. ( ) R1582; 10:1 Ibrown-black-black).

I I 50MB" the leads to 9 f0" and 5'" I I Solder all leads to the fail and cut
off the excess lead lengths. aff the excess lead lengths.

NOTE: «The remaining reslslurs wlll be
installatl later.

VIPIC'I'ORIAL 3-4

Page 84

l

Page 85

Refer to Pictorial 6-4 for the following steps.

l

Refer to Detail 64A and install four rubber feet in the
CRT ring.


( ) Mount the CRT ring to the front subpanel with four
sets of 6-32 x 3/4 flat head hardware and four 5/16"
/ FISH spacers as shown.
PAPER
( l Refer to the Pictorial. Then cut the piece of fish paper
FRONT to 3-3/4 x 3/4", remove the protective paper
SUB PANEL backing, and mount the fish paper onto the CRT ring
[LAMP HOLE so the straightest edge of the paper is tight against the
, front subpanel. (This will keep light from leaking from
the pilot lamp to the CRT face.)
"\WHTwBRN ( l Refer to Detail 648 and install a #53 lamp in the
lamp socket.
( l Mount the lamp socket and terminal strip to the CRT
ring with 632 x 3/8 flat head hardware. Position the
RCiRT socket so the lamp is behind the lamp hole.
NG
l ) Connect the white-brown wire coming from the hole
HORlZONTAL ' . ' t r '
Cl RCUlT BOARD In the horizon al circurt board to connector CG (EH).
( ) Cut both leads of the 22 1'2 resistor to 1/2".
( ) Connect the resistor between pilot lamp lug 2 (5-1)
/ and terminal strip lug 2 (NS).
PECTOREAL 6-4
l ) Locate thetwo twisted green wires coming from the
wi re harness and route them as shown.
( ) Connect either of the twisted green wires to pilot lamp
luel (3-1).
( ) Connect the other twisted green wire to terminal strip
lug 2 (NS),
6-32 X 3/4 '
FLAT HEAD ( ) Connect the white-red wire coming from the
1 horizontal circuit board to terminal strip lug 2 (8-3).
ll 2fififib ~ #53
l LAM P
l I9
0
.~/ FRONT
e 32 NUT./® SUBPANEL / @g 32 NUT
l my rs LOCKWASHER
l. Q (30/
/
v.\
\ KWASHER
OSCILLOSCOPE
B OTTOM
l
6-32 X 3/8
FLAT HEA D _. ..
SCREW mega fi-eo

metal! e-ee