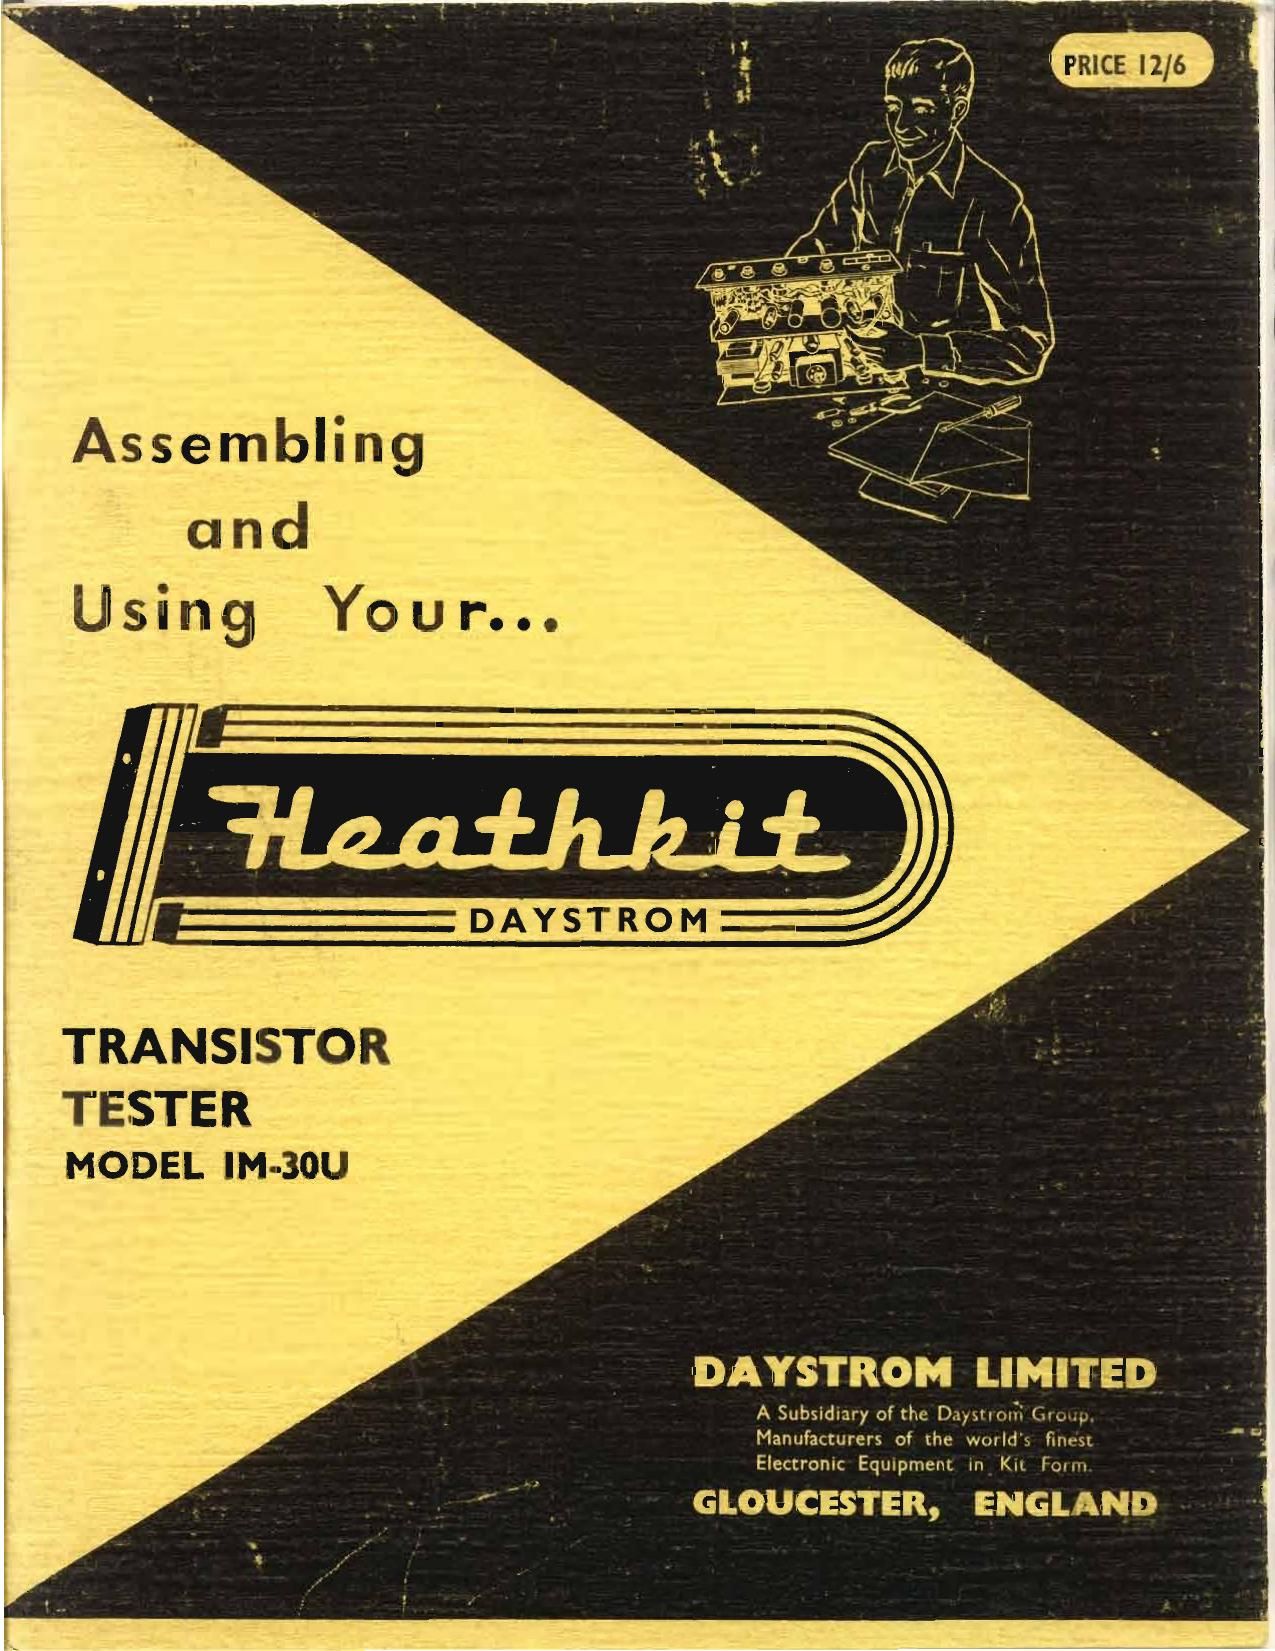
Heathkit IM 30U Manual

This is the 50 pages manual for Heathkit IM 30U Manual.
Read or download the pdf for free. If you want to contribute, please mail your pdfs to info@audioservicemanuals.com.

Page: 1 / 50
left right
Heathkit IM 30U Manual

Extracted text from Heathkit IM 30U Manual (Ocr-read)


Page 1

Assembling

and
Using Your...

; DAYsTROM _

i TRANSISTOR
i TESTER

i MODEL |M--30U
r

DAYSTROM LIMITED

A Subsidiary of the Daysnmfi Gum,»
Manufacturers of the world's fine-st
Electronic EqUIpment In Ku form

t _ _ GLOUCESTER, ENGLAND

Page 2

COLOUR CODE FOR FIXED RESISTORS-(B.$.l852-!952)
COLOUR BAND MARKING

FIGL COLOURED BAND )
MARKING PREFERRED

THIS EXAMPLE SI-Iows /

A GRADEI. RESISTANCE D C

op o 300 n 15% A
FlG2.aoov.TIP I. SPOT MARKING
BLUE( 6 )-l
GREY( 8 ) L
RED IXIO")

GOLD (3 5%) D B
{SALMON PINK (GRADE I.) A C
THIS MAv BE GENERAL aoov COLOUR F|63.aoov TIP 5 CENTRAL BAND MARKING

AMERICAN RMA, JAN" 8. COMMERCIAL CODING
FOR MOULDED MICA CAPACITORS

CURRENT STANDARD CODE MOULDED FLAT CAPACITOR JAN. CODE CAPACITOR
COMMERCIAL CODE


|5T{S|GN|FICANT WORKING SILVER IST{S|GNIFICANT

WHITE 2'02 FIGURE BLACK VOLTS 2'49 FIGURE

IRMA) BODY ' '

BLACK _

(JAN) MULIIPLIER MULTIPLIER MULTIPLIER
2m: {SIGNIFICANT

c LASS TOLERANCE 1 FIGURE CHARACTERISTIC TOLERANCE

COLOUR CODE FDR RESISTORS AND CAPACITORS

or Is. A

n .
COL. B. C LI C. MUL'FIPLJER COL, DO TOLERANCE RATING COX. E. TEMP.

2nd Resistors pic to" Resistor: eramic cItn rs COEFFICIENT
Fi x-E ohm: u In F "I F r10 r°c.

BLACK 2 F +20%
OWN I F
RED 2%
o z. I
EI. w
CR [00
BLUE oo
VIOLET Io con
Iao
WHITE 1 on 000
su. ER
1.»
MON
PINK
NO ~va

OLOUR - - . . .
The Colour coding Ihould be read from lefl (a right, in order, Harm-I3 from the end and finishing near [he middle.

Standard: lulu-anus {or resialorl are:- ere-wnund: Wu, 2%, 5%, 19%. Composikiun Grade I: 17.. 2%. 5%. Grade 2: 5%.

m"._ 20%. (20% hindkazxi by m. (a! '0') colour). Grade 1-. ("high-nubilily") campnamon resistors are dIuIInguIsned by 3 ul-
mompank mm ring or budy colour. (Reference: 5.5, XBSZ: 1952 3.5.1.).

N. a. HIgh-Smhimy Resin-tars supplied with Ibis kit are not as 1.1 m1. colour caggd mu enamflled in one colour on whmh m value
In Ohm-j: printed In figurr-I. Capacuon supplied in this klr usually have lheir capatily many marked in tigum. Some Cap.
um" cadzd an above alsn hav: additional "voltage rating" coding.

Page 16

lZ

( >

( l

()
()

mum.

Prepare five 2%" lengths of wire and connect one end of each wire to:

( ) VA1(NS). ( ) VA2(S-3). ( ) VA3(S-3). ( ) VA4(S-3). ( ) VA5(S-3).

Connect a 2% length of heavy wire to VAb (NS). DO NOT crimp as another wire will be connected later.
Connect a % bare wire (stripped heavy connecting wire) from VB7 (5-1) to VA7 (S-Z).

Connect a 10" length of wire to VAl (5-3).

The other ends of the wires just installed will be connected later.

Now check the switch carefully. The resistor bodies should not touch each other, switch contacts or other resistor
leads. Set the switch aside for use later.

SPACE 2.211 LEVER SWITCH Z
PICTORIAL 4

PREWIRING LEVER SWITCH Z

Refer to Pictorial 4 (or the following steps:

NOTE: Only heavy connecting wire is used in the prewiring of the Lever switch.

~()

GLOUCESTER

Prepare the following lengths of heavy connecting wire:

1.5/8", 1.5/8", 3, 2g, 3", 1.1/8",

Positionthe Lever switch as shown in Pictorial 4. Study the tag configuration to be sure of the proper pOSlthn.
Remove the insulation from a l,5/8" heavy wire. Insert this wire through ZAl (NS), ZBI (NS) and ZCl (NS),
toZDl (NS). CAUTION: Make sure this wire does not touch the metal plate between wafers B and C. Now sol-
der ZAl (5-1), 2131 (5.2) and 2C] (5-2).

R14. Connect the 220 resistor from ZDl (5-2) to 2131 (S-l).

Removethe insulation from a 1.5/8" heavy wire. Insert this wire through ZAZ (NS), ZBZ (NS) and ZCZ (NS) to
232(5-1), Now solder 2A2 (5-1), 2132 (5-2) and zcz (s-z).

Connecta 3"heavywirefromZA4(S-l) to ZD4 (NS). Position this wire as shown in Pictorial 4 to prevent lever
No. 2 from contacting it when the lever is depressed.

ENGLAND

DAYSTROM LTD.

Page 26

20

I T BEND UP 90°
SEE PICTORIAL
l/ I O

NOTE: All tags on switch V should now be soldered. DETAIL 'OA

( ) Mount the meter as shown inDetail 10B using the hard-
ware supplied with the meter. Do not remove the
shorting wire between the meter terminals at this stage.


68A NUT
LOCKWASHER

( ) Remove one half nut and flat washer from each termi-
nal, affix one ZBA shakeproof solder tag and replace
the flatwasher and half nut. Make sure that undue
forceis not used when tightening this nut as the meter
may be damaged.

( ) Connect the wire coming from ZFS to the positive (+)
tag of the meter (NS).

( ) Connect a 4%" wire from the bare wire connected to
2811 (3-1) to the negative (-) tag of the meter (NS).
See Pictorial 10

NOTE: The lever switch wiring is now complete,

( ) Connect a 2% wire from TB9 (5-1) to the negative (-)
tag of the meter (5-2).

DETA|L IOB

( ) Connect a 4" wire from TBlO (Sl) to the positive (4*) tag of the meter (5-2).
BATTERY HOUSING PARTS MOUNTING

Refer to Detail 10C for the following steps:

( ) Locate the battery housing and position it as shown.

( ) Fasten a battery contact spring at hole 1 using a 4BA x 3/8" screw, 9/16 flat fibre washer, fibre shoulder
washer, shakeproof 4BA solder tag and nut. Position the solder tag as shown in Detail 10C.

( ) In the same manner, fasten battery contact springs at all the odd-numbered holes; 3, 5, 7, 9. 11 and l3,
( ) Fasten a 4BA shakeproof solder tag at hole 14 using 3 413A x 3/8" screw, fibre shoulder washer, fibre flat

washer, 413A shakeproof solder tag and nut, Position the solder tag as shown in Detail 10C.

GLOUCESTER ENGLAND

Page 43

. @
lam

SERVICE INFORMATION
SERVICE

If, after applying the information contained in this manual, you are still unable to obtain proper performance, it is
suggested that you take advantage of the technical facilities which we make available to our customers.

The Technical Consultation Department is maintained for your benefit. This service is available to you at no charge.
Its primary purpose is to provide assistance for those who encounter difficulty in the construction, operation or
maintenance of HEATHKIT equipment.

Although the Technical Consultants are familiar with all details of this kit, the effectiveness of their advice will de-
pend entirely upon the amount and the accuracy of the information furnished by you. Please use this outline:

1. Before writing, fully investigate each of the hints and suggestions listed in this manual under In Case of Difficulty.
Possibly one of these will solve your problem.

2. When writing, clearly describe the nature of the trouble and mention all associated equipment. Specifically
report operating procedures, switch positions, connections to other units and anything else that might help to

isolate the cause of trouble.

3. Report fully on the results obtained when testing the unit initially and when following the suggestions under In
Case of Difficulty, Be as specific as possible and include voltage readings if test equipment is available.

4. Identify the kit model number, invoice number and date of purchase, if available.

5. Print or type your name and address, preferably at the head of the letter.

With the preceding information, the consultant will know exactly what kit you have, what you would like him to do
for you and the difficulty you wish to correct. The date of purchase tells him whether or not engineering changes
have been made since it was sent to you. He will know what you have done in an effort to locate the cause of trouble
and, thereby, avoid repetitious suggestions. In short, he will devote full time to the problem at hand, and through
his familiarity with the kit, plus your accurate report, he will be able to give you a complete and helpful answer.
If replacement parts are required, they will be sent to you, subject to the terms of the Guarantee.

HEATHKIT equipment purchased locally and returned to Daystrom Limited for service must be accompanied by your
copy of the dated sales receipt from your authorised HEATHKIT dealer in order to be eligible for parts replacement
under the terms of the Guarantee.

If the completed instrument should fail to function properly and attempts to find and cure the trouble prove ineffec-
tive, the facilities ofDaystrom's Service Department are at your disposal. Your instrument may be returned car-
riage paid to Daystrom Limited, Gloucester, and the Company will advise you of the service charge where not
covered within the terms of the Guarantee (i. e. a faulty component supplied by us).

For information regarding modification of HEATHKIT equipment for special applications, it is suggested that you
refer to any one or more of the many publications that are available on all phases of electronics. They can be ob-
tained at or through your local library, as well as at most electronic equipment stores. Although Daystrom Ltd.
sincerely welcomes all comments and suggestions, it would be impossible to design, test, evaluate and assume
responsibility for proposed cirCUit changes for special purposes. Therefore, such modifications must be made at
the discretion ofthe kit builder. using information available from sources other than Daystrom Limited.

REPLACEMENTS

Material supplied with HEATHKIT products has been carefully selected to meet design requirements and ordinarily
will fulfill its function withoutdifficulty. Occasionally improper instrument operation can be traced to a faulty com-
ponent. Should inspection reveal the necessity for replacement, write to Daystrom Limited and supply all of the
following information.

Thoroughly identify the partin question by using the part number and description found in the manual Parts List.
Identify the type and model number of kit in which it is used.

Mention date of purchase.

Describe the nature ofdefect or reason for requesting replacement.

U001.)

ENGLAND

GLOUCESTER - DAYSTROM LT