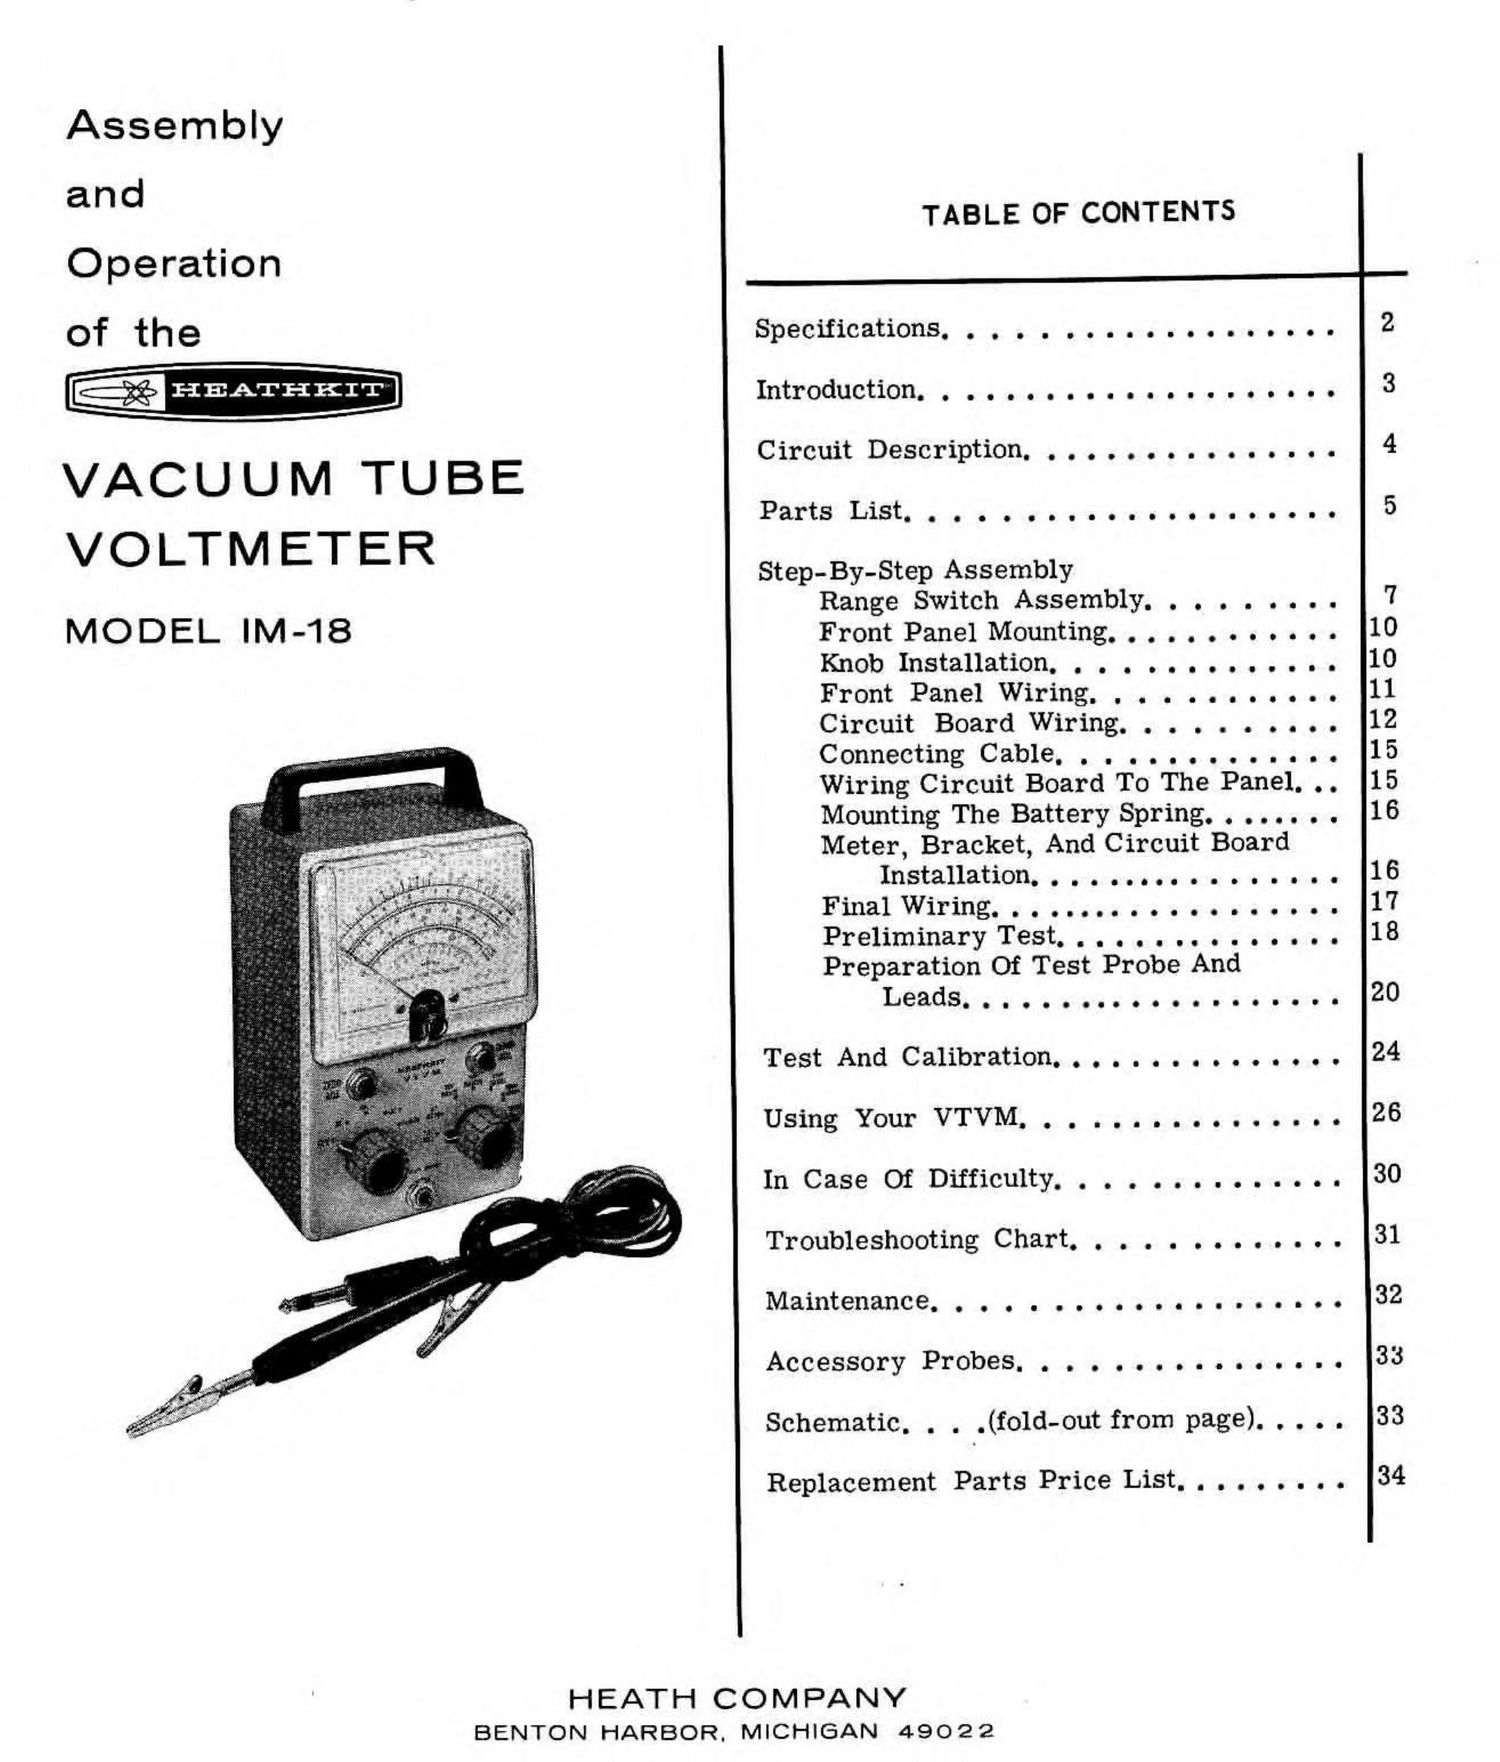
Heathkit IM 18 Manual

This is the 9 pages manual for Heathkit IM 18 Manual.
Read or download the pdf for free. If you want to contribute, please mail your pdfs to info@audioservicemanuals.com.

Page: 1 / 9
left right
Heathkit IM 18 Manual

Extracted text from Heathkit IM 18 Manual (Ocr-read)


Page 1

Assembly

and

TABLE OF CONTENTS
Operation
of the Specification................... 2
-HEATHKIT Introduction. 0 I O I O O O I I C l I I I I O O I I 0 I3

CircuitDescription................ 4

VACU U M TUBE
VOLTMETER

MODEL lM-18

APartSLiStoocoo-oooocouououoooo 5

Step-By-Step Assembly
A Range Switch Assembly. . . . . . . . . 7

Front Panel Mounting. . . . . . . . . . . . 10
o I 10

Knob Installation. . . . . . . . . . .

Front Panel Wiring. . . . . . . . . . . . 11
Circuit Board Wiring. . . . . . . . . . 12
Connecting Cable. . . 15
fi Wiring Circuit Board To The Panel. . . 15
Mounting The Battery Spring. . . . . . . . 16

Meter, Bracket, And Circuit Board
Installation................. 16

f FinalWiring................... 17
Preliminary Test............... 18
Preparation Of Test Probe And

i LeadS.................... 20
Test And Calibration............... 24
H Using Your VTVM. . . ..... 26
In Case Of Difficulty. . , . ..... . 30

Troubleshooting Chart. . . . . . . . . . . . . 31
H Maintenance. 0 C O . I O U C I I I I I I O C I O O 32

Accessory Probes................ I33

H Schematic. . . .(fold-out from page). . . . . 33

Replacement Parts Price List. . . . . . . . . 34

HEATH COMPANY
BENTON HARBOR. MICHIGAN 49022

Page 2

Page 2

Electronic DC voltmeters

7 Ranges. .

Input Resistance

Circuit. . .

Accurzlcv,

Electronic AC voltmeter-

7 ms Ranges. . . .

7 Peak-to-Peak Ranges, _ , l l. .

Frequency Rasponse (a v range).

Accuracy.

Input Resistance And Capacitance

Electronic Ohmmeter-

'7 Ranges.

Meter. . . .

Probes, . . , , .

Dividersl.......1...

Tubes. .

SPECIFICATIONS

0.1.5, 5, 151 50. 150, 500, 1500 Volts full scale;
up to 30,000 volts With accessory probe.

11 megohms (l megohm in probe) on allrsnges:
1100 megohms With accessory probe.

Balanced bridge (pusn.pull) using twin triode.

5% full sc ale,

04.5, 5. 15, 50, 150. 500 1500 volts full scale
(.353 o! peak-to-peakL

04, 14, 40, 140 400. 1400.4000vullsfu11 scale.
:1 db 25 ups to 1 me (500 :2 source).
*5% mil scale.

1 megohm shunted by 35 up! (measured at
input terminals).

Scale with 10 a center XL x10, x100, x1000,
xmlc, x100x, XIMEG, Measures .1 11m 1000
megohms with internal battery.

4.1/2", 200 pa movement, polystyrene use.

Combined AC-OHMS-DC switching probe, single
lack input for probe and ground connections.

1% precision type,

1 - 12AU71 twin triode meter bridge.
1 - aALs, twin diode AC rectifier,

Page 7

-Hearrr

( ) Now connect the negative meter lead to the
side of the AC line with the lowest reading.
Then connect the test probe tothe other side
0! the line.

( t Adjust the AC Calibrate control until the
meter pointer indicates the line voltage.

( ) Disconnect the test lead and probe.

AC CALIBRATE WITHOUT LINE CORD
ADAPTER

CAUTION: no Norr use the common (negative)
lead of the VTVM when measuring power line
voltages, This lead is already connected to the
circuit ground andtothe power line ground, it the
common lead should contact the "hat"side otthe
power outlet, the power line will he short-
circuited. Connect ONLY the meter probe, set on
AC, to the power line

( ) Temporarily remove the phoneplugtrom the
jack.

Set the Range switch to 1.5 v andthe Func-
tion switch to AC.

Adiust the AC Balance control so no move.
ment is detected when switching from AC
through DC- to DC+,

( ) set the Range switch to the 150 v range it
you wired your vTVM for 120 vac operae
tion. or to the 500 v range if you wtred the
VTVM tor 240 VAC operation.

4 ) Set the Function switch to AC.

( ) Set the switch on the test prohe to Ac.

( ) heinsert the phone plug.

Page 25

t ) Connect the test probe to the side of the
AC line with the highest reading

( ) Adiust the AC Calibrate control until the
meter pointer indicates the line voltage.

AGING AND FINAL CALIBRATION

( ) It is recommended that the tubes be aged
before iinal calibration. This is accom,
pushed by keeping the instrument turnedon
tor a period of at least 48 hours. Final
calibration should be done in the same way
as the initial calibration. Caretul calihration
will result in a more accurate instrument.
li a standard AC meter is available. it is
desirable to use such an instrument to
check the accuracy at the VTVM. Prefer-
ably, use a voltage near hill scale on the
VTVM as for instance, 140 volts or 40
volts on the 150 v or so v range respec-
tively. The DC scales may also be call.
brated using a DC meter oiloiown accuracy,
One at the major advantages or kit torm
instrument assembly is that the kit builder
becomes thoroughly tamiliar with the calla
hration procedure and is thereiore capable
oi periodically checking VTVM operating
accuracy, instead oi assuming that usual
tactory instrument calibration is stillvalid.

Atter tinal calibration, place the instrument in
the cabinet and secure it with two 5-32 x 3/3"
sheet metal screws. The instrument is now ready
tor use, The power consumption of the VTVM
is very low and there is no objectim-l to leaving
the instrument on continuously during the daily
work period rather than turning it or: each time
a measurement tunction is completed Daily
operation tor a period or several hours or more
will also serve the purpose DiminimlzlngpoSSIe
ble moisture accumulation.