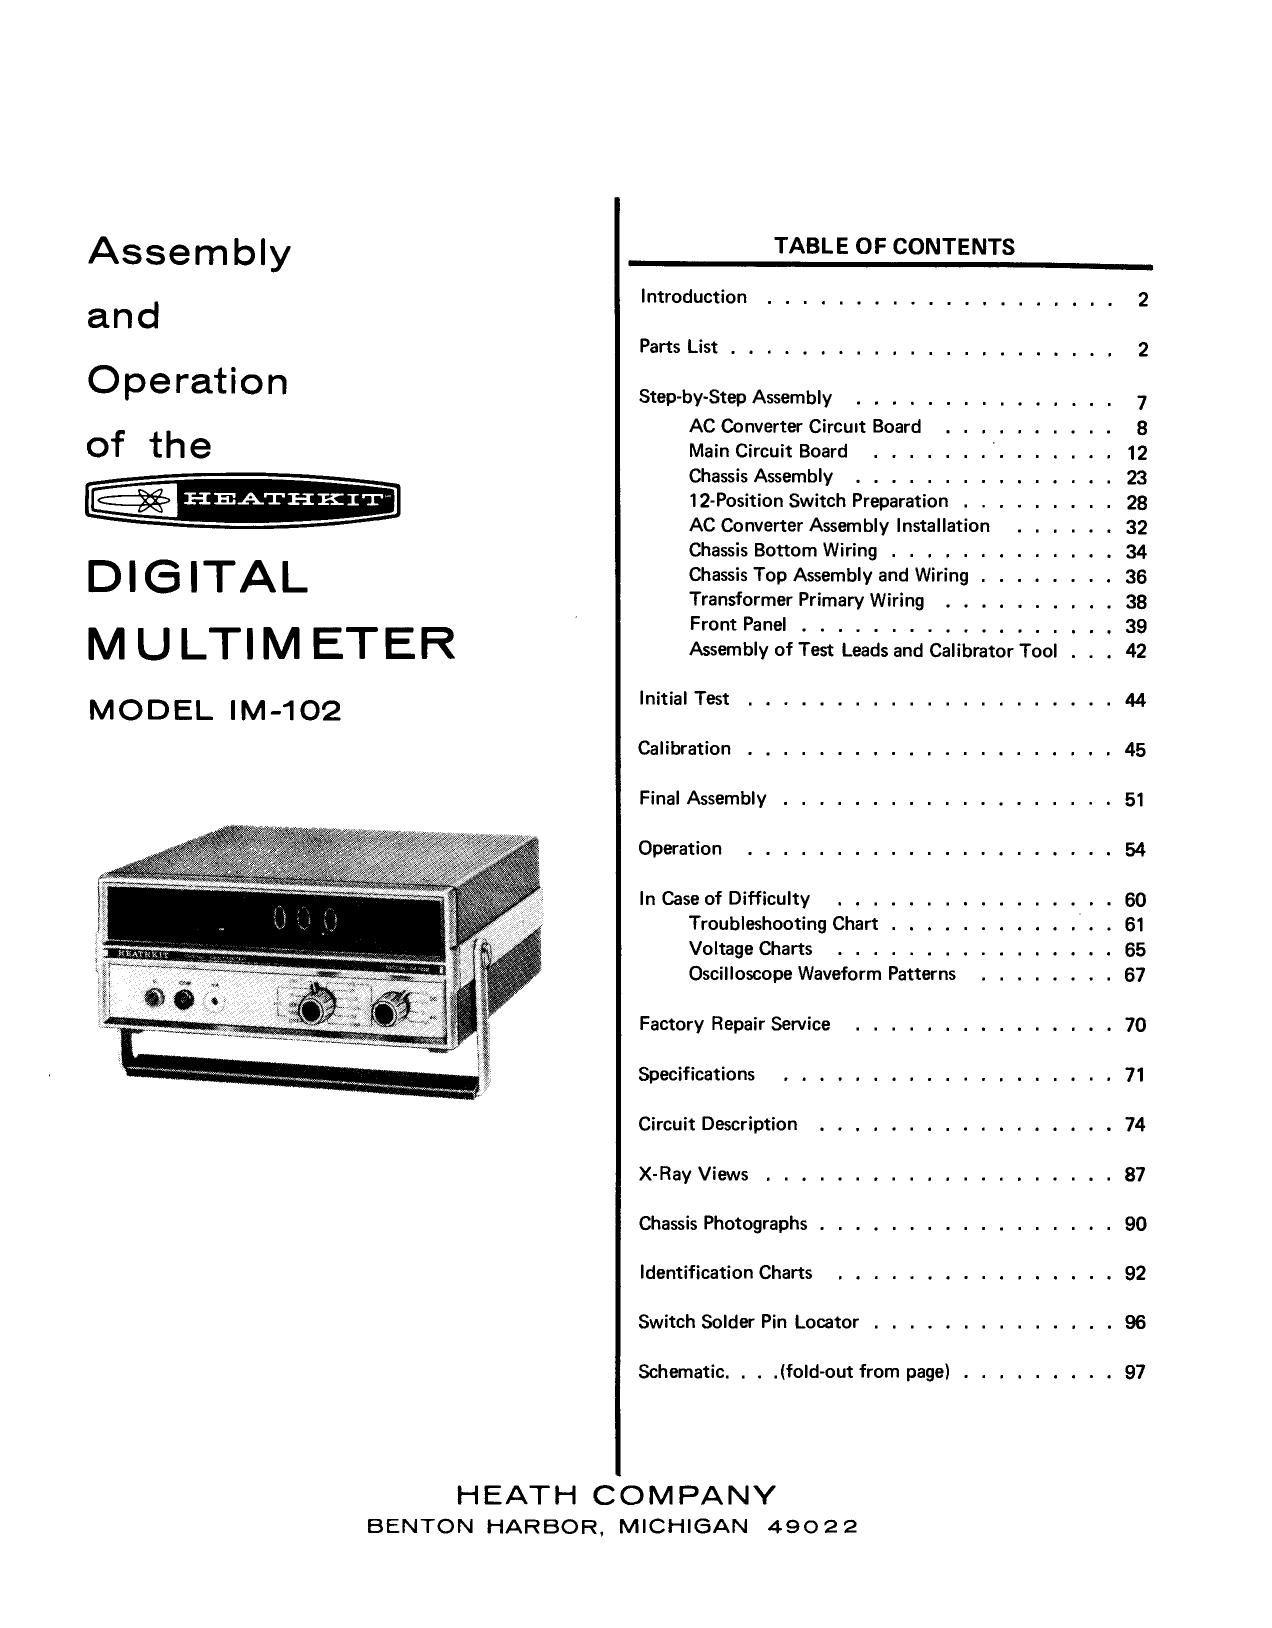
Heathkit IM 102 Manual

This is the 27 pages manual for Heathkit IM 102 Manual.
Read or download the pdf for free. If you want to contribute, please mail your pdfs to info@audioservicemanuals.com.

Page: 1 / 27
left right
Heathkit IM 102 Manual

Extracted text from Heathkit IM 102 Manual (Ocr-read)


Page 1

Assembly

and

Operation

of the
I-HEATHKIT
DIGITAL

M U LTI M ETER

MODEL lM-102

TABLE OF CONTENTS

Introduction .................... 2
Parts List ...................... 2
Step-by-Step Assembly ............... 7
AC Converter Circuit Board .......... 8
Main Circuit Board ....... ....... 12
Chassis Assembly ............... 23
12-Position Switch Preparation ......... 28
AC Converter Assembly Installation ...... 32
Chassis Bottom Wiring ............. 34
Chassis Top Assembly and Wiring ........ 36
Transformer Primary Wiring .......... 38
Front Panel ................. . 39

Assembly of Test Leads and Calibrator Tool . . . 42

Initial Test ..................... 44
Calibration ..................... 45
Final Assembly ................... 51
Operation ..................... 54
In Case of Difficulty .............. V . . 60

Troubleshooting Chart ............. 61

Voltage Charts ................ 65

Oscilloscope Waveform Patterns ........ 67
Factory Repair Service ............... 70
Specifications ................... 71
Circuit Description ................. 74
X-Ray Views .................... 87
Chassis Photographs ................. 90
Identification Charts ................ 92
Switch Solder Pin Locator .............. 96
Schematic. . . .(foId-out from page) ......... 97

HEATH COMPANY

BENTON HARBOR, MICHIGAN 49022

Page 2

Page 44

BlACK

RUBBER
TEST LEAD LARGE
INSULATOR ALLIGATOR
A CLIP
\» \
E S-‚¬*\== U \
SOLDER
DemilZSB

( \)/ Refer to Detail 258 and install a black rubber
insulator and a large alligator clip on the free end of
the black test lead. After the solder has cooled, push
the rubber insulator over the alligator clip.

_HEATI-IKIT

J
\METAL BLADE

Detail 25C
lay!) Refer to Detail 25C and with a pair of pliers push the
1" steel blade into the smaller end of the nut starter
until 1/8" remains exposed. Use this tool for the

calibration adjustments.

INITIAL TEST

Refer to Figure 1-1 for the following steps.

( ) If you have an ohmmeter, set it on the X1000 range
and make the test measurements in the following two
steps. If you do not have an ohmmeter, disregard the
next two steps.

NOTE: If the resistance in either of the following steps is
less than 3,000 9, it will probably be near 0. This indicates
that either the negative or positive 12 volt supplies are
short-circuited, possibly by a solder bridge between foils.
This condition must be corrected before proceeding. If the
trouble is not found by visual inspection, refer to the In
Case of Difficulty" section on Page 60. If the resistance
measurements are satisfactory, proceed to the following
step.

( ) Connect the common lead of the ohmmeter to the
cathode (banded) end of diode ZD5, and the positive
ohmmeter lead to the other lead of diode ZD5. The
resistance should measure over 3,000 0.

(\rl' Move the positive ohmmeter lead to the cathode
(banded) end of diode ZD4. The resistance should
measure over 3,000 9..

i ) Disconnect the ohmmeter leads.

( ) Connect the line cord to the line cord connector on
the rear panel.

DANGER: Whenever the line card is connected to an ac
outlet, dangerous voltages will be present above and below
the circuit board, even when the switch is in the OFF
position. Except when an insulated tool is used, do not
handle or work on this instrument when the covers are
removed until the line card has been disconnected. Refer to
High Voltage Areas" (fold-out from Page 45).

('\ v) Connect the line cord plug to an ac outlet.

1. If the display tubes light, turn the RANGE
switch until the tubes go out (OFF pOsition).
The switch will rotate in either direction from
the OFF position.
Then disconnect the line cord and proceed to the "Knob
Installation" section.

2. If the display tubes do not light, turn the
RANGE switch one position in either direction
and the display tubes should light. (If the tubes
do not light, refer to the In Case of Difficulty"
section.) After the tubes light, return the
RANGE switch to the OFF position.

Then disconnect the line cord and proceed to the Knob
Installation" section.

3. If you have plugged in the line cord without
making the ohmmeter checks, the display tubes
may flash on for a fraction of a second and then
not light again. Unplug the line cord. If F301
(the fuse near the line cord connector) is blown,
there is a short circuit in the unit which must be
corrected (and the fuse replaced) before
proceeding. Refer to the "In Case of Difficulty"
section on Page 60.

Page 9

Page 74

giggiiizzfflrlililT

CIRCUIT DESCRIPTION

GENERAL

This instrument is designed to measure ac and dc volts, ac
and dc current, and resistance. All of the inputs are either
scaled to, or converted to, the basic measuring ranges of 200
millivolts or 2 volts, depending on the range switch setting.
The measuring circuit is a high impedance bipolar A/D
(analog to digital) converter which operates on the
dual-slepe principle.

The dual-slope action is shown by waveform F of Figure 4-2
(foldlout from Page 72). 8,000 pulses of the clock oscillator
are divided into two time elements, t, and t,, shown in
sloping lines or "ramps." During t, (ramp-up time), the
integrator charges a capacitor. During t2 (ramp-down time),
the capacitor discharges. The time required to discharge the
capacitor is counted, decoded, and displayed.

Resistance is measured by passing a scaled constant current
through the unknown resistor and measuring the dc voltage
across it.

Alternating voltages are converted to dc by an
average-sensing, rms calibrated, converter assembly. Full
scale output voltage for all ranges is 2 volts dC.

ZDlOi
RESSTANCE
DIVIDER

lit

@565

W25 12/11

2000

18K

Current is measured by the voltage drop it establishes across
a shunt network. If it is dc, the voltage drop is measured
directly. If it is ac, the voltage drop is first applied to the ac
converter and then measured. The full scale shunt voltage is
200 millivolts for all ranges.

The dc voltmeter and the several conversion circuits are
interconnected by multi-section Range and Function
switches which make possible: decimal point switching,
polarity indicator switching, input ranging, gain changes in
the A/D converter, shared usage of the precision attenuator,
and a switchable protection function. More detailed
descriptions of the several circuit are-s follow.

Because the instrument is basically a dc voltmeter, a dc
input voltage will first be used in describing the main
circuits. Then various inputs and their associated circuits will
be explained.

Refer to the Block Diagram (Figure 4-1), Waveforms (Figure
4-2), and to the Schematic Diagram (fold-out from Page 97)
while you read this Circuit Description." When the
description of a circuit deals in polarity, a positive inputto
the Multimeter is assumed.

INTEGRATOR

R56
CLOSED
on _____{ §)_____
new
AND +
20 was ' IREE
0" 050:: 07

Figure 4-3