Heathkit ID 5001 3 Manual

This is the 30 pages manual for Heathkit ID 5001 3 Manual.
Read or download the pdf for free. If you want to contribute, please mail your pdfs to info@audioservicemanuals.com.

Page: 1 / 30
left right
Heathkit ID 5001 3 Manual

Extracted text from Heathkit ID 5001 3 Manual (Ocr-read)


Page 1

Heath/(it ® Manual for the

RS-232C ACCESSORY
Model lDA-5001-3

Please perform the following steps and assemble your 3-rlng
binder before you assemble your kit. Do not unpack your kit
until you are Instructed to do so.

( ) Locatethe envelope marked "BlnderHardware," and removethe
hardware from it

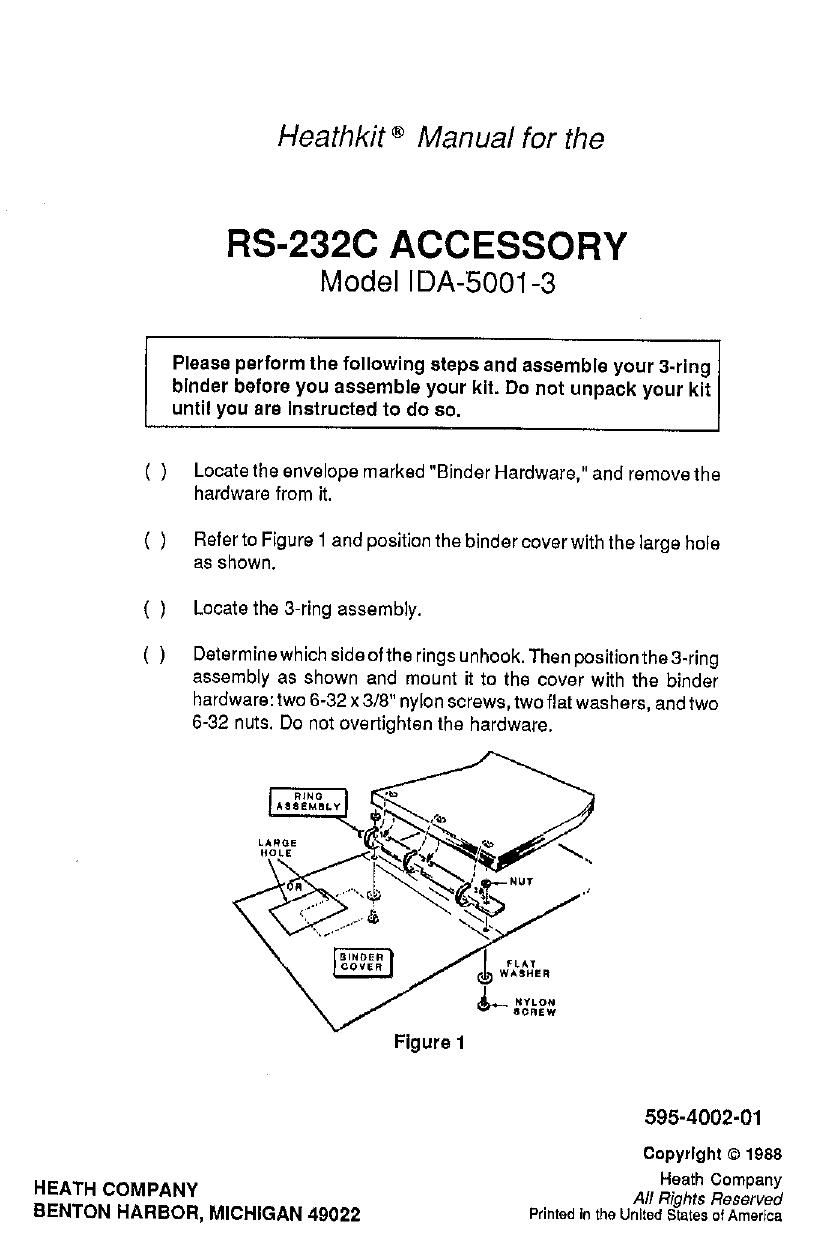
( ) Refer to Flgure1 and position the bindercoverwith the large hole
as shown.

( ) Locate the 3-ring assembly.

( ) Determinewhich sldeoftharlngs unhook. Then positiontheS-ring
assembly as shown and mount it to the cover with the binder
hardware: two 6-32 x 3/ nylon screws, two flat washers, and two
6-82 nuts. Do not overtighten the hardware.

Figure 1

595-4002-01

Copyright © 1988

Heath Company
HEATH COMPANY All Rights Reserved

BENTON HARBOR, MICHIGAN 49022 Printed In the United States at America

Page 2

RS-23ZC ACCESSORY
Model lDA-5001-3

595-4002-01
Copyright © 1985
HEAT Heath Company
H COMPANY All Highls Reserved
BENTON HARBOR, MICHIGAN 49022 Printed In the Unllad States 0! Amarlca

Page 20

Heathkif

Page 19

IN CASE OF DIFFICULTY

NOTE: Refer to the Main Circuit Board X-Ray View" in your ID-SOOl Illus-
tration Booklet for the physical location of parts on the circuit. board.

GENERAL

1.

About 90% of the kits that are returned for repair do not function
properly due to poor connections and soldering. Therefore, you can
eliminate many difficulties by carefully inspecting each connection to
make sure it is properly soldered. Reheat any doubtful connections.

Recheck the RS-232 wiring. It is frequently helpful to have a friend
check your work. Someone who is not familiar with the unit may notice
something you have consistently overlooked.

Check all component leads connected to the circuit board. Make sure
that none of the leads make contact with other connections or compo-
nents.

Check the value of each part. Be sure that the proper part has been wired
into the circuit at each location as shown in the Pictorial diagrams and
as called out in the wiring instructions.

Check to be sure that ICs U413. U414. and U415 are installed in their
sockets correctly. Also be sure that none of the IC pins are bent under the

IC body.

In an extreme case where you are unable to resolve a difficulty, refer to the
Customer Service information inside the rear cover of the Manual. Your
Warranty is located inside the front cover.