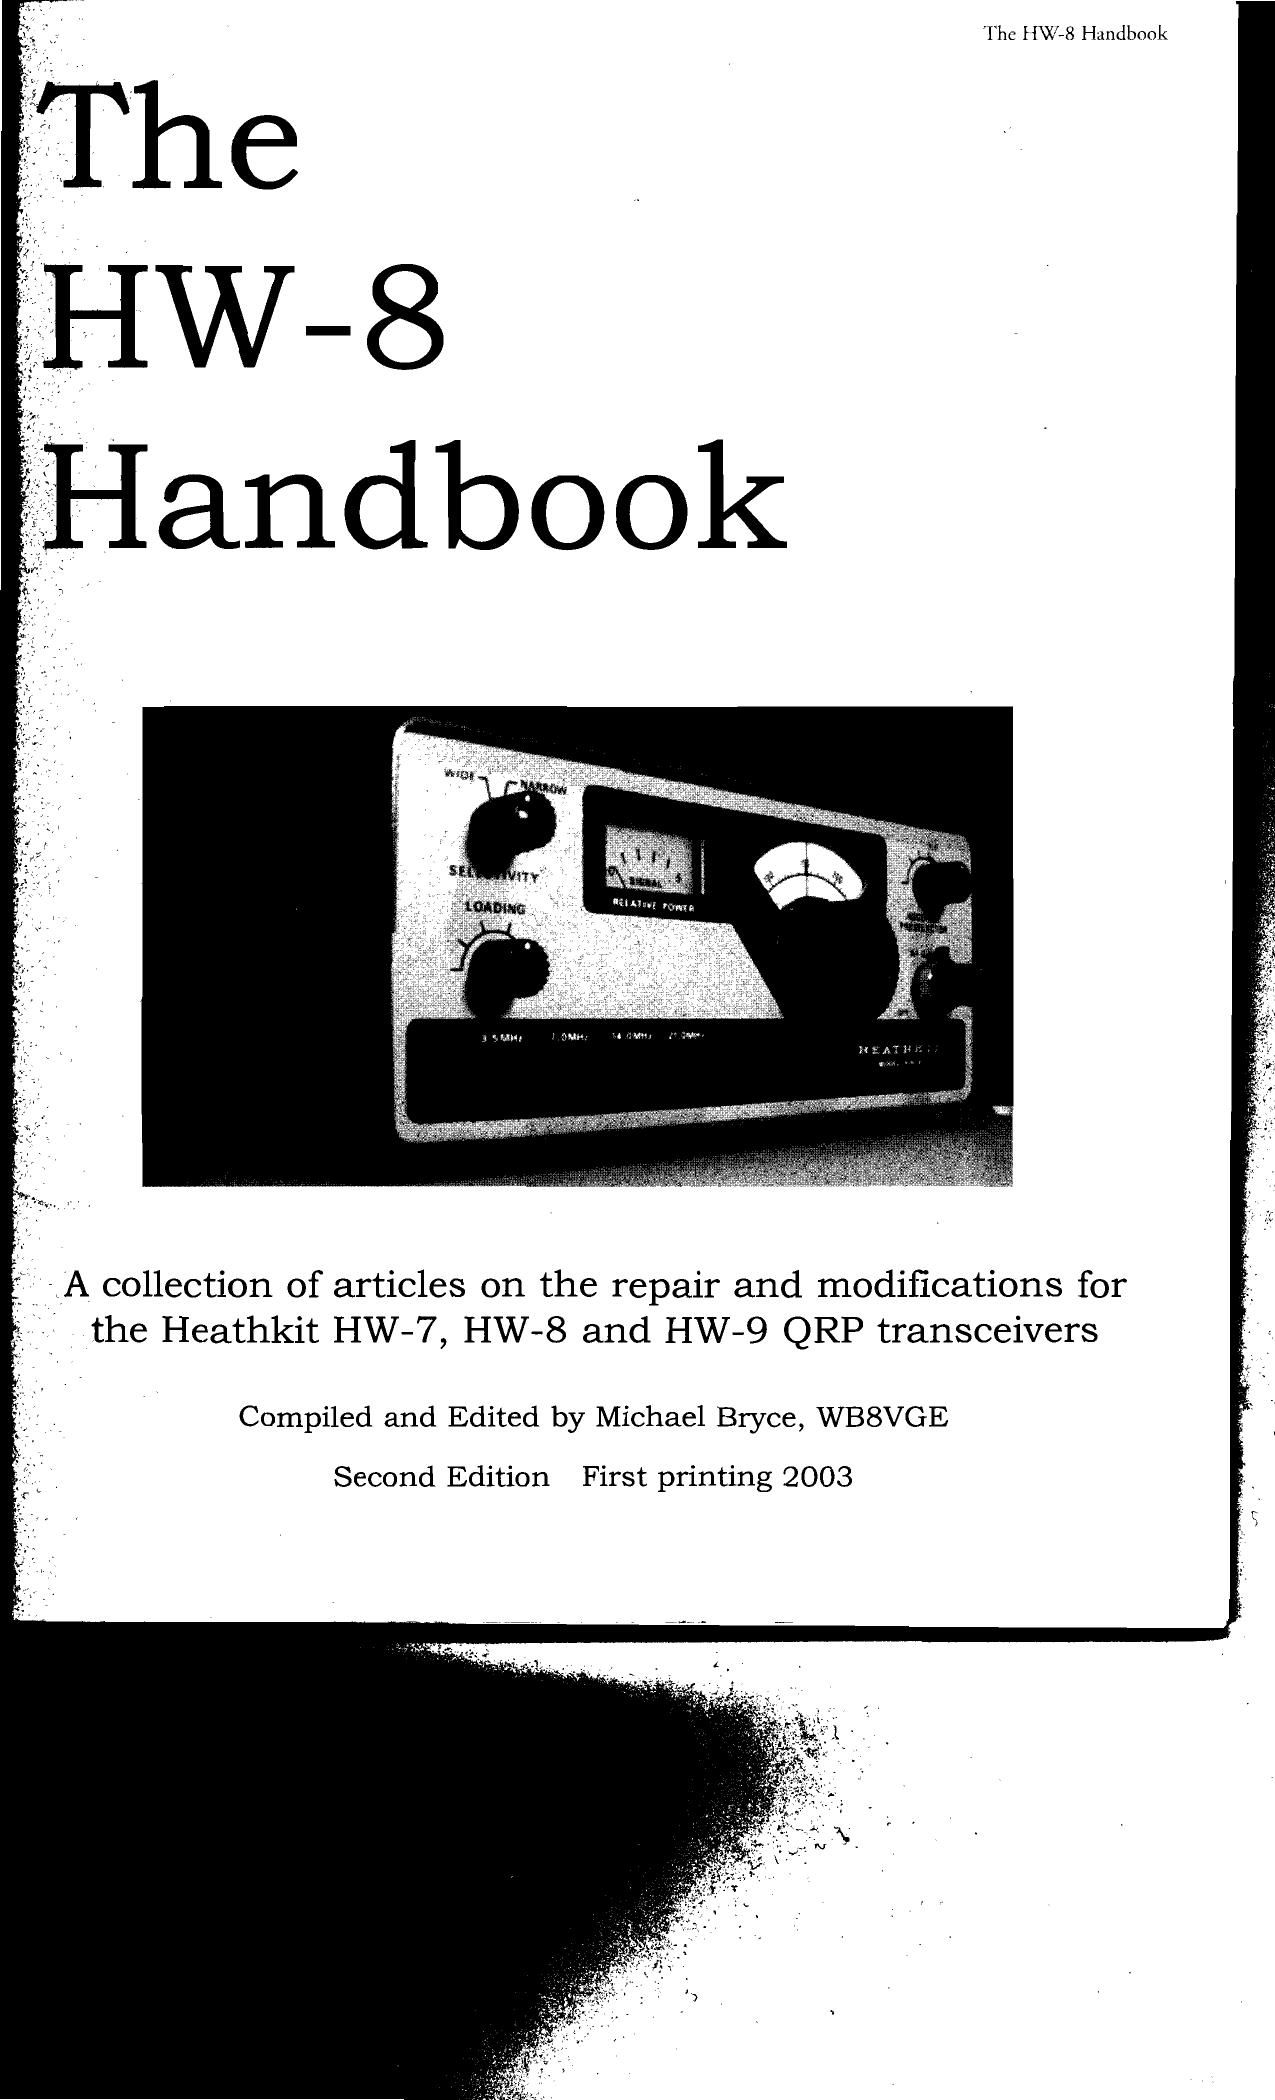
Heathkit HW 8 Handbook

This is the 106 pages manual for Heathkit HW 8 Handbook.
Read or download the pdf for free. If you want to contribute, please mail your pdfs to info@audioservicemanuals.com.

Page: 1 / 106
left right
Heathkit HW 8 Handbook

Extracted text from Heathkit HW 8 Handbook (Ocr-read)


Page 1

The l {V018 Handbook

:A collection of articles on the repair and modifications for
the Heathkit HW-7, HW-8 and HW-9 QRP transceivers

Compiled and Edited by Michael Bryce, WB8VGE
Second Edition First printing 2003

Page 2

The HW-7

The HW-7 service mods and fixes
The HW-7 alignment

The HW-7 transmitter alignment
The HW-7 pc board overlay

The HW-8

The HW-S A case history

The HW-B block diagram

The HW-S test point and adjustments
The HW~8 pc board overlay

The HW-B alignment

The HW-B service mods and fixes
The HW-8 low output caused by bad cores
The HW-9

Building the HW~9

Some quick fixes for the HW-9

The HW-9 service mods and fixes
The HW-9 oscillator board

The HW~9 RF board

The HW-9 oscillator circuit board
The HW-9 RF circuit board

The HWA-7 power supply

The HFT-9 antenna tuner

The HW-9 alignment

The HW-9 HFO alignment

The HW-9 VFO and BFO alignment
The HW-9 mixer filer alignment
The HW-9 T / R adjustments

The HW-9 T/ R adjustments

The Modifications

Fixing the main tuning vemier
Covering HWv9 cabinet scratches
Internal dial lights for the HW-9
VFO alignment improvement for the HW-9

Improved 40 meter performance for the HW-S

Drift fix for the HW~9
Preselector input for the HW-7

The HW-S Handbook

Table of Contents

Page 4

Page 7

Page 10
Page 11
Page 12
Page 13
Page 15
Page 19
Page 20
Page 21
Page 22
Page 26
Page 29
Page 33
Page 34
Page 35
Page 37
Page 40
Page 41
Page 42
Page 43
Page 44
Page 45
Page 46
Page 47
Page 48
Page 49
Page 50
Page 51
Page 53
Page 53
Page 53
Page 54
Page 54
Page 55
Page 55
Page 55

Internal one watt audio amplifier for the HW-8 Page 56

Cheap and dirty QSK for the HW-S
The HW-8 netter

More RF output for the HW-S

Audio amplifier for the HW-7 or HW-8

Improved stability and dial calibration (HW-S)
Portable battery operation with intemal nicad

Audio filter for the HW-9
30 meters for the HWoB
Choppy CW fix for the HW-8

Curing transmitter stability problems (HW-9)

Page 56
Page 56
Page 57
Page 57
Page 58
Page 59
Page 59
Page 60
Page 61
Page 61

Internal keyer and calibration oscillator (HW-9) Page 61
Attempts to improve receiver sensitivity (HW-Q) Page 63
Page 63
Page 63
Page 64
Page 64
Page 64

Audio improvements for the HW-9
AGC time constant

Transmitter frequency offset problems
Reverse power polarity protection
Vernier drive (HW~9)

Audio fixes (HW-Q)

Increasing transmit output for the HW-9
Fixing the drifting VFO in the HW-9
Transmit offset adjustment for the HW-9
QRP/ QRO for the HW-7

Heath PSA-9 power supply modification
Simple remedy for drifting HW-7
Reflected power measurement

HW-8 offset problem solved

Keying shaping mod for the HW-8
Break in delay modification

A second RIT mod for the HW-8

Rigged for silent keying

Receiver incremental tuning (RIT)
Curing zener diode noise

Parasitic oscillations

Smoother tuning for the HW-8
Anti-motorboating for the HW-B

An inboard active filter for the HW-8

A variable drive control

An S meter for the HW-S

Laundry list of mods for the HWvS
More HW-9 notes

VFO binding fixes for the HW-9

Dial calibration improvements for the HW-9
Frequency calibration for the HW~9
Alternate HW-S power connections

Page 64
Page 65
Page 65
Page 65
Page 65
Page 66
Page 66
Page 67
Page 67
Page 68
Page 68
Page 69
Page 70
Page 72
Page 73
Page 73
Page 74
Page 74
Page 75
Page 75
Page 76
Page 76
Page 77
Page 77
Page 78
Page 78
Page 78

Zero beat and WWV modifications for the HW-9Page 79
Two simple mods for the optimum peformance Page 81

BFO injection voltage to U 303
Better HW-9 heatsinks

Does HW-8 - 20 meters +5910 2 30 meters?
Fixing a dead HW-8

HW-9 frrequency stability

Another HW-9 drift fix

A tailored dial for the H W-9

HW~9 audio notes

Dial lights for the HW-9

Super RIT for the HW-B

160 meters for the HW-S

Filter mods for the HW-9

Dial lights for the HW-7

No holes dual RlT for the HW-8
Give your Heathkit a bath!

Receiver sensitivity and signal to noise chart
Almost noiseless T/ R relay mod
Keying fix for the HW-8

Removing stuck coil slugs in a HW-S
l-IW-8 keying interface

Common HW-8 fixes

Better ears for the HW-7

Interesting stuff andother goodies

Page 81
Page 81
Page 82
Page 83
Page 84
Page 84
Page 84
Page 85
Page 86
Page 87
Page 89
Page 90
Page 91
Page 92
Page 96
Page 97
Page 98
Page 99
Page 99
Page 100
Page 101
page 102

Back cover

Depot/(11 ( f (,1 K (1.,#690961](4/I!PP[214419PPPPPPPPPPIPPIIIEPPPH

Page 6

I luv ll\\l H HJlKllulHL

The Heathkit HW-7 QRP

Transceiver

Playing with the audio

Because the selectivity of the radio is generated inside the
audio chain and since the audio circuits are very simple,
you could spend a rainy afternoon experimenting with the
circuit.

As designed by Heathkits engineers. the LC components
are very simple. A 200 uH coil and some capacitors do the
work. Mouser electronics handles a line of high induc-
tance coils that may be used to tailor the audio response
of the radio. They wont fit the PC a board, as their lead
spacing is not the same as the original one however a
small hunk of perl-board would be ideal to use.

A handful of Mylar capacitors would round out the parts
needed. Although you could sit down and calculate the
values needed for the components based on frequency, cut
and try is a lot more fun,

This HW-7 has
been modified to
include several
small add on cir-
cuits. This radio
belongs to chh
Arland, K 732

Some HW-7 fixes and
improvements

With some HW-7 radios, you can improve the sensitivity
by placing a small jumper wire across C6 on the foil side
oi" the PC board. Then remove R1, a 100K resistor. If you
don't see any improvement or the radio fails to operate.
replace the. resistor. Some HW'7 will improve others wont.

ll'the audio seems low replace R411. 10K with a 1K resis-
tor, Again, this fix will only show up in the first run of
kits. Newer HW-7s will more than likely have the values
changed

Wflm111111911u11"

Page 26

llic ll\V An lidnrihooh

The HW-8

Heathkit produced service updates to ensure the service depart-
ments were up to date on any fixes or problems.

Factory Service Modifications
October 28, 1975

HW-8 CW Transceiver
Bulletin No. HW-8-1

Service Data

Operating Characteristics

1. Receiver preselector peaking is done with the preseleclor
(C301) FCW (Minimum C) resulting; in only broad peaks or
no peaks being found when this control is adjusted.

Also, maximum sensitivity may not coincide with maxi-
mum noise when adjusting the preselector. For example, in
trying to locate a generator signal, the preselector would be
tuned for maximum noise. When the signal is found and
the preselector adjusted for a maximum signal, the differ
ence between the maximum noise point and the noise level
at the maximum signal point could vary as much as 6 db
(typical). Therefore, he sure to peak the preselector on the
signal and not on the noise.

2. lntemal spurious signals may be found at 3.55MHZ,
7.1MHZ & 14.1MHZ. The levels are approximately .7 to 8
uv

3. Receiver sensitivity will increase when the selectivity
switch is switched from the wide to the narrow position.
This is due to the added gain of the bandpass filter lC-ZB
and it's associated circuity.

4. Microphonic levels as compared to the HW-a7 have been
reduced greatly, although some still appear on the 80 Meter
band. These microphonics are noticeable at the lower and
center areas of the band when more capacity is required
from the preselector.

5. The receiver tends to pick up more hum on 15 Meters
than on any other band. The hum levels on 15 Meters is
much less than those present on the HW~7.

RECEIVER CHECKS:

- Sensitivity: luv or less for 10 db S+NIN

Typical Sensihvity: 80 Meters - .5uv
40 Meters - .6uv
20 Meters - 7m;
15 Meters - .7uv
Selectivity: Wide - 750 HZ at 6 db down.
Narrow - 37S HZ at 6 db down.

A rough check of the wide and narrow BPF can be made by
tuning the receiver to a signal so that a high-pitched beat
noteI is heard in the wide position. Switdiing to the narrow
position should produce a noticeable decrease in the audio
output.

Service Notes

1. Poor Sensitivity: Poor sensitivity can be caused by either
Ql (Part it 417-169) or [Cl (Part it 442-96). Poor sensitivity
on one band only is usually caused by Q1.

2. 15 Meter Band Adjustments: The adjustments may be
more critical on the 15 meter band than on other bands. it
may be necessary to set the mixer coil, check the power out»
put ti: sensitivity and then reset the mixer coil. Check the
high 8: low end of this band and adjust coil L6 to bring

up the end that has the lower output.

3. Receiver Oscillates on the 80 Meter Band: When operat-
ing the transceiver at DC input voltages greater than 12.5
VDC, the receiver may oscillate at points throughout the 80
meter band. To correct this problem connect a 10 K ohm
resistor (Part at 1-9-12) across the 80 meter mixer coil L13.
This resistor is soldered to the coil terminals on top of the
circuit board. Install this resistor only when needed.

The receiver should not produce undesired oscillations
except at internal spurious frequencies listed in operating
characteristics -- when the DC input voltage is raised to as
much as 15 VDC.

26

mun"n"n11113.1;11nnnnnunnnnn 11111?"

Page 53

Win73) {m

lhc l l\V' ti llulnllmuk

The Modifications

Warm up the soldering irons! Listed below, and in no particular
order are some modifications to the HW-7, HW-8 and the HW-9.
Enjoy!

A word of caution: Not all of these modifications have been tried by the editors.
The fact that they appeared in print elsewhere indicate work, but there is no
guarantee, written or implied, to that effect. Second, there is some duplication in
the kinds of circuits (HIT, audio amplifier and conversions to other bands)
offered. Look them over carefully and pick the one which will best suite your
needs. Also, the installation of one mod might preclude the use of another mod.
Check the circuits and their possible effect carefully before proceeding.

Do only one modification at a time. Check the radio for proper operation before
installing another modification.

Fixing the main tuning vernier

Since the HW-B is almost 25 years old, the vernier drive for the main tuning may have dried out. If it has, then you risk
twisting the VFO capacitor apart if you tune into either end stop. Fixing the VFO capacitor is harder than a bag full of
jawbreakers! The best fix is to not rip out the VFO plates in the first place. To keep this from happening, you should
remove the vernier drive and relub it. The drive comes apart, but you first have to remove it from the HWSS chassis.
Once its out and in your hands, you can see how it unscrews. There's a set of ball bearings inside, so watch you dont
loose them when the two ends are removed.

Use some solvent to remove the old grease and other gunk that lives inside the drive. Then repack the drive with some
bicycle grease. This stuff won't ooze out and wont dry out either. Cheap, tool. Once you have reassembled the drive,
install it back into the HW-S. Youll be rewarded with a smooth tuming VFO again. If you find the vernier drive is shot,
then you can get a replacement from several sources.

Mike Bryce, WBSVCE
Covering HW-9 cabinet scratches

It's been my experience that the HW-9 cabinet and panel surfaces scratch easily. Quite by accident l discovered that
brown Kiwi Scuff Magic for cleaning up shoes will hide scratches and match the color well. 1 had several scratches on
my front panel above the dial and after application of Suff Magic I can no longer see them. Several coats applied and
rubbed with fingertips is the best approach.

Dick Mclntyre, K4BNI The QRI Quarterly, October 1990

53

Page 58

llir ll\\"r8 l l.|r|(llmult

Improved stability and dial calibration

The HW-S transceiver exhibits approximately 150 Hz drift in transmit and receive frequency when the supply voltage
varies over a range of 10 to 135 volts DC. This results in a CW chirp when using a poorly regulated supply, such as
weak batteries. Additionally, the VFO dial calibration is in error on all but the 7 MHZ band.

Most of the drift and chirp problem is caused by the heterodyne oscillator, Q6. The reverseebiased switching diodes in
the tuned circuits of all but the selected band exhibit a capacitance which varies with the supply voltage. This capaci-
tance essentially in parallel with the selected crystal, caused pulling of the oscillator frequency. This causes pulling of
the oscillator frequency. The solution is to regulate the supply voltage to Q6. The small amount of shift which still
remains after Q6 is stabilized is caused by the inability of the Zener diode (ZD-l) to stabilize fully the voltage for the
VFOi This can be corrected by replacing the Zener diode regulator circuit with a Motorola MC7808 three-terminal regu»
lator 1C.

The VFO dial calibration problem is a matter of fine tuning the V50 and HFO in accordance with the procedure
described here. The Heathkit procedure does not calibrate the frequency of the HFO; it also does not switch the offset
capacitor, C55, in during VFO calibration so that the dial will read transmit frequency.

Modification procedure:
Remove the following resistors:

1). R78, R81, R82, R84 R85, R87, R88 and R91.

2). Install a 7.5 volt l-watt Zener diode (anode lead to ground ) in the positions formerly occupied by R81, R844 R87 and
R91 (100K resistors).

3). Install 470 ohm 1/2 watt resistors in the positions formerly occupied by R78, R82, R85 and R88 (1 K).

4). Install a .01 uF, 25 VDC ceramic capacitor on the foil side of the main PC board. Solder one lead to the junction of R36
and the yellow wire which attaches to point "B." Solder the other lead of the capacitor to a nearby ground foil.

5). Remove 201 and R33 (470 ohms). Drill a 11/32 inch hole midway between the two holes from which R33 was
removed.

6). Install the MC7808 voltage regulator as follows:

7). Input B" lead to R33 hole which ties to 13.4 volts line. insert common "C" lead through the drilled hole and output
"E lead to R33 hole which ties to C52 and R3 (47 ohms).

8). Solder and clip the excess from the B" and E " leads. Slip a piece of insulation over the "C" lead and solder the lead
to a nearby ground toil. Be sure that it does not short to other foil leads.

Fine alignment procedure:

1). Make a pickup loop (this consists of a length of RG69 coaxial cable with a 2mm loop, one end soldered to the center
conductor and the other to the braid) and place it around L19- L21.

2). Connect the opposite end to the antenna terminals of a calibrated receiver capable of tuning 12 to 30 MHz. (Note: a
frequency counter may be use here also. The output of the HFO can be picked off at the emitter of Q2 preferably
through a .001 to .01 uF coupling capacitor. The pickup loop likely will not provide enough signal to drive the counter)
3). Press the 3.5 MHz bandswitch. Tune the calibrated receiver to 12.395. Adjust L17 (bottom slug) for zero beat.

4). Press the 7 MHz bandswitch. Tune the calibrated receiver to 15.895. Adjust L18 (top slug) for zero beat.

5). Press the 14 Mhz bands-witch, Tune the calibrated receiver to 22.895 MHZ. Adjust L19 (bottom slug) for zero 58
heat

199911111111111111111111111\11tt111111111111111:

Page 70

l lit l Vii l lumllmuk

Rigged for silent keying

Here is a modification which replaces the noisy antenna changeover relay with a silent, efficient and economical elec-
tronic transmit-receive switching device The circuit is a diode switch. During reception, diodes Di and D2 are forward
biased, and 03 is reversed biased, blocking the transmitter sinewave. D3, added insurance, becomes forward biased to
pass to ground any RF that might try to sneak through. D4 and D5 are back-to-back, the third insurance factor should
the other safety devices fail to protect the receiver. Transistor Q1 is a switch to ensure the proper bias voltage swing on
the diodes. During reception, about 2 volts are applied to the anodes of D1 and D2 and the cathode of D3. During trans-
mit, the anodes of D1 and D2 are at ground, while their cathodes are at 12 volts. This ensures complete reverse bias while
D3 is hard on during keying. The circuit is not difficult to build, even for the inexperienced. i used Vector board and
push-in terminals plus components from Radio Shack and Circuit Specialists. The RF chokes are "Micro Mite" molded
coils. i used the Miller 9310~0. This is a 15 uH choke with a Q of 65 at 2.5 Mhz. You also can make your own chokes out
of ferrite heads, but make sure the Q is sufficiently high so that output absorption does not occur.

lnstallation requires the drilling of a single hole in the HW~8. I mounted the T/R switch in the same manner as the audio
amplifier circuit board, using a one«inch metal stand-off. Refer to the HW-S Manual for directions on removing the top
and bottom chassis plates, which exposes the PC board and component sides of the board. I recommend you buy a roll
of de~soldering braid. This makes work a lot easier when it comes time to remove the antenna relay and change other
components.

Remove RYl. Then on the foil side of the board, install a 270 ohm resistor from point] to ground. This makes the collec-
tor Q13 "see" a load. that once was the. relay coil. Mount the T /R switch in the selected spot, as discussed above.

It's time to refer to the HW-B manual, Page 79, the X-Ray View of the main circuit board, and the schematic for the fol-
lowing:

Locate the now unoccupied solder land that was once the normally closed contact of RYl to the receive side of the T/ R
switch (D4, DS back-to-back diodes). Take the antenna wire from I302 and twist another wire around it. Pass them
through the solder land hole that once was normally open contact of RYl. (Hint: trace L to that point)

Solder the other end of that twisted wire to the transmit side of the T/R switch, Connect the 12 volt line from the T/R
switch to the "ON" side of SWSOI, the on-off switch. C305 is mounted there (.47 uF capacitor).

To install the keying line, solder a wire from point "I" to the keying line of the T/ R switch (the anode side of D6). One
more thing to remember: you must ground the T/ R circuit either though the metal stand-off or by attaching a wire to the
ground foil of the transceiver. This completes the T/ R switch installation. Check your wiring again, and get ready to try
it out.

Connect power, key. Turn on the rig and listen to all those signals barreling in! Connect a clip lead from the antenna jack
to the receive terminal of the T/ R switch. By shorting and unshorting the. T/ R switch, you should not hear an degrada-
tion of the incoming signals.

Enjoy the HW-8 for a while. Enjoy the silence of relay~lcss keying, until it becomes apparent that the audio recovery is
too slow. Not quite QSKl Fast audio recovery is the second phase of this project. To accomplish this, we must look at the
breakein delay and mute circuits to understand and correct the problem.

On page 76 of the HW-S manual, a discussion of the break-in circuit is given. Because there is no more relay, we can
decrease the delay that originally was built into the circuit to accommodate the relay.

I changed the value of C92 (10 mF) to 1 mF. To soften the keying, l placed a 0.47 mF' disc capacitor from the base to the
collector of Q1 1, the keying transistor. Place this capacitor on the foil side of the PC board.

The audio recovery rate is determined by the RC time constant associated with lC2C the audio amplifier, and C38 C39
and R27. With these values, the recovery rate is 2.7 seconds.

Because R27 is frequency independent, I elected to reduce its value to 500K ohms instead of reducing C38, as suggested
in Sprat. With this change, the recovery rate will be about 1.1 seconds. 70

WMJJLW \ 111H\\1i\'fi

Page 75

lhc l [44 l liinllmnl:
An Inboard active audio filter for the HW-8
Here is an easy way to add an active audio filter to the HW-S inside the chassis. You'll
need a single pole, four throw, non - shorting rotary switch and an MP) Model CWF -3 audio
filter out of its box. Mount the filter on the rear wall of the HW-S on 1 / 4 inch standoffs. Remove
SW 302 (the wide/ narrow switch from the front panel) and replace it with the rotary switch.
Disconnect the three wire cable running from the audio filter on the board to SW 302, and
scrap it along with SW302. The output for the new MFI filter is picked up at the narrow point
(HH). The old wide" point (11) is no longer is used, and the HW-8 stays wired for narrow
filtering at all times. Connect the rotary switch to the MFI filter as shown, with the steps reading
out, 180,110, and 80 going clockwise. This provides great selectivity and does not result
in boring any more holes in the HW-8 case or panel
Rich Arland, CSGU/KWHA
C
in ® 1', MFJ awn-5 15" 1,
221' ' C25 purse in AT sw 301
K it + 4 is may"
19 n- a I $P4T 20
11 213 j s I "or (QEPLACES SW 502)
221 m 3" , It
C-ZS . N a
1,. 22, I m i-- Ic 2 c 9'
#7 3
{WED

A variable drive control

This device allows the HW»8 transmitter output to be varied from zero to full power, without affecting either receiver
mixer injection or output loading. it is done by varying the bias on the driver transistor QB.

First, replace R52 (22K) with a 1.5K resistor. This was determined to be
the maximum amount of resistance for minimum output. Remove the
yellow jumper wire from point '"T" on the circuit board to pin 6 on the Yellow lumpgr
15 meter bandswitch. Afront panel~mounted, 10K pot is wired in its
place (see diagram). This pot can have a 518th-inch maximum diameter
and mounts below the meter and above the switch gang. A larger value
pot could be used, but it was found that 10K gave the best resolution.
That is, anymore than 10K will not result in greater output.

The recommended location for the pot seems best, since it affords the
shortest leads between point "T and the bandswitch. 1 did not try other
locations. and I suspect instability could occur with longer leads, as
there is RF as well as DC in the circuit.

I would suggest to anyone trying this modification that component val
ues be juggled, as I'm sure bias requirements for Q8 vary from unit to
unit. Another HW-B might require the full, original 22K of resistance.
John T. Collins, KN1H

75

Page 88

'l'hr HWVS Hamllmnh

Operation

Adjust the RH" control to zero position. Zero beat the transmitting station by tuning the VFO until an 800 Hz tone is
heard. Tune to the sideband at which the sideband switch is set, or proper zero beat will not occur. if increasing the VFO
frequency increased the pitch, the operator is tuned to USB. If decreasing the VFO frequency increases the pitch, the
operator in on LSB. Once "netted" or zero beat with the transmitting station, the operator can instantly copy the other
sideband with a flop of the sideband switch to avoid QRMA The RIT control can be adjusted to track the transmitting sta-
tion.

The R2 and R4 voltage divider sets the range of the RIT control. (with the specified value of R4, the RIT range is ~8OO
Hz.) This range can be increased by increasing the resistance of R4. R2 should be decreased by the same amount that R4
was increased in order to maintain the 10K total resistance of the two resistors.

Rulon VanDyke KA 7BCD

11.133331111113331!

SUPER RIT

II
22 K

In is
. l to
'1 Menu" on

"" 2 i . ,,

so K 112:1 i ioni- p

u I I lVIIZ

R7 1 f are n-

. m '00! 1:2 I " :
mu
P, x _ . ................................
. I01: noruozoono
v. <¢IMED on «(V Down
2": an; - ERRATA
to Tunu 'supor RIT for u HW-B'
0"? QUARTERLY. APRIL 1990
Loo 05.

Despite all me effort to alirnlnata
bugs from crooning into the anicia a
vicious bug wedged its way Into the
schematic and parts liot. - The
transistor bios resistor H6 ahouid be a
330 Kilohm instead of the 3.3 Kilohm
indicated In the schematic and parts
list. Proper transmit bias voltages
cannot be achieved at the collector of
01 with the original value of haul
resistance. This low resistance
changes the HSNRZ voltage divider
ratio by effectively adding a low
resistance in. parallai with VRZ.

58m HITCH

I deeply regret and apologize for
any inconvenience and frustration
created by this bug.

~ Rulon Vaanko. KA'IBCD

88

Page 99

l have an HW 8 that works fine except when I try to run it
at speeds faster than about 16 WPM. At faster speeds the
dits are run together, for example three fast dits are trans-
mitted as one long keyed element.

First, you need to check the adjustment of the break-in
delay control, trim pot R68 (50K) which, in series with R69
(1K), connects between the 13.4V bus and the collector of
012, and, through R71 (1010, to the base of 013: if this
trim pot is not set for higher speeds, or is out of specs (or,
if any associated resistors or other parts have drifted

out of specs - a common enough occurrence with older
Heathkits), then the break-in delay may be wrong and the
dots 6: dashes could run together at higher speeds.

R68 is located close to the rear of the pcb near the antenna
socket on the back panel, between the 4 crystals and the
relay. The manual doesn't say much about Setting this con-
trol, only (on p. 68, under "Operating Hints") to adjust it to
obtain the desired hold-time of the T/ R relay.

If that doesn't help enough, try the following fix, from a
writeup in the August 82 issue of Ham Radio Magazine,
[3. 60, 'The Ham Notebook column, by Robert Lewis,
W3HVK:

UNIlllllllllliibleJJJJlbfl

To paraphrase WSHVK:

When keyed at and above 25 wpm, the HW-S break'in
delay circuit had a long rf output decay time, even though
the sidetone sounded good. The parts involved were Q12,
R66 & R67 (4700 ohms each, C92 (10 ut), and keying tran-
sistor Q11.

If you look on your schematic, after the key is released
capacitor C92 discharges through Q12, causing Q11 to
remain in conduction (for 100 ms in the author's case).
This keeps the T/R relay in the xmit position for that long
after key-up « the time required for C92 to discharge is
controlled by trim pot R68.

The solution was to reconfigure Q12 to function as an
ordinary diode; then when the key is released, Q12 is
reversed biased, thus effectively disconnecting C92 from
the keying circuit.

llu- H\\"-8 l'l.imihnul.

Keying fix for the HW-8

Modification to accomplish this:

Leaving C92 as is, remove resistors R66 ii: R67; then sol~
der a jumper wire directly between the base and collector
of Q12. There will no longer be a connection from the base
of Q12. to ground through a bias resistor.

The author said this modification had no noticeable effect
on the break-in delay circuit or the setting of the delay
control.

73

John Farrington KESZB

Removing stuck coils in a
HW-8

You need an alignment tool that you are willing to part
with so that may not be a good thing to try. Still, there
may be. instances where drilling out a slug may not be
advisable. Put some epoxy on the end of the tool and
insert it in the broken slug. Wait for the epoxy to

cure and then back the slug out. Then you can look at the
dimensions and get another one from another coil. i saved
a bunch of old slugs so i would take one from the pile.

Gerald Lemay WIID

99

Page 100

l llll 124 l Lindlmok

HW-8 Keying Interface

I always thought the HW»8 keying line was a bit odd. It seemed that some keyers would work with the little rig while
others would not. What happened more than likely was the key line was never pulled completely to ground, making for
all sorts of problems. This little circuit modifies the key line so you can use ANYTHING to key the HW-7, HW-8 or the
HW79.

The circuit is really simple. in a nut shell, the key line for the HW rig is optically coupled via the 4N25 optocoupler 1C.
When the keyin line is pulled to ground, the, output of the 4N25 goes to ground. This turns on the PNP transistor, Q1.
When Q1 is on! it supplies gate drive to the HiFSlO power MOSFET. The MOSFET turns on and its drain lead goes to
ground. Since the gate lead is tied to the HW rigs key line, the radio keys. Diode D1 prevents any spikes from the T/ R
relay from cooking the MOSFET.

The interface steals power from the rig. Diode D2 prevents damage to the circuit in the event you hook things up back-
wards. Capacitors C1 and C2 provide some RF decoupling.

The entire circuit was built on a double sided PC board. The circuit board is then installed into the radio by using a
threaded standoff. You remove one of the mounting screw nuts. Screw in the standoff and then mount the PC board
widi the same nut you just removed. It should be clear, but the standoff must have a female on one end and a male on
the other end. I used a 3/4 inch standoff.

The necessary wires are connected to the PC board. The wire from the key jack is removed and attached to the PC board.
From Mike Bryce, WBSVGE

. mu m WEE-4%
Full 5121: PC board for the W3 Keying Interface 31 m S
mas o

100

31313313313333.13 3311333333333 3 33 3 33 333333333