Heathkit HW 100 Manual

This is the 112 pages manual for Heathkit HW 100 Manual.
Read or download the pdf for free. If you want to contribute, please mail your pdfs to info@audioservicemanuals.com.

Page: 1 / 112
left right
Heathkit HW 100 Manual

Extracted text from Heathkit HW 100 Manual (Ocr-read)


Page 1

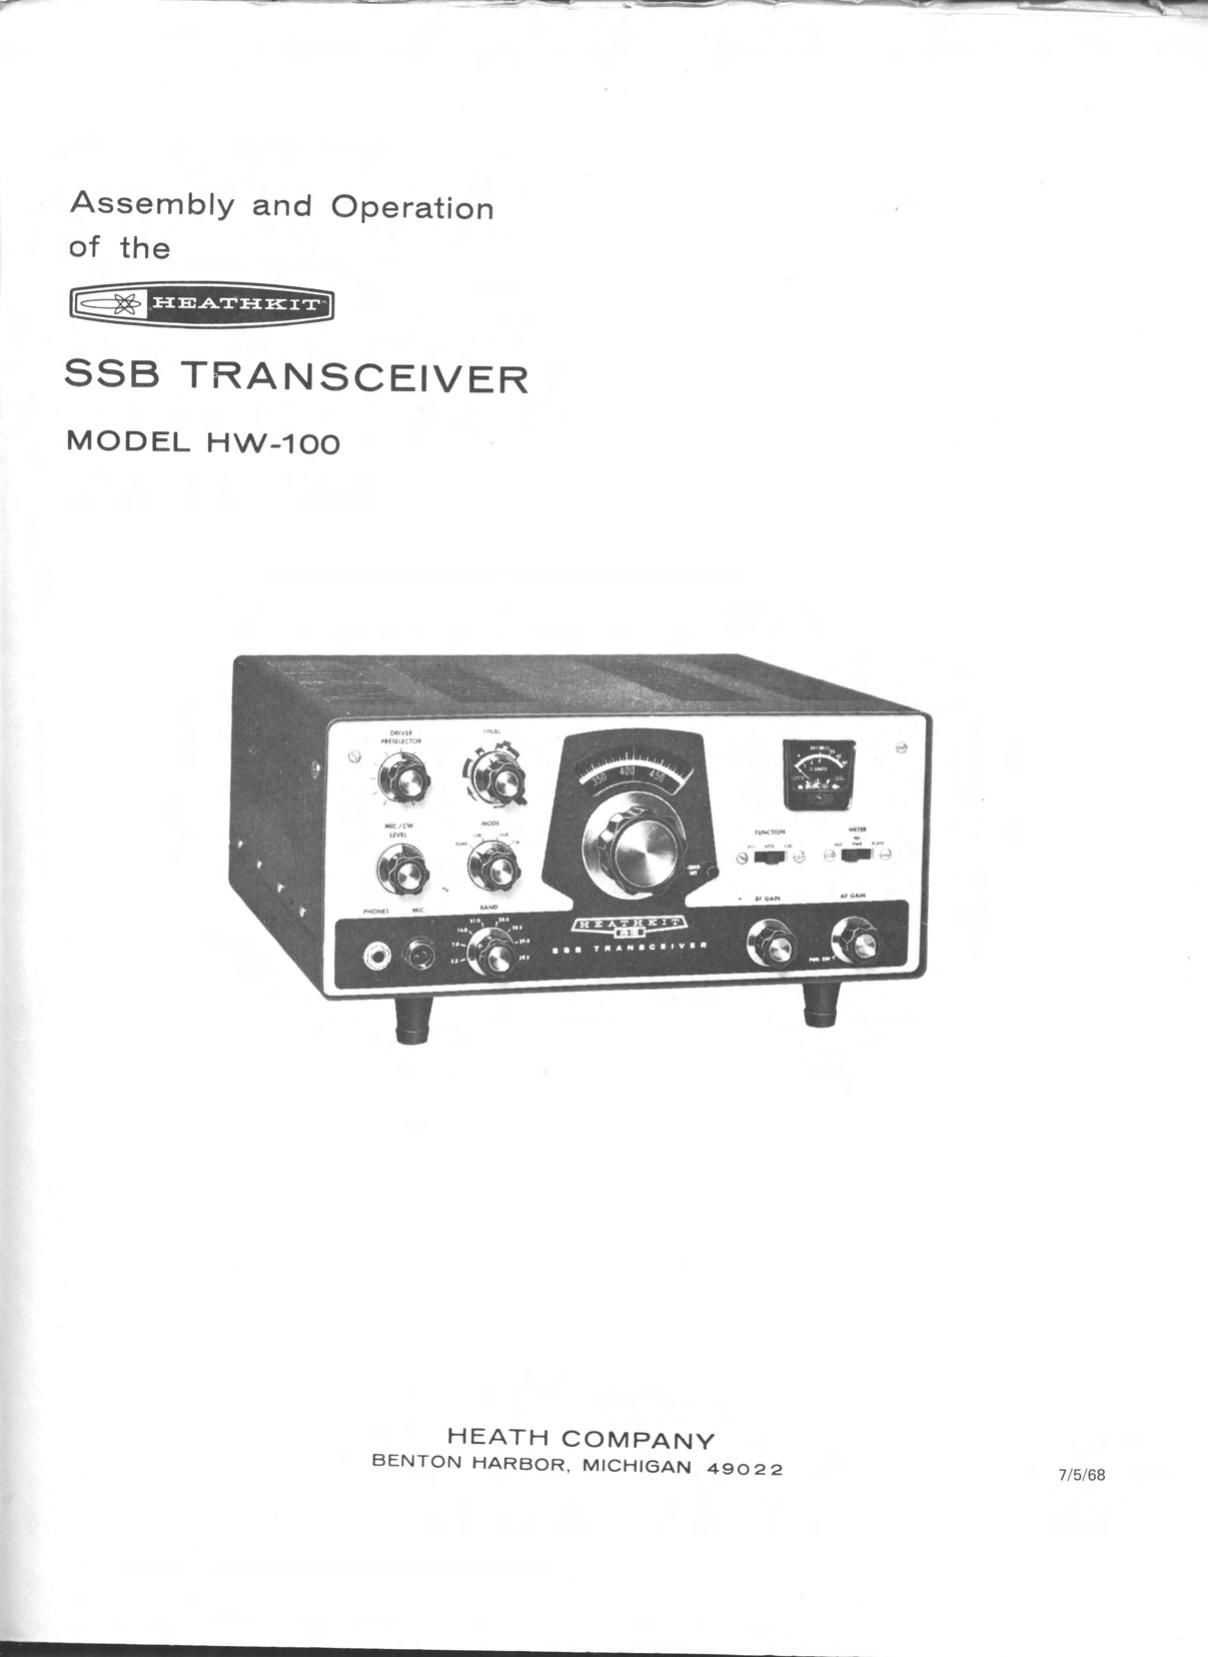
Assembly and Operation
of the

-HEATHKIT

SSB TRANSCEIVER

MODEL HW-1OO

HEATH COMPANY
BENTON HARBOR, MICHIGAN 49022 muse

Page 45

{@I

Be sure to read the Circuit Description so that
Cause-and-Effect" reasoning may be employed
as the search for the trouble progresses. If
some difficulty still persists after the steps
outlined in the Troubleshooting Chart have been
completed, try to localize the trouble to a par-
ticular stage in the circuit by using the voltage
and resistance charts. Then refer to the Block
Diagram and Schematic to visualize circuit re-
lationships.

An 11 megohm input electronic voltmeter willbe
needed to measure voltages. Most of the RF volt-
ages can be measured with the aid of an RF
probe.

A grid dip meter or wavemeter and a general
coverage receiver are ideal instruments for
checking operation of the RF circuits.

NOTE: If there is instability in the unit, check
all circuit board mounting screws. These screws
should be tight to the chassis and to the circuit
board. Be sure lockwashers are against the foil
side of the boards for good grounding.

The enclosed relays used in this unit should be
troublefree for years of normal use.

DO NOT REMOVE ANY OF THE TUBES OR
PILOT LAMPS WITH POWER APPLIED TO
THE UNITS. Because of the series-parallel
filament circuit arrangement, removing a tube
with power applied may destroy other tubes due
to an increase in filament currentthrough them.

RF Voltage Servicing

0n the Schematic at the end of this Manual, the
symbol CD encloses a number indicating the RF
voltage at that point. Most of these symbols are
found near the top of the Schematic, although
others will be observed near V16, the VFO out-
put, V198, and the antenna output.

Page 141

RF voltages are shown at the grid and plate of .
most tubes carrying RF so you can determine
whether the problem lies in the grid or theplate
circuit.

A Heathkit 11 megohm input voltmeter with a
Heathkit RF probe was used to measure the RF
voltages. However, the voltages to be expected
at the grids and in the output circuits of the final
stages exceed the 30 volt maximum reading of the
RF probe. Before applying the RF probe to these
points, turn the MIC/CW LEVEL control fully
counterclockwise, touch the probe to the meas-
urement point, and then turn the MIC/CW LEVEL
clockwise until a meter reading of 30 volts is ob-
tained. If this occurs, consider that the reading at
this point is satisfactory. It should be expected
that voltages will vary from Transceiver to
Transceiver. Crystal oscillator voltages will
vary considerably.

This procedure traces the RF signal voltage from
stage to stage. By this method, it is easy to iso-
late a problem stage so that steps canbe taken to
correct the trouble. You should start at the car-
rier oscillator and work through to the final, as
each stage is dependent on the previous stage.

Trace the RF up to the point it is lost; then back
up one stage. Should one or two bands be oper-
ating prOperly and the rest have difficulty, make
reference RF voltage measurements on one of the
operating bands and make comparison measure-
ments on the inoperative bands. In this way the
stage causing difficulty is quickly isolated.

Once the stage is isolated, steps can be taken to
correct the problem. Check for wiring errors,
intermittent solder connections, loose hardware
and bent switch contacts first; then lookfor weak
tubes, and last, for defective components.

VFO Troubleshooting

VFO troubleshooting instructions are included on
Page 150.

Page 50

Page 146 HEATHKIT

SYMPTOM POSSIBLE CAUSE

23.

Low relative power reading.

.

U0p>

MlC/ CW Level control set too low.
Transceiver not properly tuned.

Antenna shorted, or too low impedance.
Improper voltages to V8 or V9.

High relative power reading.

Antenna too high impedance.
Open-circuited antenna.

No RF output from second
transmitter mixer, regardless
of the Mode switch setting.
(First transmitter mixer ap-
pears to be OK.)

Check items 5A through 5C, 19A, 198, 22D,
and 22E.

No heterodyne oscillator injection signal
at cathode of V6. (Check items 33A through
33K.)

Coaxial cable connected between the band-
pass and driver plate circuit board open or
shorted.

Second transmitter mixer tube V6 defective.
Check item 253.

No output from first transmit-
ter mixer regardless of the
Mode switch position. (First
IF amplifier appears to be OK.)

Check items 19A, 19B, ZOE, 20C, 22D, and
22E.

No VFO output signal to cathode of V5
(pin 7).

First transmitter mixer tube VSA defective.
Bandpass filter T202 defective.

No RF output from first IF
amplifier, regardless of the
Mode switch position. (Isola-
tion amplifier output appears
to be OK.)

Check items 14A, 14C, 14D, 14K, 19A, and
19B.

No RF output from isolation
amplifier, regardless of the
Mode switch position.

Check items 203 and ZOC.

Resistors R18, R19, R23, R24, R937, and/or
R938 wrong value.

Transformer T1 misaligned or faulty.
Isolation amplifier tube V2 defective.
Carrier oscillator not operating. (Check
items 30B through 30E, and 318 through
31E.)

Page 66

HEATHKIT

Page 163

CARRIER

NULL
CONTROL

AUDIO

INPUT SIGNAL
FROM
CATHODE
FOLLOWER V I B

6/4
CARRIER

NULL

__

CAPAQTCR : LOOP?

YO ISOLATVON
AMPLIFIER VZ

INPUT SIGNAL

MODE

FROM
CARRIER OSCILLATOR
2F via

Figure 2-8

BALANCED MODULATOR (Figure 2-8)

Diodes CR1, CR2, CR3, and CR4, are connected
in a ring type balanced modulator circuit. When
the audio signal from cathode follower VlB and
the RF signal from carrier oscillator V16 are
applied to this balanced modulator, two additional
frequencies are produced: one is equal to the sum
of the audio and carrier frequencies; and the
other is equal to the difference between them.
These sum and difference frequencies are the
upper and lower sidebands; and only these
upper and lower sideband signals appear at the
output of the balanced modulator circuit.

The 3393.6 kHz LSB carrier oscillator signal is
applied through capacitor C16 and across a
bridge circuit that consists of the Carrier Null
control, resistors R15 and R17, anddiodes CR1,
CR2, CR3 and CR4 of the modulator diode ring.
The carrier signal is balanced out by the Carrier
Null control and the Carrier Null capacitor: so
there is no output signal from this circuit (until
audio signal is applied).

The audio signal that is coupled to diodes
CR1, CR2, CR3, and CR4 from cathode follower
VlB unbalances the modulator at an audio rate,
causing the sum and difference sideband fre-
quencies to appear at the output of balanced
modulator transformer T1. When no audio signal
appears at the input, there is no output signal
from the balanced modulator circuit. Capacitor
C15 is an RF bypass.

When the Mode switch is turned to the CW or
Tune position, wafer 2F connects one side of the
diode ring to ground. This ground connection un-
balances the nulled circuit and the unbalance
causes an RF output signal to be produced at
the secondary of balanced modulator transfor-
mer TI. This signal is then coupled through ca-
pacitor C22 to isolation amplifier V2. The sec-
ondary of transformer T1 is tuned to the CW
carrier frequency.

Page 72

HEATHKIT

Page 169

TO SCREEN OF V6

V7

5CL5
DRIVER

INPUT SIGNAL .
FROM V5

I

I
WI .4

I

NEUTRALIZING
CAPACITOR

I:
To cmo OF4b-4
v7 THROUGH L

V6 TANK CIRCUIT

CONTACTS :
7AND || OF
RELAY RL2


c917 01/5
I:
150 To -oc ,02
VOLTAGE
THROUGH :
moo: 030!

OUTPUT SIGNAL
TO GRIDS OF FINAL
AMPLIFIERS V5
AND V9

/
DRIVER /
PLATE /
BAND I

RFC SOI RECEIVED RF SIGNAL
ISHH (FOR RECEIVE MODE ONLY)

P l

.5}, a DRIVER

PRESELECTOR

Figure 2-16

FINAL AMPLIFIERS (Figure 2-19,fOId-out
from Page 171)

Final amplifier tubes V8 and V9 are connected in
parallel and function as class ABl linear ampli-
fiers. A fixed negative bias is applied to the
grids of these tubes through resistor R916
and choke L903. This bias limits zero-signal
plate current. 3+ is removed from the screen
grids under receive conditions, by lugs '7 and 11
of relay RLZ to reduce the plate current to
zero and cut off the tubes. RF driving voltage
is developed across RF choke L903. Plate
voltage is shunt fed through RF choke L901.

For the LSB and USB modes of operation, the
peak driving voltage is controlled by the Mic-
rophone level control (in the grid circuit of
V113) and the limiting action of the ALC (auto-
matic level control) voltage. This ALC voltage
is fed back to isolation amplifier V2 and IF
amplifier V3.

The output signal from V8 and V9 is coupled
through RF parasitic chokes L904 and L902 and
through capacitor C915 to the final tuning ca-
pacitor C925 and plate tank coils L905 and L906.
The parasitic chokes eliminate any tendency
toward VHF parasitic oscillation.

Wafer SE of the Band switch connects the proper
portion of the plate tank coil in the circuit for
each band by shorting out the unused section.
Wafer 5R also selects the proper combination
of final tank tuning and loading capacitors for
each band.

Neutralization of the final amplifier is accom-
plished by feeding a portion of the plate signal
back to the grid through neutralizing capacitors
C913 and C914, and across C801 in a bridge
circuit.

The output signal from the final tank coil is
coupled through lugs 8 and 12 of relay RLl
to the Antenna socket.

TO
C9I3