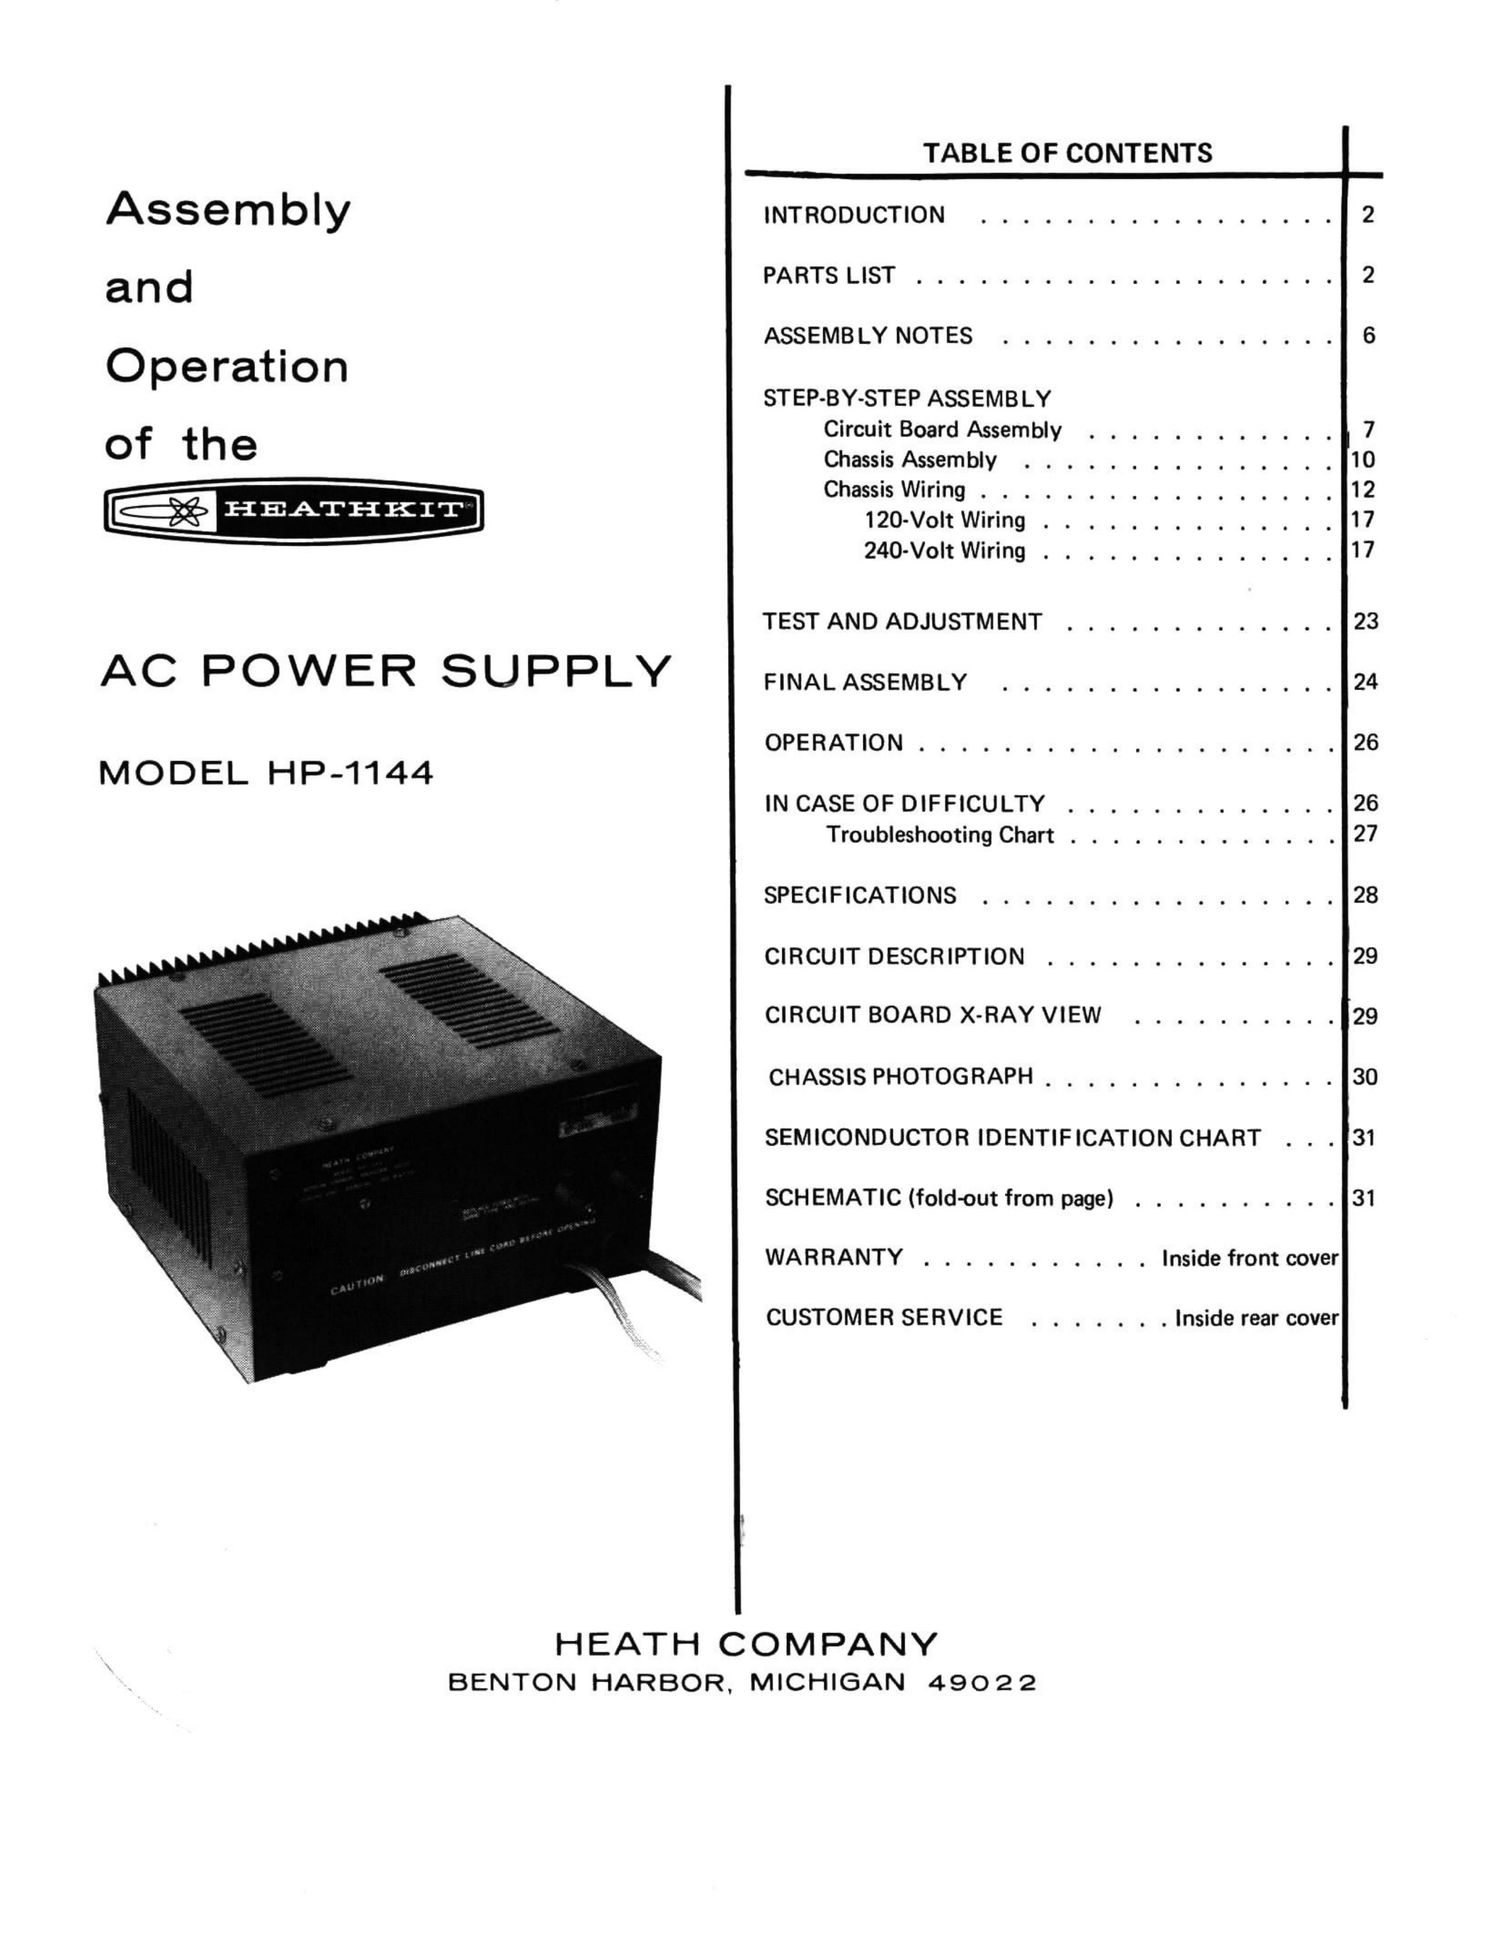
Heathkit HP 1144 Manual

This is the 33 pages manual for Heathkit HP 1144 Manual.
Read or download the pdf for free. If you want to contribute, please mail your pdfs to info@audioservicemanuals.com.

Page: 1 / 33
left right
Heathkit HP 1144 Manual

Extracted text from Heathkit HP 1144 Manual (Ocr-read)


Page 1

TABLE OF CONTENTS

ASSG m bly INTRODUCTION ................. 2

PARTS LIST .................... 2
an d

ASSEMBLY NOTES ................ 6
O pe ratIo n

STEP-BY-STEP ASSEMBLY

Circuit Board Assembly ............ 7

Of th e Chassis Assembly ............... 10

Chassis Wiring ................. 12
W 120-Volt Wiring .............. 17

240-Volt Wiring .............. 17
TEST AND ADJUSTMENT ............. 23
AC POWER SUPPLY FINALASSEMBLY ................ 24
OPERATION .................... 26
MODEL HP-1144

IN CASE OF DIFFICULTY ............. 26
Troubleshooting Chart ............. 27
SPECIFICATIONS ................. 28
CIRCUIT DESCRIPTION .............. 29
CIRCUIT BOARD X-RAY VIEW .......... 29
CHASSIS PHOTOGRAPH .............. 30
SEMICONDUCTOR IDENTIFICATION CHART . . . 31
SCH EMATIC (fold-out from page) .......... 31

WARRANTY ........... Inside front cover

CUSTOMER SERVICE ....... Inside rear cover

HEATH COMPANY
BENTON HARBOR, MICHIGAN 49022

Page 2

Page 2

-HEATHKIT1'

INTRODUCTION

The Heathkit Model HP-1l44 AC Power Supply provides
well-regulated, low voltage, DC power from an AC power
source. You can wire it to operate from either a 120-volt AC
or 240-volt AC 50/60 Hz power line and maintain regulation
within 2%.

This AC Power Supply was primarily designed to provide
+13.8 VDC for the Heathkit, Model 83-104 883
Transceiver. A cable and socket provide output power and a
series connection for the remote on-off switch on the
Transceiver.

The attractive, rugged construction and reliable performance
of this Power Supply will provide many years of dependable
service.

Refer to the "Kit Builders Guide" for complete information
on unpacking, parts identification, tools, wiring, soldering,
and step-by-step assembly procedures.

PARTS LIST

Check each part against the following list. The parts may
vary slightly from the illustration. Keep any part that is
individually packaged with a part number on it in its
package after you identify it until you actually use it. Some
parts are marked with a "171-" packaging number. These
numbers are used for packaging only and do not appear in
the Manual Parts List. Save all packaging material until
you locate all the parts.

Each circuit part in this kit has its own circuit component
number (R2, C4, etc.). Use these numbers when you want to
positively identify the same part in the various sections of
the Manual. These numbers, which are especially useful
when a part has to be replaced, appear:

- In the Parts List,

- At the beginning of each step where a component is
installed,

- In some illustrations,

- In the Schematic,

- In the sections at the rear of the Manual.

To order a replacement part use the Parts Order Form
furnished with this kit. If a Parts Order Form is not
available, refer to Replacement Parts" inside the rear cover
of this Manual. NOTE: Never use a "171-" packaging
number if you must order replacement parts; use only the
part numbers listed in the following list.

Page 6

Page 6

-HEATHKIT'
QTY. DESCRIPTION PART CIRCUIT PRICE
No. Component No. Each
Miscellaneous (cont'd.)
( ) 1 Terminal board 43167
( ) 1 Terminal strip 431-42
( ) 2 Transistor socket 434-189
( ) 1 11-pin socket 434-118
( ) 1 Socket cap 440-8
( ) Solder (Additional 3
rolls of solder can
be ordered under part
number 331-6 for $.25
each.)
PRINTED MATERIAL
( ) Blue and white label 391 ~34
( ) Parts Order Form 597-260
( ) 1 Kit Builders Guide 597-308

Assembly Manual (See
front cover for part
number.)

The above prices apply only on purchases from the Heath
Company where shipment is to a U.S.A. destination. Add
10% (minimum 25 cents) to the price when ordering from a
Heathkit Electronic Center to cover local sales tax, postage,
and handling. Outside the U.S.A., parts and service are
available from your local Heathkit source and will reflect
additional transportation, taxes, duties, and rates of
exchange.

ASSEMBLY NOTES

Before you start to assemble this kit, be sure you have read
the wiring, soldering, and step-by-step assembly information
in the "Kit Builders Guide."

Install components on the circuit board by following the
steps in Pictorials 1 and 2. Resistors are designated by
resistance values (in kfl) and color bands. Capacitors are
designated by capacitance value (in uF) and type (Mylar or

electrolytic). Read the entire step before you perform the
operation; then follow the instructions carefully. Position all
parts as shown in the Pictorials.

SAFETY WARNING: Avoid eye injury when you clip off

excess loads. We suggest you wear glasses or at least clip the
leads so the ends will not fly toward your eyes.

Page 28

Page 28 l-HEATHKIT:

SPECIFICATIONS

Output Voltage ..................... 13.8 VDC regulated.
(Adjustable from approximately 11 to 16 VDC.)

Maximum Output Current ................ 20 amperes, intermittent,
8 amperes continuous.

Transistor Integrated Circuit

and Diode Complement ................. 2N3643 transistor.
2N3055 transistor.
40411 pass transistor (2).
MFCGOBO regulator IC.
1N4002 silicon diode.
MDA990-2 bridge rectifier.

Power Requirements .................. 110 to 130 VAC, 6 amperes; or 220 to 260 VAC, 3
amperes, 50/60 Hz maximum.

Dimensions ....................... 5-1/2" high x 9-1/4" wide x 10-1/4" deep.
Regulation ....................... Less than 2% from no load to 20 amperes.
Ripple ......................... Less than 1% at 20 amperes.

Fuses ......................... 7-amp, 3A6, slow-blow primary.

20-amp, 3AG, output.

Net Weight ....................... 23 lbs. (10.4Kg).

W

The Heath Company reserves the right to discontinue
products and to change specifications at any time without
incurring any obligation to incorporate new features in
products previously sold.