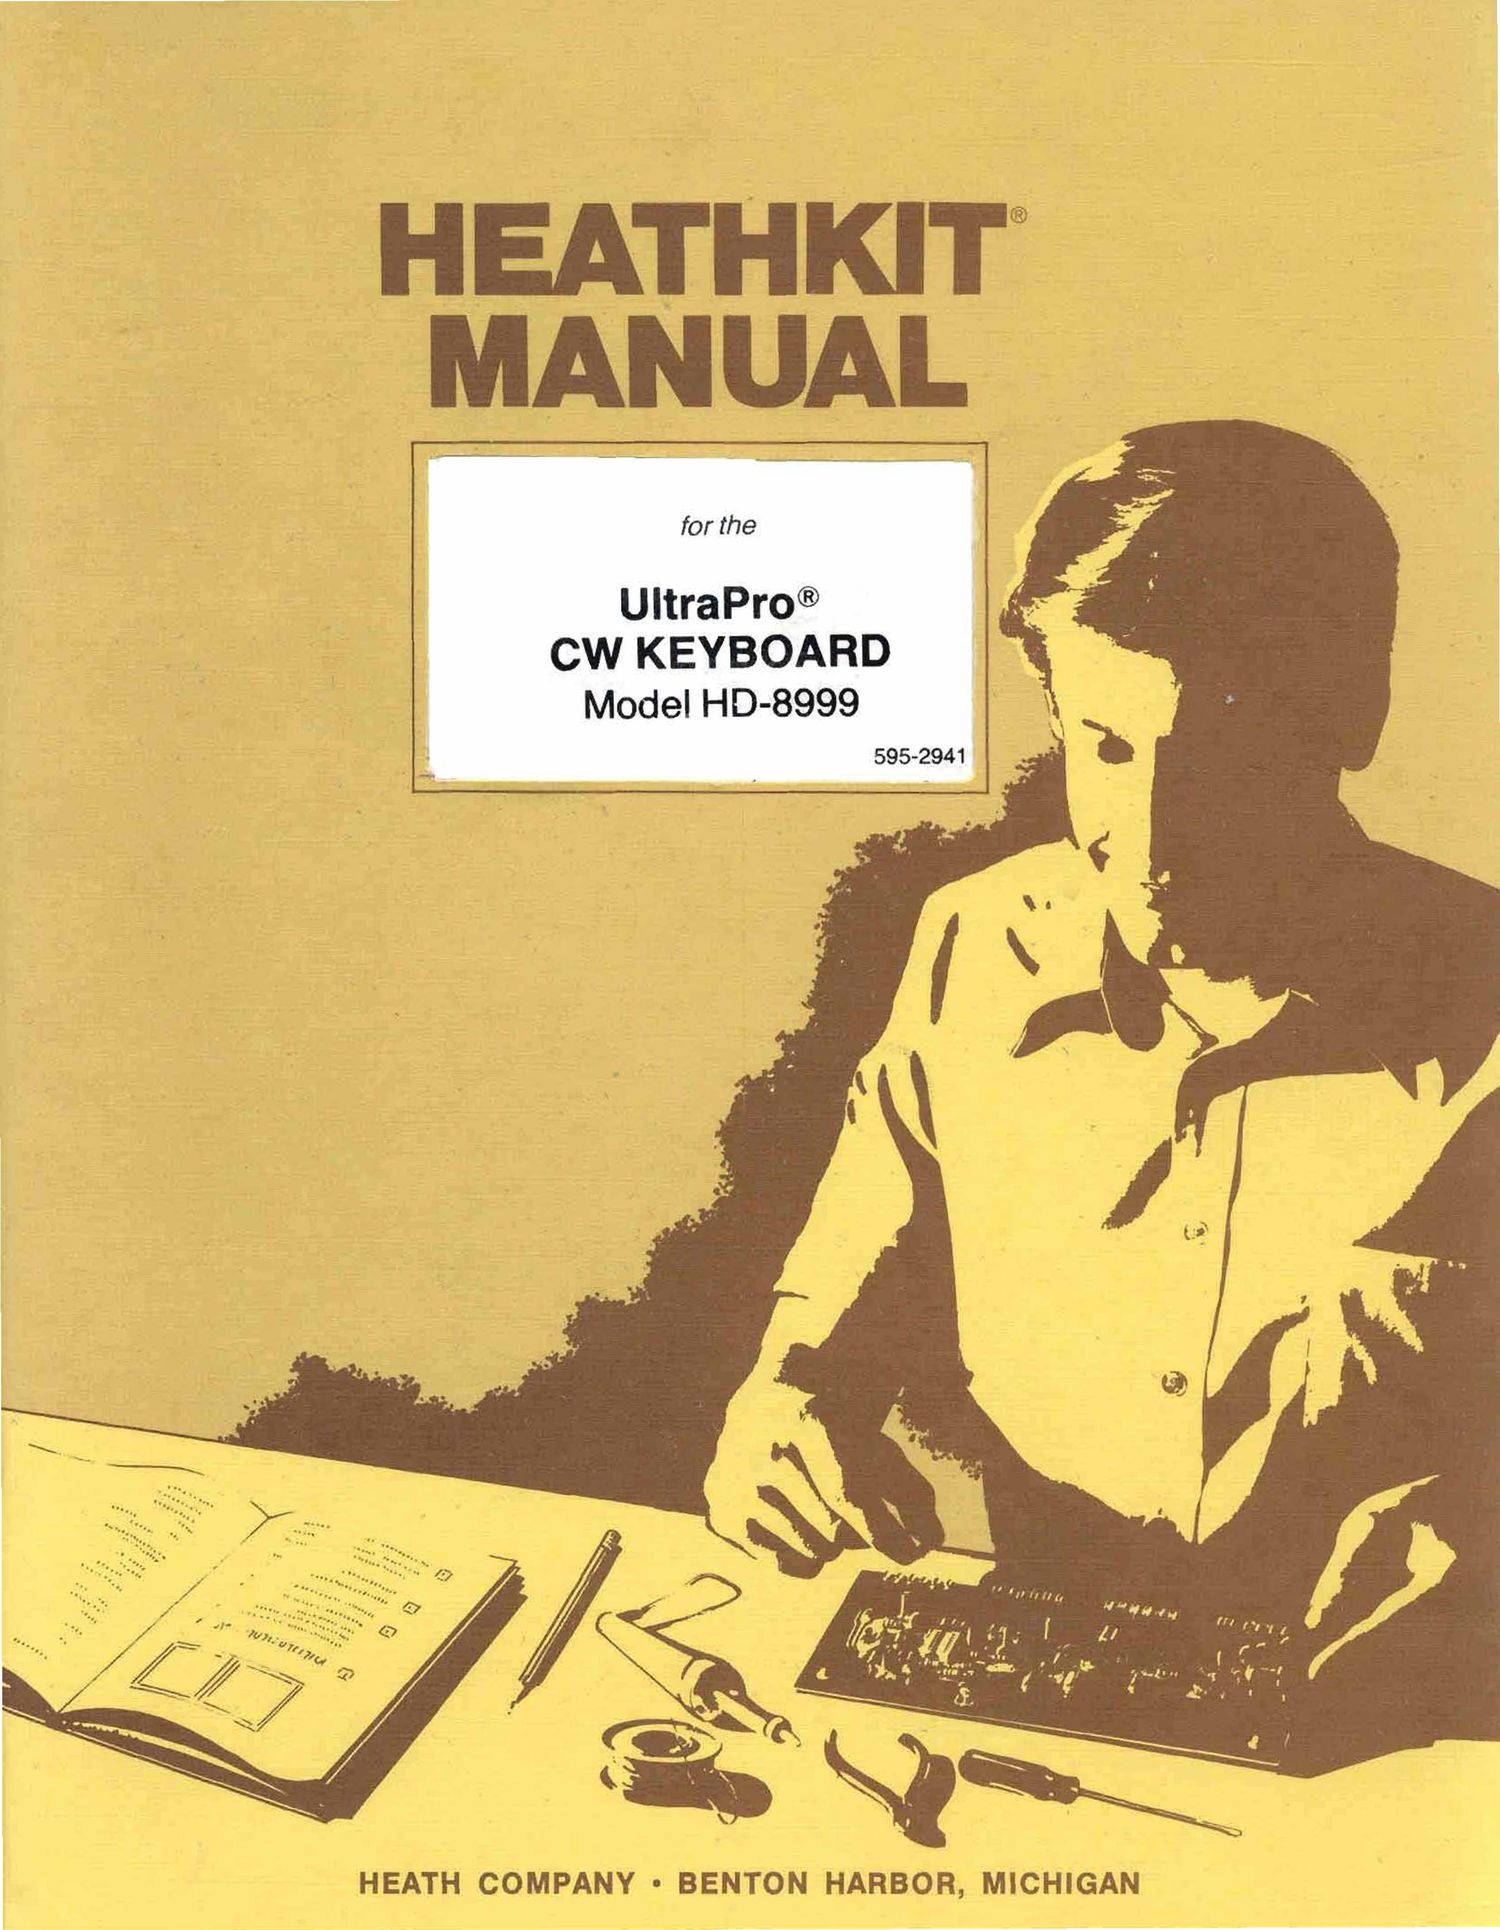
Heathkit HD 8999 Manual

This is the 107 pages manual for Heathkit HD 8999 Manual.
Read or download the pdf for free. If you want to contribute, please mail your pdfs to info@audioservicemanuals.com.

Page: 1 / 107
left right
Heathkit HD 8999 Manual

Extracted text from Heathkit HD 8999 Manual (Ocr-read)


Page 1

HEATHKIT®
MAW-

HEATH COMPANY - BENTON HARBOR, MICHIGAN

Page 2

HEATH COMPANY PHONE DIRECTORY

metebpmnemmbersamdirectiheebbiedepammnta'ilsied: TWAsslsmPhoneNuma
8:00A.M.t012RM androoPM r0490'P,.M. EST. Weekdayaery
Knorcorsaricdoiivoryinrormarion .................... (616) 932-341 1. File, Audio andE'lecironicOrgans ----- . ........... (616) 982-3310
Credit ...... ........................ ..... (among-3561' Amateurnadio .» .................... - . (616)982-3298
HeplecementParta ...... . ....... . ....... .(eieieez- 4571' Test Equipment Weaflierlmmnisand
HomeOloclis ..... ...... ..... (616)982-3315
Television- ...... (orewez-aabv
Aircratt. Marine. Security. Scanners. Automotive.
AppliancesandGeneral Products. ......... (618)982-3496
Gomputers Hardware ..... (616)982-3309
Computers-Schware:
OperatingSysiema. Languages Utilities (618)982-3890,
, ApplicationProgramoW ..... ................(616)962-3834
Hoorrrcrariwoodwm ........ ..._(616)982~3423


WWII

YOUR HEATHKIT 90-DAY LIMITED WARRANTY

Consumer Protection) Plan tor Heathlrlt Consumer Prpducte

Welcome to the Heath larriily. We believe you will enjoy assembling your kit .and will be pleased with its
pertorrriaricé. Please read this Consumer Protection Plan caretuily. it is a' 'LJMITED WARRANTY" as
defined in the U. 5. Consumer Product Warranty and Federal Trade Commission improvement Act; This
warranty gives you specific legal rights. and you may also have other rights which vary trorri [state to state.

Heaths Responsibility

PARTS- --Flapla_cemenis tor iactory detective parts will be supplied tree tor 90 days trom data at purchase. Replacement part: are
warranted tor the remaining portion oi the Original warranty period You can obtain warranty parts direct item Heath Company by writing
or telephoning Us at (616) 982-3571 And we will pay shipping charges to get those parts to you. anywhere in the world.

02
C52;
7 - " SERVICE LABOB- for a period at 90 days lr'qrn the date at purchase any maiiurtction caused by delectlveparta orerror In design Mil
" be corrected at no charge to you. You must deliver the unit at your expense to the Heath lectory. anyHeaihiu'i Electronic Center (unite oi
Veritoel-inology Electronics corporation) or any at our authorized oversees distributors.
8S
0?
8?

TECHNICAL CONSULTATION- You will. receive tree consultation on any problem you might encounter in the assembly oruee oi your
Hoathlrltproduct Juetoropuaailneorgiireuaacaii sorry; wecannotacceptcollactcelis:

NOT COVERED- The correction at assembly errors. adiuctrnents calibration. and damage due to r'rileuse abuse or negligence are
not covered by the warranty. use at corrosive Solder and/or the unouihorizert modificaum ol the procuct or at any turniahed componen.

will void this warranty In its entirety. This warranty does not include reimbursement tor moo-wenience. lose at use; customer assembly.
set-up time. or unauthorized service

This warranty covers only Heath products and is not extended to other equipment or components that a customer uses in coniunctlon with
our products.

SUCH REPAIR AND REPLACEMENT SHALL BETHE- SOLE REMEDY OF THE CUSTOMER AND THERE SHALL SE NO LIABILITY
,ON .THE PART OF HEATH FOR ANY SPECIAL. INDIRECT. INCIDENTAL OR CONSEQUENTIAL DAMAGES. INCLUDING BUT NOT
g LIMITED TO ANY LOSS OF BUSINESS OR PROFITS WHETHER OR NOT FORSEEABLE

Sornestetesdo not allow the exclusion or limitation oi incidental or consequential damages. so the above limitation or exclusion may not g

. apply to you. .2
« Owner's Responsibility

«.J
EFFECTIVE WARRANTY DATE - Warranty begins on the date oi first consumer purchase. You must supply a copy at your prool oi 2.,o
purdiaao when you request warranty senrice or parts. ~20

Heathldt service agencies cannot complete aeeornbly and adrustments that are customer a responsibility.

gs: ACCESSORY EQUIPMENT- Pertormance malfunctions involving other non~Hoalh accessory equipment. (antennae audio compo-

ASSEMILV- aororo abetting warranty Service. you should complete the assembly by carefully loilowing the mantle! instructions g

home computer peripherals and soliware. etc.) are not covered by this warranty and are the Owners rewonsibitity.

SHIPPING UNITS- Follow the packing instructions published in the assembly manuals Damage due to inadequate pecking cannot be
repaired under warranty.

it you are not solicited with our service (warranty or otherwise) or our products. write directly to our Director or
Gustomer' Service Heath company. Benton Hwb'or Ml 49022 He will make certain your problems receive
immediate. personal attention.

I iWWWWWWMIMIIIIIIIiiiiiiiiiiiiiiiiiiiiiiimg

Page 4

-__.______ Heathklt
TABLE OF CONTENTS
INTRODUCTION -------------------------- 3 Operation ................................ 62
Summary of Commands ................ 72
UNPACKING .............................. 4
IN CASE OF DIFFICULTY ................. 73
ASSEMBLY NOTES ------------------------ 5 General .................................. 73
Troubleshooting Chart ..................... 75
DISPLAY CIRCUIT BOARD ................. 9
Parts List --------------------------------- 9 SPECIFICATIONS ......................... 77
Step-by-Step Assembly .................... 10
CIRCUIT DESCRIPTION .................... 79
MAIN CIRCUIT BOARD ................... 15
Parts List ................................ 15 CIRCUIT BOARD X-RAY VIEWS ............ 83
Step-by-Step Assembly .................... 18
SEMICONDUCTOR IDENTIFICATION
CHASSIS --------------------- - ---------- - 33 CHARTS .............................. 85
Parts List ................................ 33
Step-by-Step Assembly -------------------- 35 SCHEMATIC ......................... Fold-in
INITIAL TESTS --------------------------- 51 WARRANTY ............... 'Inside front cover
FINAL ASSEMBLY ------------------------ 57 CUSTOMER SERVICE ........ Inside rear cover
INSTALLATION AND OPERATION ......... 59

Installation ............................... 59

Page 25

Heathkit 9°23

STA RT-

( ) Mount the battery contacts at
their holes in the circuit board.
Use 2-56 x 1/4" screws. #2 lock-
washers. and 2-56 nuts. Be sure
to position the contacts as
shown.

2-56 X 1/4"
SCREW

BATTERY

9%)
( ] (L5: 2200 ptF electrolytic. Place a
3/4" length of sleeving on each
lead and bend the leads against
the ends of the capacitor. Match
the positive [+) mark on the
capacitor with the positive [+1
mark on the board or match the
negative (-l mark on the
capacitor with the negative [-1
mark on the board. Insert the
leads into their holes. solder the

leads to the foil. and cut off the

excess lead lengths.

E0 {or
BOGARO POSITIVE m MARK

/ KEEP CAPACITOR
ovgatoct OFBOARD

NEbATlVE t-l MARK
6/3

it?

3/4" SLEEV ING


"_ v

5;
0t
QUHUDSDU
O:

Q

m


( ) R21: 100 k!) control. Push the
control tight against the board
and solder the pins to the toil.

( ) Yl: 3579.545 kHz [3.579545
MHZ) crystal (#404-238). Cut
two 518" lengths of foam tape.
Then remove the paper backing

from one side of each piece and

press the tape onto the crystal.

See Detail Z-BA. Remove the

paper backing from the other

side of the foam tape. bend the
crystal leads down, start the
leads into their holes. and press
the crystal onto the board. Sol-
der the leads to the toil and cut
off their excess lengths.

( ) Set the circuit board aside tem.
porarily.

O y. 1/2 3A 1 tmcnes>

|:°1°:°13:°1:°,l . tfi 1. l

lIvv'TYVTV] 1 l f

051(CM)2 a a

Page 45

Heathkif

(

)

C103: Refer to Detail 3-1M and install a male
terminal pin on the end of the short lead of
a prepared .001 F ceramic capacitor and the
violet cable wire.

C104: Similarly, install a male terminal pin on

the end of the short lead of the remaining pre-

pared .001 uF ceramic capacitor and the blue
cable wire.

VIOL

GRY /

Page 43

Position the main circuit board into position
on the chassis. Position the 8-wire cable flat
and down against the circuit board and near
the rear of the chassis. The cable must not
cover the small hole in the rear of the chassis
or you will not be able to adjust control R21.
which is mounted on the rear of the main cir-
cuit board.

MALETERMINAL
/ , PIN
c

L BEND OVER

)4 BARE WIRE

ENDS
2. SOLDER

(' 7 C104

2- w, i-
ks

D

Detail 3-1M

Page 56

Page 54

Again disconnect the positive voltmeter lead
from the chassis and connect the negative lead
to the chassis.

( )

Touch the positive voltmeter lead to the emit-
ter (E) of transistor Q18. The voltage should
be between 4.75 and 5.25 volts.

POSSIBLE CAUSE

1. Integrated circuit U11 incorrectly in-
stalled.

2. Diode D21 or D22 incorrectly in-

stalled.

( )


l ]

Unplug your power source from the POWER
socket on the rear panel and push the OFF/ON
switch on the rear panel to OFF. The voltage
at the emitter (E) of transistor Q18 should drop
to approximately 4 volts.

Reset switch incorrectly wired.
Diode D23 incorrectly installed.

Battery B1, B2, or Ba incorrectly in-
stalled.

( ) Reconnect the power source to the POWER

socket on the rear panel.

Push the OFF/ON switch on the rear panel to
ON. Then touch the positive voltmeter lead
to the collector (C) of transistor Q18. The volt-
age should be between 4.75 and 5.25 volts.

POSSIBLE CAUSE

1. Transistor Q17 or Q18 incorrectly
installed.

Heathkit

( ) Push the OFF/ON switch on the rear panel to

(

)

OFF. The voltage at the collector [C] of transis-
tor Q18 should drop to 0 volts.

Unplug the power source from the CW
Keyboard.

Refer to Pictorial 4-2 (Illustration Booklet, Page 12]
for the following steps.

Install integrated circuits in the main circuit board
as follows (refer back to Detail 4-1A on Page 52, if
necessary).

L } U8:74LSS77[#443-1110).

(

1

U4: 5101 (#443-933}.

U5: 5101 (#443-933).

U6: CD4023UBE [#443-887).
U2: 5101 (#443-933}.

U3: 5101 (#443-933).

U7: 74L8138 (#443-877].

U1: MK3870 (#444-186).

OPERATIONAL CHECK

[ ) Reconnect the power source to the CW Key-

board. Then push the OFF/ON switch on the
rear panel to ON. All except two of the seg-
ments of the LED bar should light briefly and
then go out. After a couple of seconds, the dis-
play should indicate 20. NOTE: Four built-
in diagnostics have just been performed on the
microprocessor and CMOS RAM. The 20 in-

dicates that the keyboard is set to a speed of
20 WPM.