Heathkit HD 1481 Manual

This is the 38 pages manual for Heathkit HD 1481 Manual.
Read or download the pdf for free. If you want to contribute, please mail your pdfs to info@audioservicemanuals.com.

Page: 1 / 38
left right
Heathkit HD 1481 Manual

Extracted text from Heathkit HD 1481 Manual (Ocr-read)


Page 1

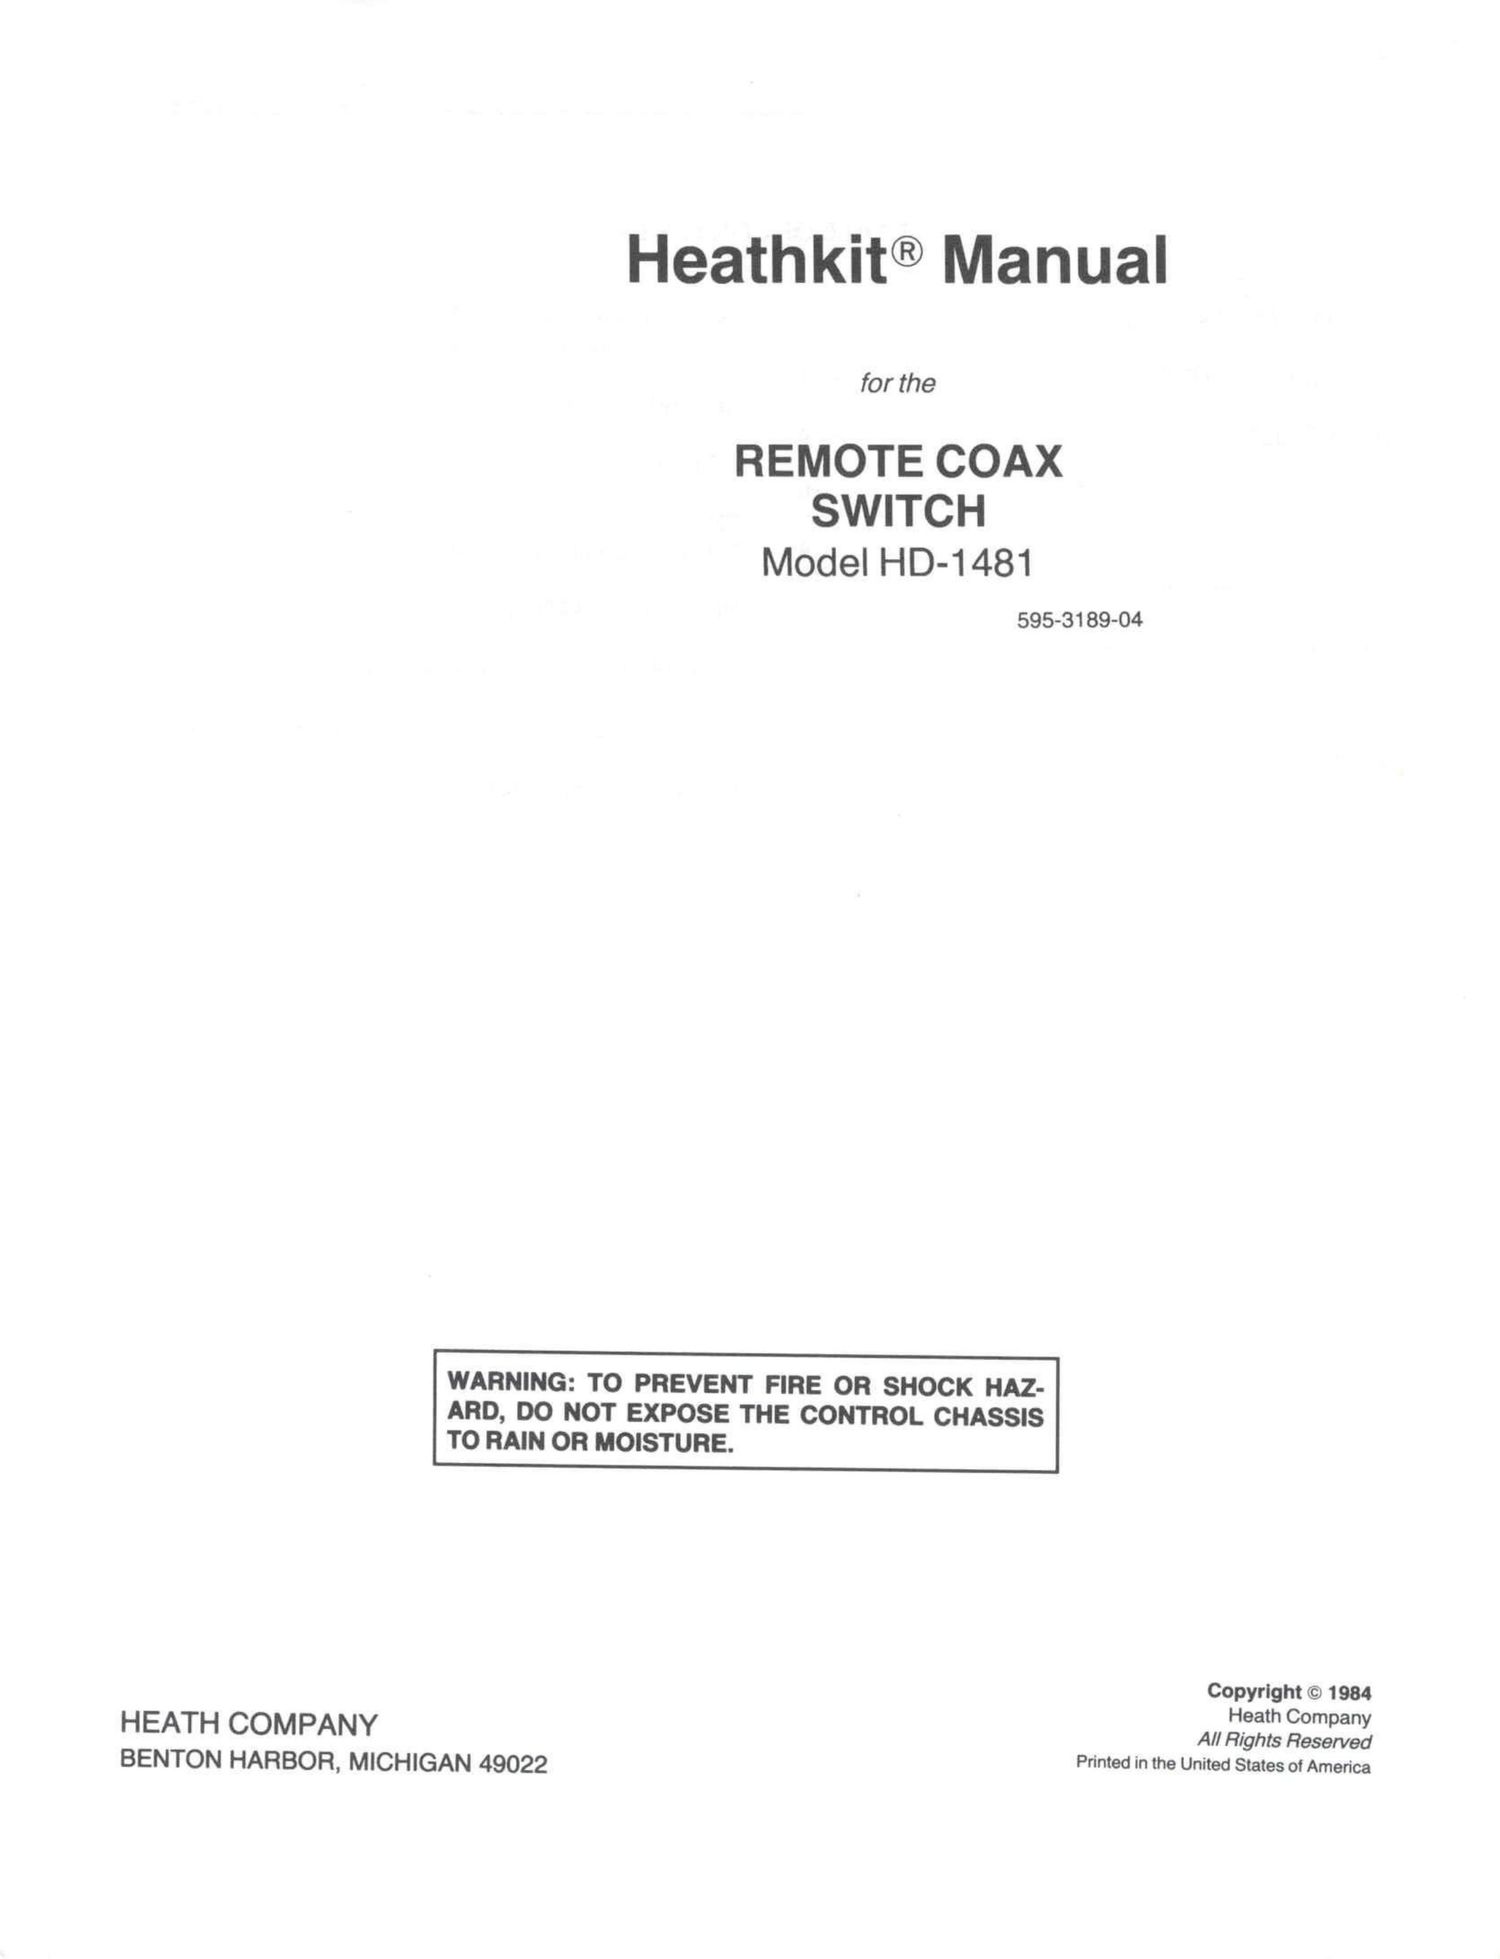
Heathkit® Manual

for the

REMOTE COAX
SWITCH
Model HD-1481

595-31 89-04

WARNING: TO PREVENT FIRE OR SHOCK HAZ-
ARD, DO NOT EXPOSE THE CONTROL CHASSIS
TO RAIN OR MOISTURE.

Copyright © 1984
Heath Company

HEATH COMPANY All Rights Reserved
BENTON HARBOR MICHIGAN 49022 Printed in the United States of America

Page 2

Page 2

. @
Heathklt
TABLE OF CONTENTS

INTRODUCTION --------------------------- 3 IN CASE OF DIFFICULTY ................. 28
Troubleshooting Chart ................. 29

ASSEMBLY NOTES ........................ 4
SPECIFICATIONS ......................... 30

PARTS LIST .............................. 8
CIRCUIT DESCRIPTION .................... 31

STEP-BY-S'I'EP ASSEMBLY ................ 10

Circuit Board .................... 10 SEMICONDUCTOR

Remote Unit ..................... 14 IDENTIFICATION CHART .................. 32

Control Unit ..................... 15
CIRCUIT BOARD X-RAY VIEW ............. 33

INITIAL TESTS ........................... 23
SCHEMATIC ...... (Illustration Booklet, Page 7)

FINAL ASSEMBLY ........................ 25
WARRANTY ............... Inside front cover

INSTALLATION .......................... 26
CUSTOMER SERVICE ........ Inside rear cover

OPERATION ............................. 27

Page 6

Page 8

Heathkit®

PARTS LIST

Check each part against the following list. Return
any part that is packed in an individual envelope
back to the envelope after you identify it. Keep these
parts in the envelopes until they are called for in
an assembly step. Do NOT throw away any packing
material until you have accounted for all the parts.
The key numbers correspond to the numbers on the
Parts Pictorial (Illustration Booklet, Pages 1 and 2).

KEY HEATH QTY. DESCRIPTION CIRCUIT
No. Part No. Comp. No.
RESISTORS

1/2-Watt

NOTE: The following resistors have a 5% tolerance (gold
fourth band).

A1 1-37 1 2.2 M11 (red-red-grn-sllver) R101

A1 3-132 1 1300 n (brn-gry-red) R102

A1 6-155 4 1.5 M!) (brn-grn-grn) R1 , R2.
R4, R5

Other Resistor

A2 315-5 1 75 n. 5-watt. 10% R103

wire-wound

CAPACITORS

Ceramic

B1 21-303 2 25 pF ca. C5

B1 21-71 2 .001 01: C104, C105

B1 21-321 3 4700pF C101, C102.
C103

31 21 -1 3 1 .01 0F 02

31 21-33 3 .02 31: C1, C106,
C107

Electrolytic

32 25-332 2 22 0F C4. 03

To order a replacement part, always include the
PART NUMBER. Use the Parts Order Form fur-
nished with this kit. If a Parts Order Form is not
available, refer to Replacement Parts inside the
rear cover of this Manual.

KEY HEATH QTY. DESCRIPTION CIRCUIT
No. Part No. Comp. No.
DIODES-LED
C1 57-27 4 1N2071 diode D1. 02,
0102. D103
CZ 412-633 1 Light-emitting D101
diode (LED)
OTHER ELECTRONIC PARTS
01 45-6 1 8.48 pH RF choke L101
02 45-4 2 1mH RFchoke L1,L102
03 54-1031 1 Power transformer T101
D4 60-2 1 Slide switch SW101
05 63-1398 1 Rotary switch SW102
06 69-85 2 Relay RY1, RY2
07 421-26 1 1/8 ampere slow- F101
blow fuse
INSULATORS
E1 75-52 1 Slide switch insulator
E2 75-182 1 Strain relief
E3 75-743 1 Insulating paper
TERMINAL STRIPS
F1 431 -81 1 6-Iug terminal strip
w/ two mtg. feet
F2 431-86 1 6-lug terminal strip
w/ one mtg. foot
F3 431-609 1 S-lug terminal strip

Page 13

Page 16

D101: Refer to Detail 2-18 and use the follow-
ing procedure to mount the light-emitting
diode (LED, #412-633) onto the front of the
control chassis at D101:

1. Position the insulating paper as shown.
Note that the hole is closer to one side

of the insulating paper than it is to the
other.

2. Carefully peel the backing paper from
the insulating paper. Position the in-
sulating paper and the LED as shown ;
then push the LED leads all the way into
the hole. Note that the LED has a short
lead and a long lead.

3. Start the LED into hole D101 in the front
of the control chassis so the side of the
paper that is closest to the hole is toward
the bottom of the chassis and the long
lead of the LED is toward the mounting
hole for switch SW102. Then press the
insulation paper onto the inside of the
front panel.

4. Cut each LED lead to 3/8.


@-


INSULATING:

NARROW
SPACE

L 9 N G L E A D s19 /%
.1}?!- \

\
REMOVE PAPER

/BACKING

Heathkif

Position the slide switch insulator next to the
slide switch so the holes in the insulator line
up with the corresponding switch lugs. Then
carefully push the insulator all the way onto
the switch lugs. Carefully bend each of the two
center lugs outward slightly.

Position the switch bracket as shown. Then
mount the slide switch onto the bracket with
two 6-32 x 1/4" screws. Center the switch
lever in the rectangular cutout before you
tighten the screws.

SW101: Mount the switch bracket with slide

switch at E. Use two #6 X 3/8 sheet metal
screws.

Move the switch lever back and forth to make
sure it moves freely. If it does not, remove the
bracket from the chassis. loosen the two 6-32
X 1/4" screws. and reposition the switch as
necessary. Then remount the switch.

DlOl

LED

\

\

CONTROL
CHASSIS

/

Detail 243

Page 15

Page 18

POWER
TRANSFORMER


3-1/2" RED

3/8"

Detail Z-lD

CAUTION: When you remove the insulation from
the end of each transformer lead, hold the lead be-
tween the transformer and the lead end. Otherwise,
you may pull the lead out of the transformer.

( ) Refer to Detail 2-1D and cut the power trans-
former leads to the indicated lengths. Measure
the leads from where they exit the transformer
body. Then remove 3/8 of insulation from the
end of each lead.

( ] Mount the transformer to the chassis at T101
with 6-32 x 3/8" hardware. Be sure the red
leads coming from the transformer are toward
rotary switch SW102 as shown in the Pictorial.

Heathkif

3-3/4"

3/8' 3_1/4.

meeeo
. l LEAD LINE cono

Ea/4%;

MIDDLE LEAD
SMOOTH LEAD

Detail 2-2A

Refer to Pictorial 2-2 (Illustration Booklet, Page 4)
for the following steps.

NOTE: When a step directs you to prepare the end(s)
of a stranded wire (or lead), first cut the wire to the
indicated length and remove the indicated amount
of insulation from the wire end. Tightly twist to-
gether the fine strands at the end of the wire. Then
melt a small amount of solder on the wire and to
hold the strands together.

[ ) Refer to Detail 2-2A and use the following pro-
cedure to prepare the free end of the line cord:

1. Separate the three line cord leads for a
length of 3-3/4, if this has not already
been done.

2. Cut the free end of both the ribbed and
the smooth line cord leads to 3-1/4". Do
NOT cut the middle line cord lead.

3. Remove 3/8" of insulation from the end
of each line cord lead and prepare the
ends.

0 V4 1/2 3/. 1 (DNCHES) 2 3 4 5 6 'l
"a 33 58 71° . . . l . . . .l. ill .L. l.1.l 1il41.l 1

lnmvim. L'. 1I i T1 1 l1 1' Il f1 I 1. i . I l j T 1' j Ii T I r r 1 1 j I

O 5 (CM) 2 3 4 a a 7 a 10 11 2 13 u 13 10 11